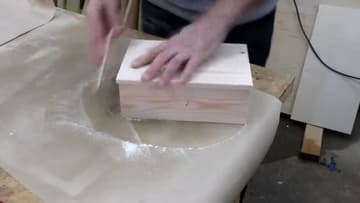
How to Make a Wooden Box: 5-Step Beginner Build
Source: Steve Ramsey - Woodworking for Mere Mortals • Full tutorial: www.craftingstepbystep.com/woodworking-crafts/how-to-make-a-wooden-box
- Difficulty
- Medium
- Hands-on time
- About 1 hour 30 minutes
- Wait time
- 8 hours
- Cost
- About $15 to $35
- Makes
- 1 wooden box
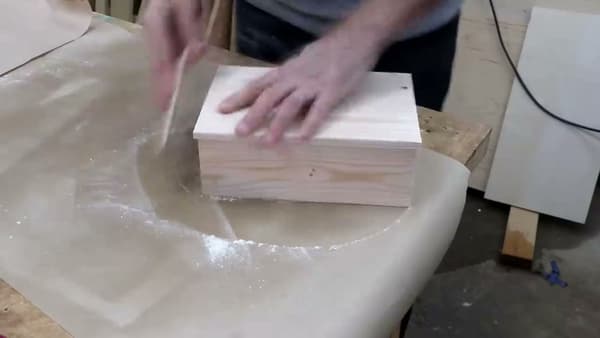
Steps
1. Cut the Sides to Size
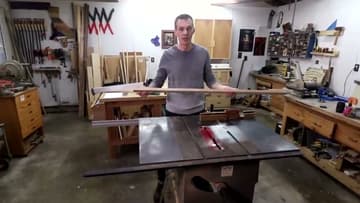
Cross-cut the four sides of your box to length on a miter saw or with a circular saw and speed square. Then rip them all to the same width on a table saw - clean one edge first, flip the board around, then rip to final width.
Tip: Cut all four sides at the exact same time using a stop block or saw fence. Even a 1/16 inch difference in length means the box won't be square when you glue it up.
2. Glue Up the Lid Panel
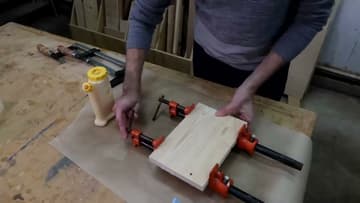
The lid is wider than your single board allows, so glue two pieces edge-to-edge to make a wider panel. Apply wood glue along both edges, fit them together, and clamp gently with bar clamps.
Tip: Don't over-tighten the clamps. Hard clamping makes the boards bow up in the middle. Gentle pressure with several clamps gives a flat panel.
3. Cut the Rabbit Joints
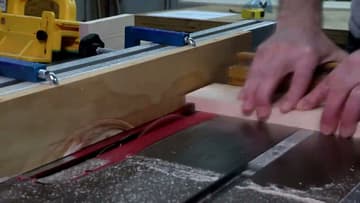
A rabbit is an L-shaped notch on the end of one board that another board sits into. Cut a rabbit on the inside edge of two opposite sides - the depth equals your wood thickness, the width is whatever looks proportional (3/8 inch is typical).
Tip: Always use a push block or push stick when cutting small rabbit pieces on a table saw. Your fingers should never come within 6 inches of the blade.
4. Glue and Clamp the Box
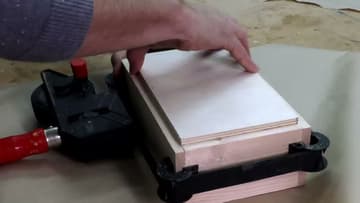
Apply wood glue to both rabbit faces. Fit the four sides together so the rabbits seat into the matching boards.
Tip: Speed clamps are easier than bar clamps for this if your box is small. Either works - the goal is even pressure on all four sides.
5. Sand and Finish
Once the box is dry (a few hours), trim the glued-up lid panel to the exact size on the table saw. Attach with hinges or just place it on top.
Tip: Wipe-on poly is forgiving and beginner-friendly. Spray finishes look great but require ventilation and a steady hand. Stick with wipe-on for your first few projects.