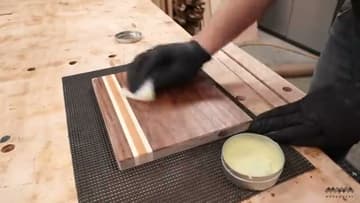
How to Make a Wooden Cutting Board (with Minimal Tools)
Source: MWA Woodworks • Full tutorial: www.craftingstepbystep.com/woodworking-crafts/how-to-make-a-cutting-board
- Difficulty
- Medium
- Hands-on time
- About 2 hours
- Wait time
- 13 hours
- Cost
- About $20 to $40
- Makes
- 1 wooden cutting board
Tools
- table saw
- crosscut sled or miter gauge
- bar clamps
- orbital sander
- trim router
- chamfer router bit
- paint scraper
- spray bottle
- cotton rag
Materials
- walnut hardwood (pre-surfaced)
- maple hardwood (pre-surfaced)
- cherry hardwood (pre-surfaced)
- Type Bond 3 water-resistant wood glue
- sandpaper (80, 120, 180, 220 grit)
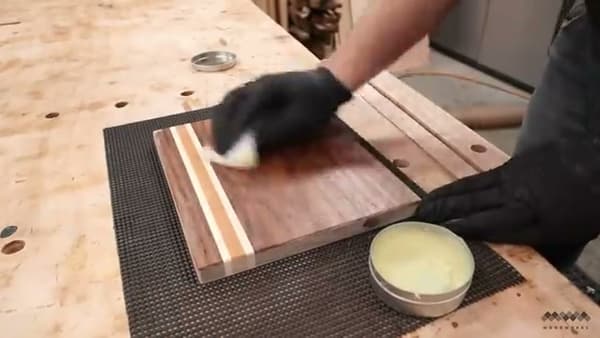
- mineral oil and beeswax paste
- plywood scraps for clamping cauls
- packing tape
Steps
1. Pick Your Hardwoods
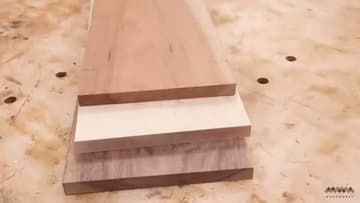
Walnut, maple, and cherry are the classic combo - each is a different color and the contrast looks great in the finished board. Stay away from softwoods like pine, fir, and cedar; they're too soft for cutting boards, dent easily under a knife, and can transfer flavors to food.
Tip: Two-foot lengths from the leftover bin at most hardwood dealers are perfect for this project. You'll cut them down anyway, and they're usually heavily discounted.
2. Cut Strips on the Table Saw
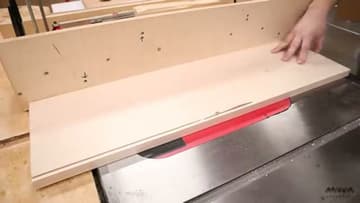
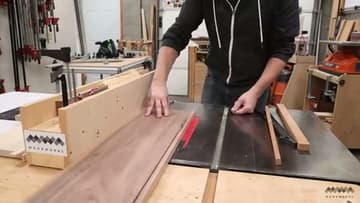
Trim the rough edge off each board first to give yourself two parallel reference edges. Now rip strips from each board, mixing widths so you can vary the visual rhythm in the final board.
3. Lay Out the Color Design
Aim for at least one strip of each wood species in every board so the colors stay balanced. The example uses three boards: a walnut base with two maples and a cherry, a maple base with two cherries and a walnut, and a cherry base with two maples and a walnut.
4. Glue Up with Type Bond 3
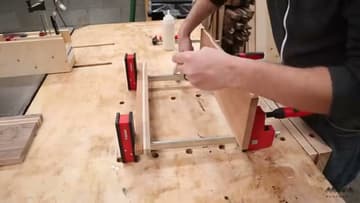
Use a water-resistant wood glue. Type Bond 3 is the standard for cutting boards - water-resistant means the board can survive a sponge wipe-down or a spill without the joints failing.
Tip: After 30 minutes of clamping, run a paint scraper along each joint to lift the squeeze-out off cleanly. It's much less mess than sanding dried glue later.
5. Trim to Final Size
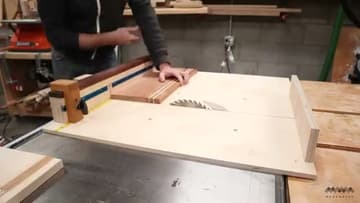
After at least 8 hours in the clamps (overnight is better), pull the board out and scrape off any remaining glue with a paint scraper. Crosscut to your final length on the table saw using a crosscut sled or a miter gauge.
6. Sand Through the Grits
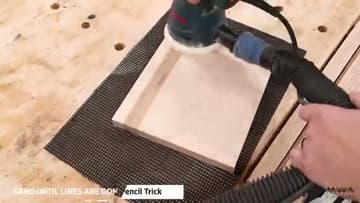
Start at 80 grit because you don't have a planer to flatten the glue-up. Move through 120, 180, and finish at 220.
7. Chamfer the Edges
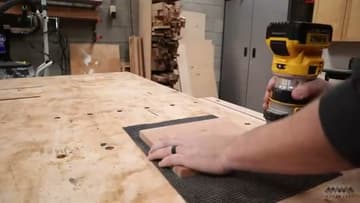
A chamfer bit in a trim router gives clean 45-degree angles on every edge that look much sharper than a roundover. Run the router slowly along each edge, with the board held against a non-slip mat so it can't shift.
8. Pop the Grain and Apply Finish
Spritz the sanded board with water from a spray bottle. The wood fibers stand up like the hairs on your arm when it gets cold, the grain darkens to its true color, and you get a real preview of how the finished board will look.