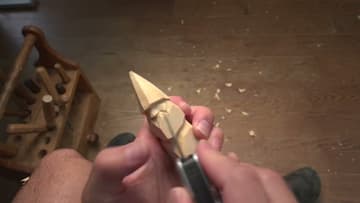
How to Carve a Gnome With Just a Knife
Source: Alec LaCasse • Full tutorial: www.craftingstepbystep.com/woodworking-crafts/how-to-carve-a-gnome
- Difficulty
- Easy
- Hands-on time
- About 1 hour 30 minutes
- Cost
- About $5 to $12
- Makes
- 1 carved wooden gnome

Tools
- Carving knife
- Cut-resistant glove
- Leather strop
Materials
- Basswood blank (1 x 1 x 6 inches)
- Honing compound
Steps
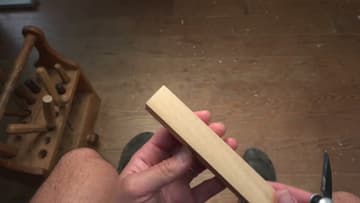
1. Start With a Basswood Blank
You need one piece of basswood, 1 inch by 1 inch by 6 inches, and a carving knife. That is the whole kit.
Tip: Put a cut-resistant glove on the hand holding the wood before you start. Every cut in this project pushes the blade toward that hand.
2. Cut a V-Groove for the Hat Brim
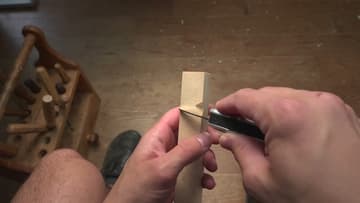
Measure about an inch and a quarter down from the top and cut a V-groove around the blank. A V-cut is two equal but opposite angles: go in on a slight downward angle, then come back at the mirror of that angle so the chip pops free.
Tip: These do not need to be neat. Alec points out his own are uneven and it makes no difference to the finished gnome.
3. Turn the Groove Into a Stop Cut
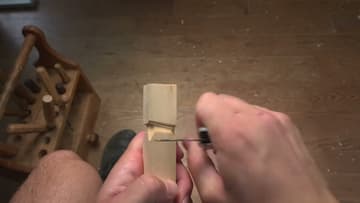
Now go back around the same line with the blade held straight in rather than angled. That vertical cut is a stop cut, and it gives every later cut somewhere to end.
Tip: A stop cut is the single most useful move in knife carving. Cuts that run into one stop cleanly instead of tearing out.
4. Taper the Hat Like Sharpening a Pencil
Above the shelf, start shaving the corners off. The motion is exactly like sharpening a pencil with a knife: long slices running up toward the tip.
Tip: Slow down here if you are new. Alec is moving fast for the camera and says so.
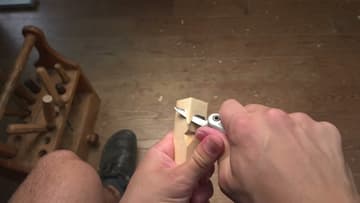
5. Even Up the Four Planes
Go between your first cuts and knock down the corners that are left, then go back over the original groove to sharpen it up again. Aim for four roughly equal planes running up to the point.
Tip: Carving is the one craft where cutting corners is the whole technique.
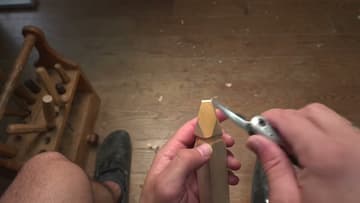
6. Stop Cut an Inch Below the Brim
Come down about an inch, maybe an inch and an eighth, from the brim. Make another stop cut straight into the wood, then a relief cut angling up to meet it.
Tip: If the chip will not come out, do not lever it with the blade. Keep alternating the two cuts and it will free itself.
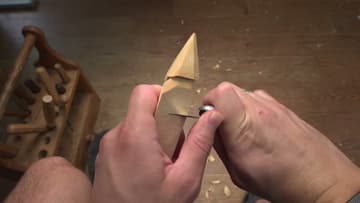
7. Angle Two V-Cuts Into a Smile
Turn the blade on its side and cut a shallow V running upward on the left, then mirror it on the right. Those two angled cuts curve the line you just made into a smile shape.
Tip: Both cuts want the same angle in opposite directions. Symmetry matters more here than depth.
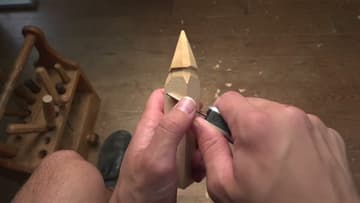
8. Add a Second Stop Cut Under the Brim
Come back up to the hat brim and measure a quarter inch down. Cut another stop cut and relief cut pair on that line.
Tip: A quarter inch looks like almost nothing. It is correct. A tall nose on a piece this small looks wrong.
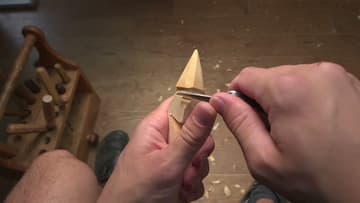
9. Scoop Out Both Cheeks
Draw a light centre line down the face if it helps. Then make a scooping cut on each side of that line, pushing the blade through while giving it a slight turn as it travels.
Tip: The scoop is the hardest cut in the project. Take a thin shaving rather than trying to hollow the cheek in one pass.
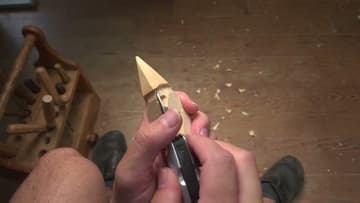
10. Cut the Channel and Clean Up
Make a V-cut at the outside edge of each smile, angling downward, then run a line down each side. Two opposing angles again, worked back and forth until the chip drops, which cuts the channel separating the moustache from the beard.
Tip: Leave some tool marks. Evidence of the knife is part of what makes a carved piece look carved instead of moulded.