How to Use a Sewing Machine: 8-Step Beginner Walkthrough
Source: Sew Bake Make • Full tutorial: www.craftingstepbystep.com/sewing/how-to-use-a-sewing-machine
- Difficulty
- Easy
- Hands-on time
- About 25 minutes
- Cost
- About $3 to $6
Tools
- Sewing machine
- Foot pedal
- Small screwdriver
- Fabric scissors
Materials
- Sewing machine needle (universal 80/12 or 90/14)
- Polyester all-purpose thread
- Empty bobbin
- Practice fabric (cotton scrap)
Steps
1. Find the Hand Wheel, Presser Foot and Feed Dogs
Set your machine on a flat surface and take a minute to find the parts. Most modern machines have the same basics: a hand wheel on the right (turns the needle up and down by hand), a presser foot lever (raises and lowers the foot that holds your fabric), the feed dogs (the small spiky teeth that pull fabric through)...
Tip: Pop the bottom storage compartment off if your machine has one. It uncovers the free arm, which is what lets you sew small tubes like sleeves and pant legs.
2. Pick a Universal Needle and Polyester Thread
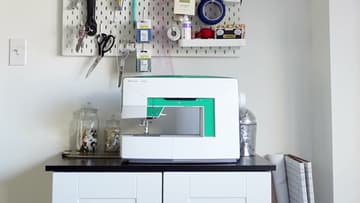
For most projects, you want a universal 80/12 or 90/14 needle. The number is the size; bigger numbers handle heavier fabrics.
Tip: Save the multipack of needles your machine came with. The pack usually includes universal, ballpoint (for knits), and denim sizes - swap to the right one when your fabric changes.
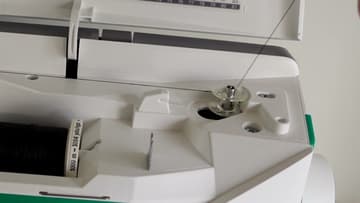
3. Wind the Bobbin
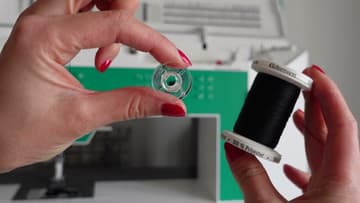
The bobbin holds the lower thread. Place a thread spool on the top spool pin and slide a spool cap over the end.
Tip: Don't fill the bobbin all the way at the highest pedal speed - go slow at first. Lopsided winding creates uneven tension when you sew.
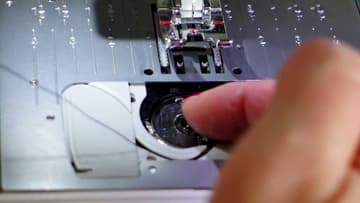
4. Drop the Bobbin Into the Bobbin Case
Open the bobbin cover under the needle plate. Drop the bobbin in so the thread comes off counterclockwise - it should look like the letter P from above.
Tip: If the thread won't pull through smoothly, the bobbin probably went in clockwise. Pull it out, flip it over, and drop it back in.
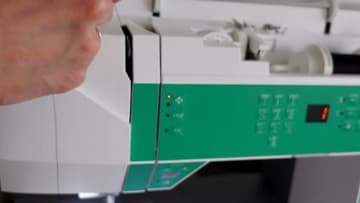
5. Lift the Presser Foot and Thread the Machine
Lift the presser foot lever (this opens the tension discs and lets the thread slide in). Follow the threading arrows printed on your machine - usually across to the upper thread guide, down past the tension plate, U-turn back up to the take-up lever, then back down through the hook above the needle.
Tip: If you skip the take-up lever (the hook at the top that moves up and down), your stitches will birds-nest underneath. Always check it's threaded.
6. Sew Your First Straight Seam on Scrap Fabric
Place two layers of fabric right sides together under the presser foot. Line the raw edge up with the seam allowance guide on the needle plate - 5/8" is standard for garments, 1/4" for quilting.
Tip: Don't stare at the needle - look at the seam allowance guide on the needle plate. Watching where the fabric meets the line is the trick to sewing straight.
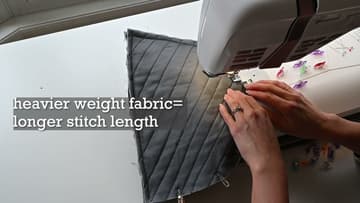
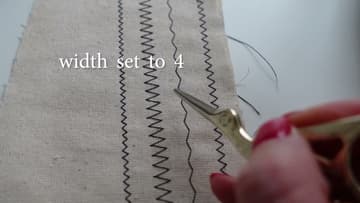
7. Select the Zigzag Stitch and Set the Width and Length
Select the zigzag stitch on your machine - usually stitch number 5 on computerized models, or a labeled position on a mechanical dial. The width controls how wide each zigzag swings; the length controls how close together each stitch sits.
Tip: If the zigzag pulls the fabric into a ridge, the stitch is too wide or the tension too high for that fabric.
8. Set the Tension Dial and Check the Stitches on Both Sides
Tension controls how tight the upper and lower threads pull against each other. The default for most machines is 4.
Tip: Wind a bobbin with a contrasting thread color and use it for tension testing. Different colors top and bottom make tension issues impossible to miss.