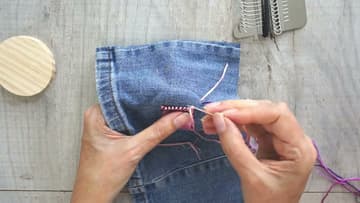
How to Use a Mini Darning Loom
Source: Christine's Crafts • Full tutorial: www.craftingstepbystep.com/sewing/how-to-use-a-mini-darning-loom
- Difficulty
- Easy
- Hands-on time
- About 45 minutes
- Cost
- About $1 to $3
- Makes
- 1 woven patch
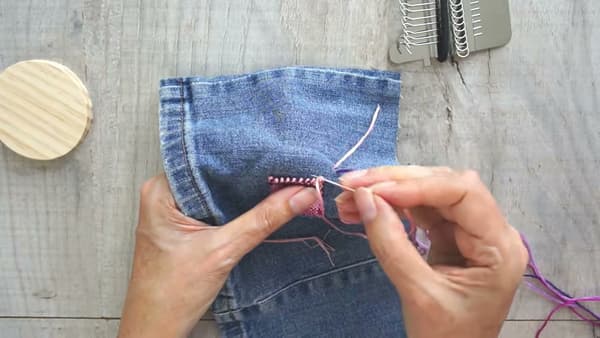
Tools
- mini darning loom with disc and elastic bands
- embroidery needle
- large blunt tapestry needle
- needle threader
- tailor's chalk or pencil
- small scissors
Materials
- embroidery floss in 2 to 4 colors
- garment with a hole
Steps
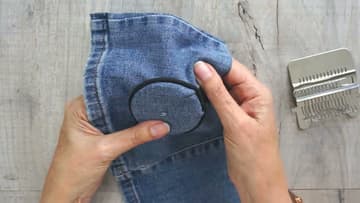
1. Band the Darning Disc Behind the Hole in the Jeans
Lay your garment flat and slide the wooden disc underneath, with the hole roughly in the middle so the patch will cover it. Wrap one of the elastic bands around the fabric and disc.
Tip: If the hole is on a sleeve or leg, put the disc inside so you only catch one layer.
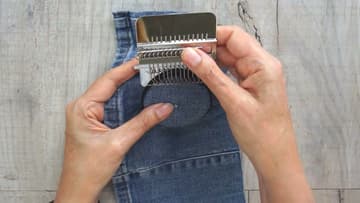
2. Attach the Mini Darning Loom to the Disc
Push the loom's curved base into the same groove above the hole. It is a tight fit, so press firmly.
Tip: Tailor's chalk can rub off on denim. A pencil line lasts longer.
3. Anchor the First Warp Thread on the Darning Disc
Thread a needle with a long length of embroidery floss for the warp, the threads that run up to the hooks. Bring the needle up through the fabric near the edge of the disc and then out at the bottom corner of your patch.
Tip: A cheap needle threader makes this part painless.
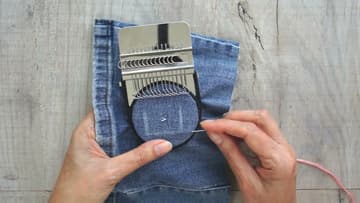
4. Loop the Warp Threads Up Around the Loom Hooks
Take the thread up and around a hook, then back down to the fabric and make another tiny stitch beside the first. That gives you your first pair of warp threads.
Tip: Change warp colors partway for a checked patch.
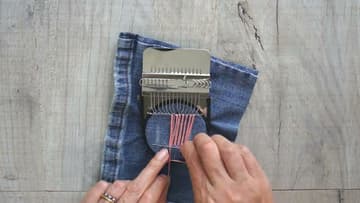
5. Weave the First Weft Row Through the Warp
Turn all the hooks to face one way. Thread a new color for the weft, come in from the disc edge and make a little stitch at the bottom of the warp.
Tip: Pushing the blunt end through first opens the threads without snagging them.
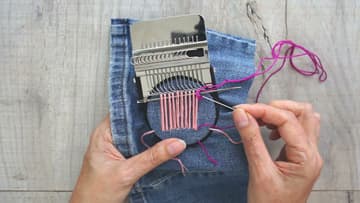
6. Flick the Loom Hooks Across for the Return Pass
Make a small stitch at the far side, then run a finger along the hooks to flick them all the other way. That swaps which warp threads are up and which are down.
Tip: If a row pulls straight out, you forgot to flick the hooks.
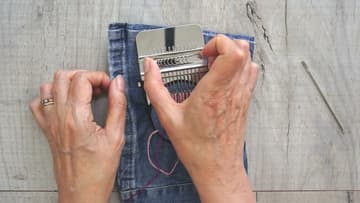
7. Change Thread Colors to Weave Stripes in the Patch
Keep weaving rows until the first stripe is as deep as you want. Take that thread out to the edge of the disc and leave a tail.
Tip: Short threads are easier to pull through when you only need a few rows.
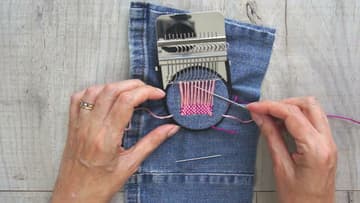
8. Weave the Last Rows Close Under the Loom Hooks
As the patch grows, the hooks get in the way and the warp gets tight. Slow down here.
Tip: Small loops at the top are good. They are what you stitch down later.
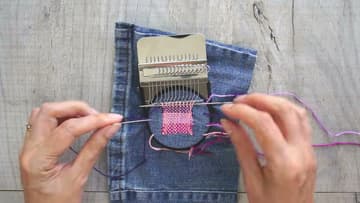
9. Take the Mini Darning Loom Off the Patch
Bring the last weft thread out to the side. Remove the top elastic band and feed any caught threads through so they lie loose.
Tip: Thread a needle with the warp color before you start so you can secure the loops right away.
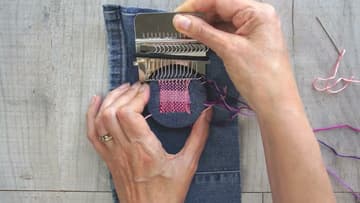
10. Whip Stitch the Warp Loops and Finish the Patch
With the warp color, come up through the first loop at the top of the patch, go down into the fabric, and up through the next loop. Work along the whole row so every loop is caught.
Tip: Count the loops as you go. A missed loop is the one that unravels.