How to Sew in a Straight Line: 7 Beginner Sewing Tips
Source: Pretty Simple Sara • Full tutorial: www.craftingstepbystep.com/sewing/how-to-sew-straight-line
- Difficulty
- Easy
- Hands-on time
- About 15 minutes
Tools
- Sewing machine
- Washi tape or masking tape
- Ruler
- Scissors
Materials
- Fabric (any cotton or quilting fabric)
- Sewing thread
Steps
1. Understand Why Straight Seams Matter
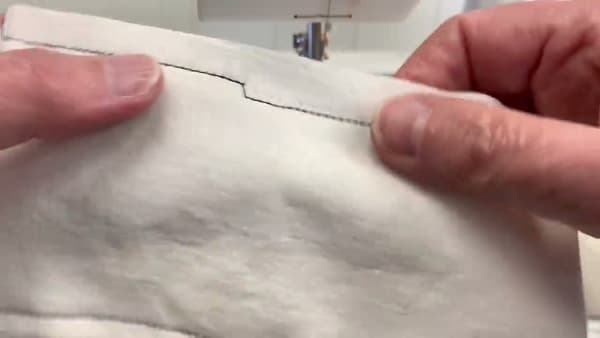
A wavy seam doesn't just look ugly on the back. It warps the front - fabric bunches and lays unevenly along the entire seam line.
2. Look Ahead, Not at the Needle
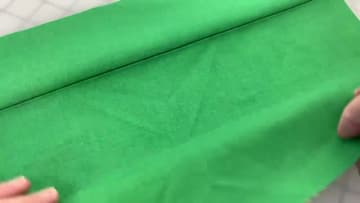
Watching the needle while you sew is like watching the front bumper while driving - by the time fabric reaches it, the stitch is already made. You can't correct the line that way.
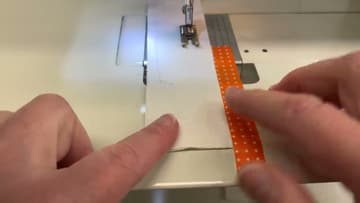
3. Extend the Seam Guide With Washi Tape
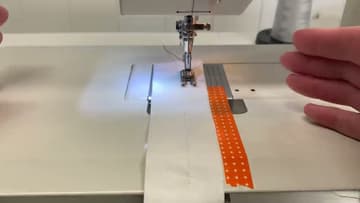
Most sewing machines have seam-allowance markings right next to the needle. Too late - by the time fabric reaches there it's already being stitched.
4. Light Grip, Not Death Grip
The sewing machine pulls fabric in a straight line on its own - that's what feed dogs do. Excessive steering causes wobbles, broken needles, and bunched fabric.
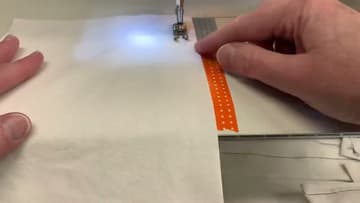
5. Cover Both Feed Dogs
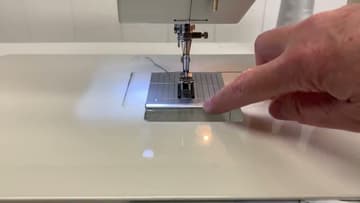
The feed dogs are the toothed bars under the needle that pull fabric through. Most machines have two side-by-side.
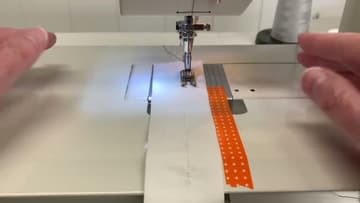
6. Sew Slowly
The sped-up sewing reels online are misleading - real sewers don't actually go that fast. Slow gives you time to see ahead, react, and breathe.
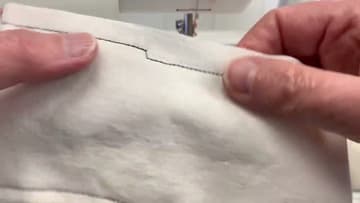
7. Stop With the Needle DOWN
When you pause mid-seam (to adjust fabric or rest), drop the needle into the fabric BEFORE you stop. Most machines have a needle-down setting; if yours doesn't, turn the handwheel by hand to lower the needle.
Tip: Some modern machines have a button labeled 'needle position' that toggles between needle-up and needle-down stops.