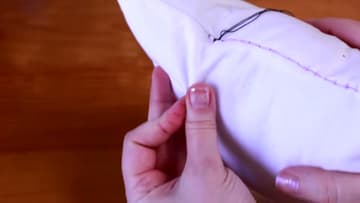
How to Sew a Ladder Stitch (Invisible Hand Stitch)
Source: smarmyclothes • Full tutorial: www.craftingstepbystep.com/sewing/how-to-sew-a-ladder-stitch
- Difficulty
- Easy
- Hands-on time
- About 15 minutes

Tools
- hand sewing needle
- fabric marking pen
- ruler or sewing gauge
- iron
- thread snips
- thimble (optional)
Materials
- all-purpose thread matched to your fabric
Steps
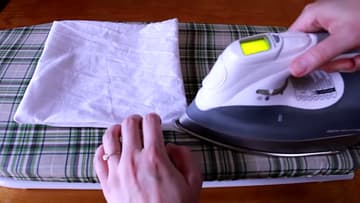
1. Press the Seam Allowance Folds Before the Ladder Stitch
Turn your project right side out and tuck both raw edges of the opening inside. Press them flat with a hot iron so each side has a crisp fold that lines up with the machine seam.
Tip: Chenille and velvet will not hold a crease. Mark the fold line with chalk instead.
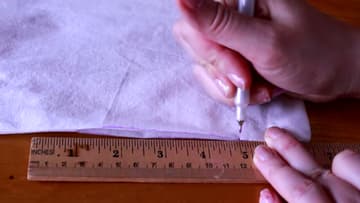
2. Mark the Fold Line for an Even Ladder Stitch
Even when the fabric pressed well, draw along each fold with a fabric marking pen. The clearer the line, the straighter your stitches turn out.
Tip: Test the pen on a scrap first to be sure it washes out of your fabric.

3. Mark Quarter Inch Spacing Along the Ladder Stitch Seam
Line a ruler up with the marked fold and make a small notch every quarter inch from one end of the gap to the other. Do the same on the opposite side so the marks line up straight across from each other.
Tip: Prefer metric? Half centimeter spacing works the same way.
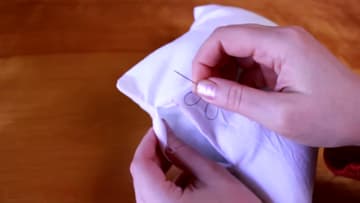
4. Bring the Needle Up to Start the Ladder Stitch
Thread a hand needle and knot the end. Start right beside the machine stitching at one end of the gap.
Tip: Right-handed? Work from right to left. Lefties often find the reverse easier.
5. Cross the Gap and Take the First Ladder Stitch
Take the needle straight across the gap to the opposite fold, directly across from where your thread came out. Push it into the fold on that mark and bring it back out at the next mark along, all in one motion.
Tip: Cross at a right angle. A slanted rung twists the seam.
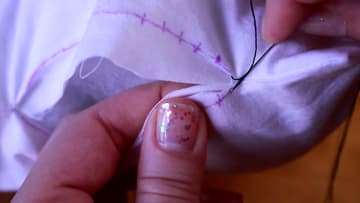
6. Repeat the Ladder Stitch Back and Forth Along the Seam
Cross straight back to the first fold. Go in on the mark directly opposite and come out on the next mark down the line.
Tip: Lost your place? The next stitch always starts directly across from the last exit.
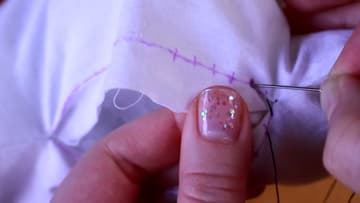
7. Check the Ladder Rungs, Then Pull the Thread
After a few stitches, open the seam a little and look. You should see neat, even rungs crossing between the folds, like a ladder on its side.
Tip: Pull a little at a time. One big tug can snap the thread or pucker the seam.
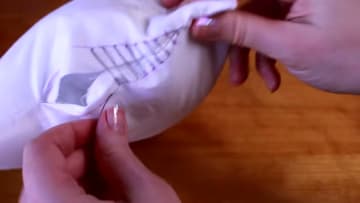
8. Close the Opening With the Finished Ladder Stitch
Keep stitching and pulling until you reach the machine stitching at the far end. Each time you pull, the folds meet and the thread sinks out of sight.
Tip: Smaller stitches, down to 1/8 inch, hide even better on fine fabric.
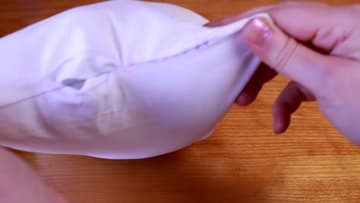
9. Tie Off the Thread at the End of the Ladder Stitch
When you reach the end of the gap, take a small stitch backward under the previous stitch. Loop the thread around through that stitch to make a knot, and repeat it.
Tip: A knot tied too tight leaves a dimple. Snug is enough.
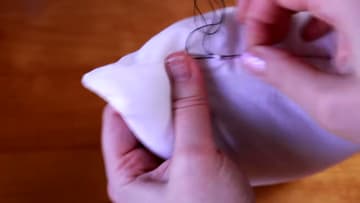
10. Bury the Thread Tail to Finish the Ladder Stitch
Push the needle into the project right beside the knot and bring it out somewhere on the side, an inch or two away. Pull the thread taut and snip it close to the fabric.
Tip: Pull the thread a little before you snip so the tail pops inside.