How to Sew a Hole or Tear in Jeans by Hand
Source: Rokolee DIY • Full tutorial: www.craftingstepbystep.com/sewing/how-to-sew-a-hole
- Difficulty
- Easy
- Hands-on time
- About 30 minutes
- Cost
- About $3 to $6
- Makes
- 1 mended tear

Tools
- Hand sewing needle (sharp enough for denim)
- Fabric scissors
- Small sharp scissors for trimming threads
- Sewing pins (optional)
- Thimble (optional)
- Iron
Materials
- Polyester sewing thread in a colour that matches the jeans
- Scrap of sturdy woven fabric such as cotton canvas, for the backing patch
- Iron-on fabric adhesive (optional, to tack the patch edges down)
Steps
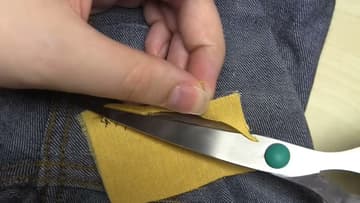
1. Trim the Frayed Threads Around the Tear
Take a pair of sharp scissors and cut off every loose thread hanging in and around the tear. Pull off any fluff sitting on the surface of the denim too.
Tip: Small embroidery scissors get into the tear better than big shears. Tweezers help with the fluff.
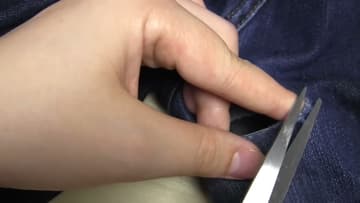
2. Cut a Woven Backing Patch Bigger Than the Tear
Find a scrap of sturdy woven fabric. Cotton canvas is what the creator uses.
Tip: An old cotton shirt or pillowcase works if you have no canvas. Avoid anything with stretch in it.
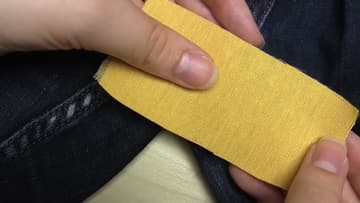
3. Slip the Patch Inside the Jeans Behind the Tear
Push the patch in through the leg opening and work it round to sit behind the tear. Smooth it flat with your fingers from the outside until you can see the patch through the opening and it covers the whole tear with margin all round.
Tip: Check the patch is flat with no fold underneath. A fold gets sewn in and shows as a lump from the outside.
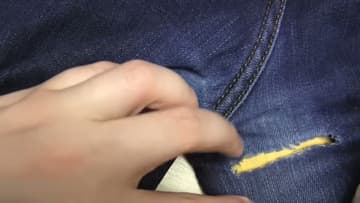
4. Cut an Arm Length of Thread, Knot It and Thread the Needle
Use a polyester thread that matches the jeans. Polyester is strong, and a dark blue vanishes against dark denim.
Tip: Wet the thread end and snip it at an angle so it goes through the eye first time.
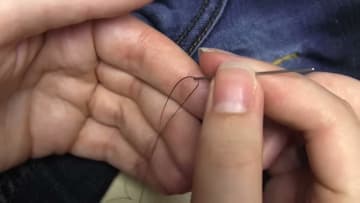
5. Anchor the Thread Through the Patch at One End of the Tear
Hold the jeans with one hand inside the leg, under the patch. That way you feel the needle point and know at once if it goes through to the back of the jeans, which is the one thing you never want.
Tip: A thimble on the middle finger of your pushing hand saves the fingertip on denim.
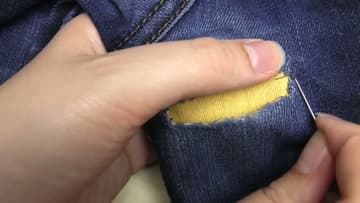
6. Whip Stitch the Two Edges Together Over the Patch
Go down through the denim on one side of the tear, pick up a small bite of the patch underneath, then come up through the denim on the other side. That is one whip stitch.
Tip: Pull each stitch snug, not tight. Tight stitches gather the denim into a ridge.
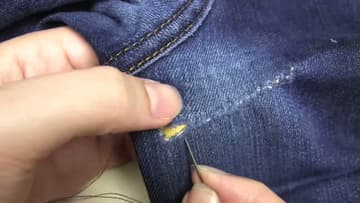
7. Flatten the Pucker and Whip Stitch Back Over the Seam
At the far end there will be a small pucker where the denim bunches. Put a stitch or two right at the end to flatten it.
Tip: Angle the second pass the opposite way so the stitches cross. The X pattern spreads the load.
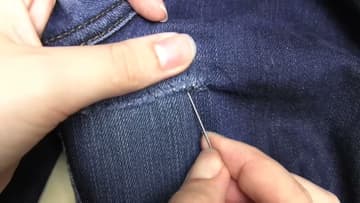
8. Turn the Jeans Inside Out and Tie Off With Two Loop Knots
Push the needle into the denim so the point sits on the inside and the needle is parked. Turn the jeans inside out.
Tip: Make the loop knots through the patch, not the denim, so nothing shows on the outside.
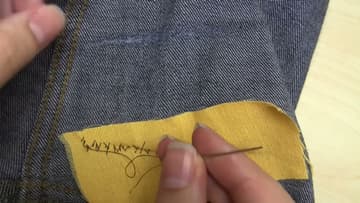
9. Trim the Patch to One Centimetre and Press the Repair
With fabric scissors, cut away the spare patch. Leave about one centimetre of fabric all the way around the stitching.
Tip: Trim the patch corners round rather than square. Rounded edges catch less and fray less.