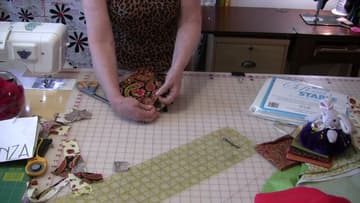
How to Sew a Fabric Gift Bag From a Paper Bag Pattern
Source: SewVeryEasy • Full tutorial: www.craftingstepbystep.com/sewing/how-to-sew-a-fabric-gift-bag
- Difficulty
- Medium
- Hands-on time
- About 1 hour 30 minutes
- Cost
- About $6 to $14
- Makes
- 1 gift bag

Tools
- sewing machine
- rotary cutter and cutting mat
- clear quilting ruler
- fabric scissors
- marker
- pins
- safety pins
- steam iron
Materials
- paper gift bag with rope or ribbon handles
- Soft and Stable foam stabilizer
- cotton fabric for the outside
- cotton fabric for the lining
- matching all-purpose thread
Steps
1. Cut the Paper Gift Bag Open to Make a Pattern
Pull the rope handles out of the paper gift bag and set them aside. You will reuse them.
Tip: Keep the paper bag in one piece. Cutting it into separate panels makes the pattern harder to trace.
2. Trace the Paper Bag Pattern Onto Soft and Stable
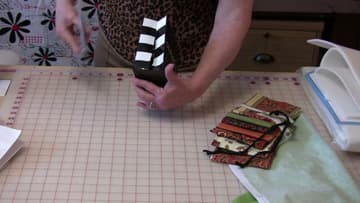
Lay the flat paper bag on a sheet of Soft and Stable and trace all the way around the outside with a marker. Before you lift it, mark where the handles were, where each fold line runs, and the seam along the bottom.
Tip: Press the paper flat with one hand while you trace so the bag does not shift.
3. Cut Out the Soft and Stable Gift Bag Pattern
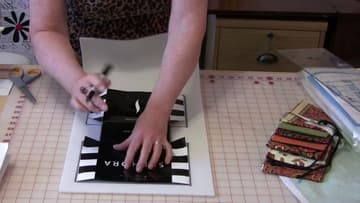
Line up a clear quilting ruler on your traced lines and cut along them with a rotary cutter. Work your way around the whole shape on both sides.
Tip: A fresh rotary blade cuts foam in one pass. A dull one drags and tears it.
4. Pin and Sew the Foam Pattern to the Outer Fabric
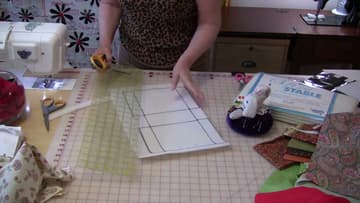
Press your outer fabric so it lies flat. Set the foam pattern on top, leaving at least an inch of fabric showing all the way around, and pin it in place.
Tip: Use a slightly longer stitch length so the foam does not pucker.
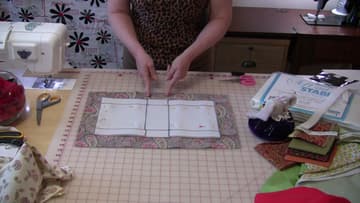
5. Trim the Foam From the Gift Bag Corners
Slide the tip of your scissors between the foam and the fabric at each bottom corner notch. Cut out the foam only, trimming as close to your stitching as you can without nicking the fabric.
Tip: Small, sharp scissors are easier to control than big shears in the notches.
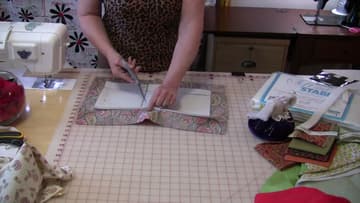
6. Layer the Outer Bag Piece on the Lining Fabric
Lay your pressed lining fabric right side up. Place the outer bag piece on top, right side down.
Tip: Pick a lining print that peeks out nicely at the top of the bag.
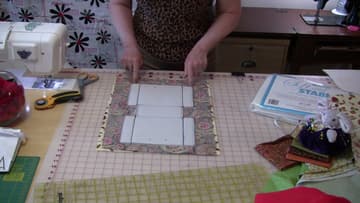
7. Pin the Rope Handles to the Front of the Gift Bag
Mark the handle spots on the front with a pin, then turn the piece over. Pin each handle end at its mark with the loop facing down into the bag.
Tip: Measure so both handles sit the same distance from the side folds.
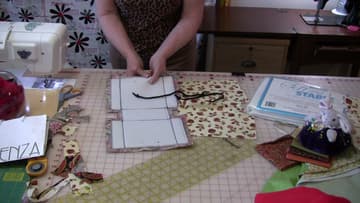
8. Sew the Side Seams and Box the Bottom of the Gift Bag
Fold the bag in half and sew right beside the edge of the foam, not on top of it. Press the seams open.
Tip: Do not worry if a seam wanders onto the foam a little. It will not show.
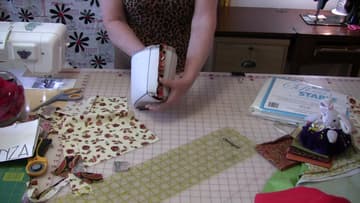
9. Sew the Lining and Join It to the Fabric Gift Bag
Fold the lining in half and sew it with a half inch seam. On the second side, sew only a little at the top and a little at the bottom.
Tip: Match the side seams first, then pin the top edges all the way around.
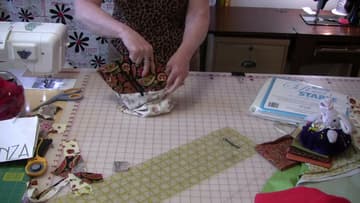
10. Turn, Topstitch and Press the Finished Gift Bag
Pull the bag right side out through the gap in the lining. Close the gap by machine, or by hand if you want the bag to be reversible.
Tip: Keep the iron off nylon handles. Steam them and give a gentle pull.