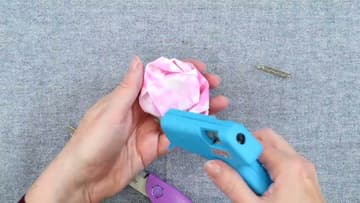
How to Make a No Sew Fabric Flower (Rolled Rose Technique)
Source: AllFreeSewing Studio • Full tutorial: www.craftingstepbystep.com/sewing/how-to-make-a-no-sew-fabric-flower
- Difficulty
- Easy
- Hands-on time
- About 25 minutes
- Cost
- About $3 to $6
- Makes
- 1 no sew rolled fabric flower
Tools
- Hot glue gun
- Scissors
- Ruler (optional)
Materials
- 2-inch wide strip of fabric, 18-24 inches long (cotton, satin, or silk)
- Hot glue sticks
- Pin back, alligator clip, or hairpin for attachment
Steps
1. Gather Your Materials
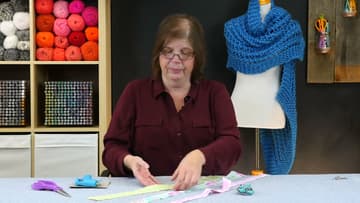
You need three things and that's it. Grab a 2-inch wide strip of fabric (cotton works great, around 24 inches long for a small flower), a hot glue gun with glue sticks, and a pair of scissors.

2. Fold the Strip Lengthwise
Take your 2-inch strip and fold it in half the long way, so you have a folded edge on one side and the two raw edges on the other. Press it with your fingers as you go.
3. Form the Center Bud
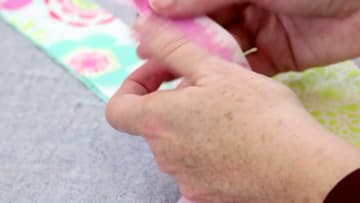
Pinch one end of the folded strip into a small triangle shape. This little triangle becomes the obvious center of your rose.
4. Twist the Strip Around the Center
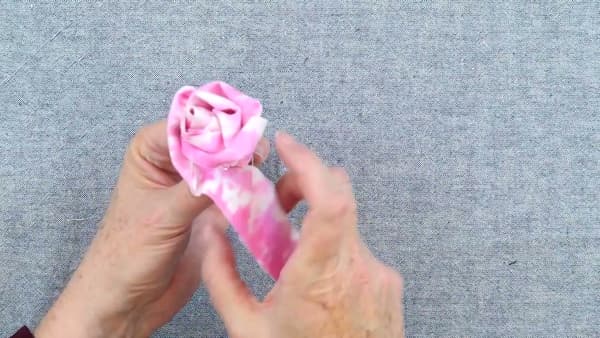
Now twist the long tail of fabric in the same direction over and over, wrapping it around your triangle center. Don't twist on a perfect schedule.
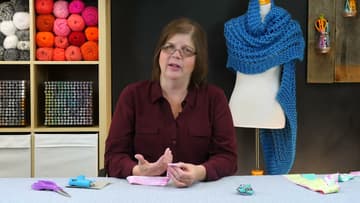
5. Hot Glue Each Twist
Every three to four inches of twisting, lay down a small drop of hot glue at the base where the new twist meets the bud. Press and hold for a second, then let it cool before you move on.
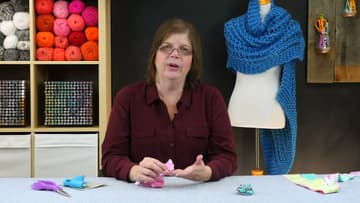
6. Build Out the Outer Petals
As you spiral outward, space your twists farther apart so the outer petals look longer and looser, the way a real rose opens up. Let some of them flop back naturally instead of standing straight up.
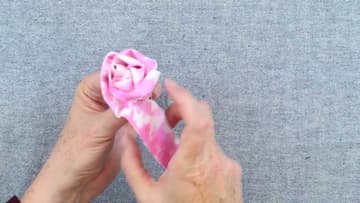
7. Finish the Back and Attach a Pin
When you like how the flower looks, trim the tail leaving about an inch and a half. Fold that tail across the back and glue it down flat so it covers the raw underside.