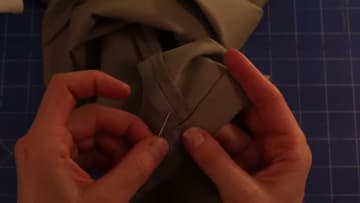
How to Hem Pants by Hand With an Invisible Blind Stitch
Source: Easy Sewing for Beginners • Full tutorial: www.craftingstepbystep.com/sewing/how-to-hem-pants-by-hand
- Difficulty
- Easy
- Hands-on time
- About 1 hour
- Makes
- 1 pair of hemmed pants

Tools
- seam ripper
- sewing gauge
- fabric scissors
- iron
- hand sewing needle
- pins
- fabric marking pen
Materials
- thread to match the pants
Steps
1. Unpick the Old Pant Hem With a Seam Ripper
Turn the cuff so you can see the stitching on the inside of the leg. Slide the point of a seam ripper under a stitch and push it forward to cut the thread.
Tip: Cut every third or fourth stitch, then pull the thread. It comes out faster.
2. Fold the Pant Leg Up to the New Length Over a Shoe
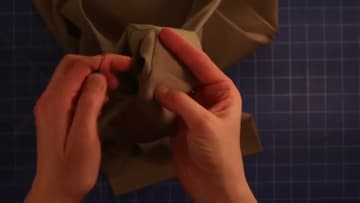
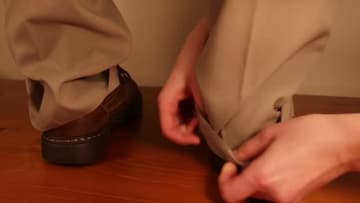
Have the wearer put the pants on with the shoes they will wear with them. Fold the leg up on the outside until it hits the length you want.
Tip: Check from the front and the back. The back can sit a little longer.
3. Measure the Turned-Up Pant Cuff So It Is Even
Lay the pants flat on a table. Measure how deep the cuff is turned up at the pin.
Tip: A sewing gauge with a sliding marker saves you reading the ruler each time.
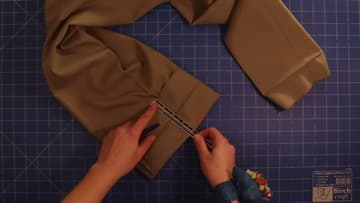
4. Mark the 2 Inch Hem Allowance on the Pant Leg
You need about 2 inches of fabric below the fold for the new hem. That leaves enough to fold over twice and hide the raw edge.
Tip: Use a fabric pen or chalk that wipes off, in case a mark shows later.
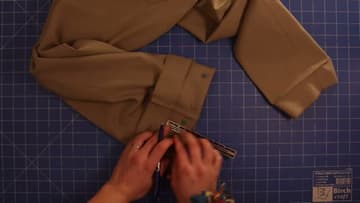
5. Cut Off the Extra Pant Leg Fabric
Cut along the marked line with sharp fabric scissors, going through both layers of the folded cuff. The fabric below the line is the extra length you no longer need.
Tip: Keep fabric scissors for fabric only. Paper dulls them fast.
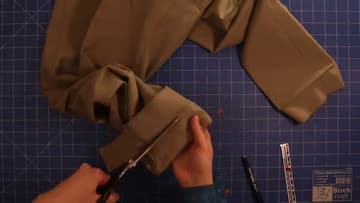
6. Fold Up and Press the 2 Inch Pant Hem
With the pants inside out, fold the bottom of each leg up by 2 inches. Check the depth with your gauge as you go around.
Tip: Use a pressing cloth on dark fabric so the iron does not leave a shine.
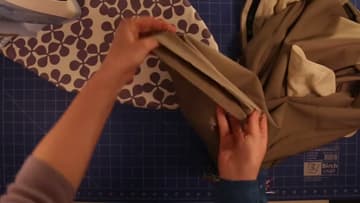
7. Tuck the Raw Edge Under and Pin the Pant Hem
The cut edge will start to fray fast. Roll it under so the raw edge is hidden inside the fold, leaving a finished hem about 1 1/4 inches deep.
Tip: Pin parallel to the hem edge so the pins do not snag your thread.
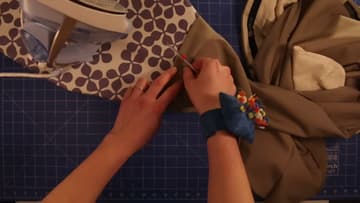
8. Blind Stitch the Pant Hem by Hand
Thread a needle with a single strand and knot the end. Anchor it with two small stitches in the side seam.
Tip: Fewer threads caught means less shows on the outside.
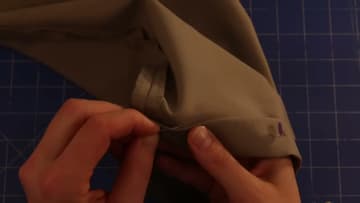
9. Check the Row of Blind Stitches on the Pant Hem
After a few inches, stop and look. On the inside you see a neat row of small stitches along the top of the hem.
Tip: Stitch in good light. It is much easier to pick up one thread.
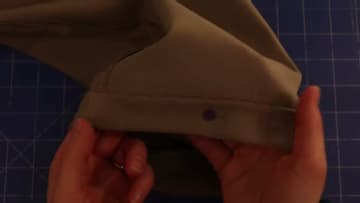
10. Secure the Thread at the End of the Pant Hem
When you get back to the side seam, take the needle through the two layers of the hem. As the thread forms a loop, pass the needle through the loop and pull it tight.
Tip: Press the finished hem once more from the inside for a crisp edge.