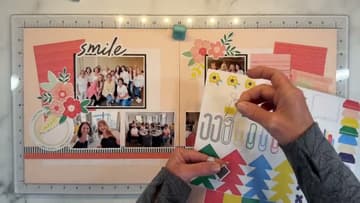
How to Scrapbook
Source: Crafty Concepts with Erin • Full tutorial: www.craftingstepbystep.com/scrapbooking/how-to-scrapbook
- Difficulty
- Easy
- Hands-on time
- About 45 minutes
- Cost
- About $10 to $20
- Makes
- 1 scrapbook page
Steps
1. Gather your kit and pick a theme
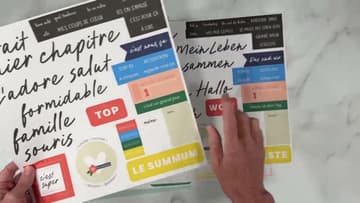
Lay out your scrapbook kit on the work surface and sort the pieces into piles - 4x6 cards for layering, decorative paper strips, journaling tags, punchouts, titles, and stickers. Looking at all the pieces together is what sparks ideas for which photos to pair with them.
Tip: Don't try to use every piece in the kit. A typical 12x12 spread uses maybe 30% of the kit. The rest goes back in the box for next time.
2. Lay your photos on the page
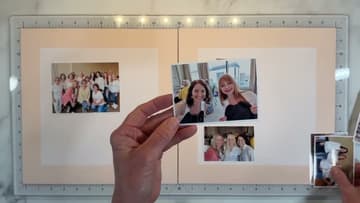
Print your photos in mixed sizes - one larger one as the focal point, and three to five smaller ones at 3x4 or 4x6. Mixed sizes give you flexibility to arrange them in different ways.
Tip: If you have a single dominant color across multiple photos (like a sweater color that pops in three of them), spread those photos across the layout to carry the color through the...
3. Settle the arrangement
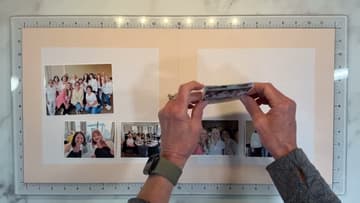
Move the photos around until you stop adjusting. Step back from the page after each move - what looks balanced from a foot away can look crowded up close, or vice versa.
4. Add layered paper and embellishments behind photos
Slide a 4x6 cardstock or pocket card behind your largest photo so the photo sits on a soft border. Layer two or three pieces in graduated sizes for visual depth.
Tip: Pull a small flower or sprig from the embellishments and tuck it slightly under a photo edge so it looks like the photo is resting on the cluster.
5. Add a grounding strip across the bottom
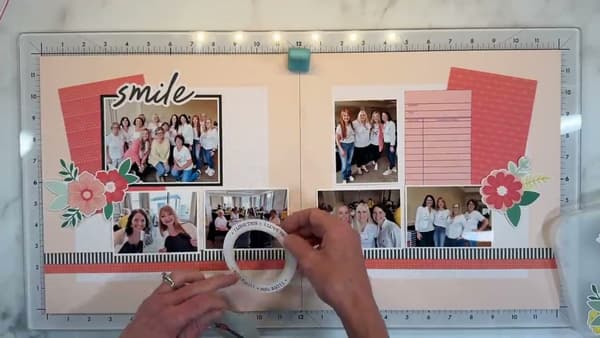
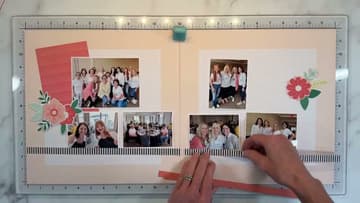
Cut a piece of decorative paper into a long strip and run it across the bottom of the page (or top, or down one side). The strip acts as a visual anchor - all the photos sit on it, and your eye reads the layout as one connected scene instead of floating fragments.
6. Add the title and finish with clusters
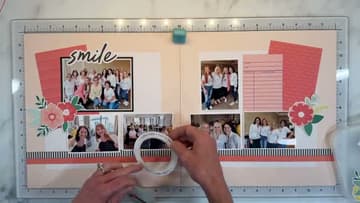
Punch or cut out a title word that captures the moment - 'smile,' 'memories,' the date, the place name. Place it where the eye lands first, usually beside or above the focal photo.
Tip: Take a photo of the layout with your phone before gluing. The phone's small screen is great for spotting balance problems your eye misses up close.