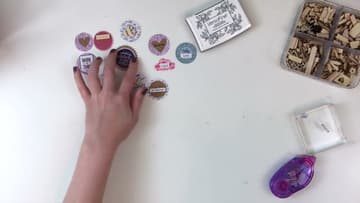
How to Make Scrapbook Embellishments From Paper Scraps and Stamps
Source: Ashley Fowler • Full tutorial: www.craftingstepbystep.com/scrapbooking/how-to-make-scrapbook-embellishments
- Difficulty
- Easy
- Hands-on time
- About 45 minutes
- Makes
- a set of about 15 embellishments

Tools
- acrylic stamping block
- 1.25 inch circle punch
- 1.5 inch circle punch
- scalloped circle punch
- cloud punch
- scissors
- tiny stapler
Materials
- paper and cardstock scraps
- clear word and sentiment stamps
- black pigment ink pad
- navy and pink ink pads
- adhesive cork sheets
- wood veneer shapes
- dot adhesive tape runner
Steps
1. Gather Paper Scraps, Stamps and Ink for Scrapbook Embellishments
Pull a handful of paper scraps, a few clear stamp sets and two or three ink pads. Ashley starts with the back of a product packaging sleeve that has a printed grid.
Tip: Pick a small palette, like black, navy and pink, so the pieces match.
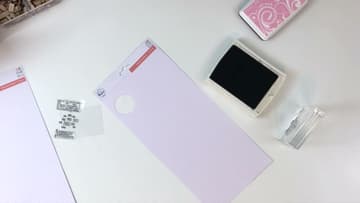
2. Stamp Words All Over a Scrap Paper Background
Ink a small word stamp and press it onto the scrap again and again, turning it a little each time. Overlap the edges so the words build a busy, all-over texture.
Tip: Re-ink every two or three impressions so the print stays even.
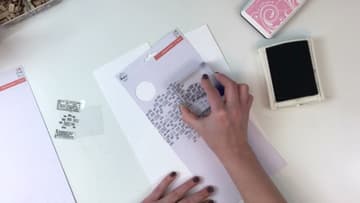
3. Stamp a Sentiment on a Cardstock Scrap
Now stamp single sentiments on other scraps. Ashley adds a round stamp to a blue striped cardstock offcut.
Tip: Stamp a few spares. One always prints crooked or faint.
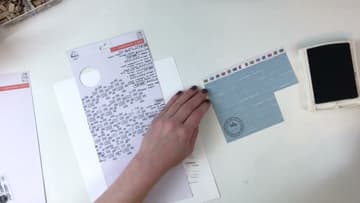
4. Stamp Round Sentiments on Patterned Paper Scraps
Try stamping on patterned paper too. Ashley puts navy round sentiments on pink patterned scraps, which gives each piece color with no extra layer.
Tip: Press straight down and lift straight up to avoid a doubled image.
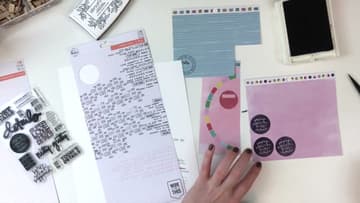
5. Punch Circles From the Stamped Paper Scraps
Flip the circle punch upside down and slide the stamped paper in so you can see where the circle lands. Center the round sentiments, or catch an interesting patch of the word background.
Tip: Let pigment ink dry a few minutes first, or it smears in the punch.
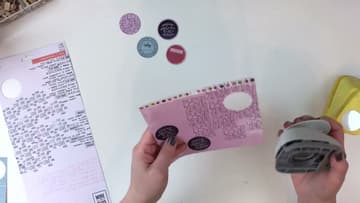
6. Punch Scalloped and Cloud Shapes for Embellishments
Switch to shaped punches for variety. Ashley uses a scalloped circle punch for the red and pink pieces and her favorite cloud punch for a lighter stamped paper.
Tip: Save the punched-out holes. The leftover frames make fun backgrounds too.
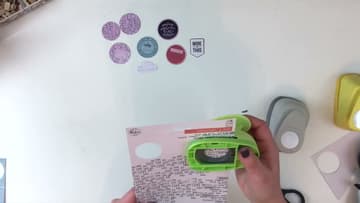
7. Layer a Stamped Circle on a Scalloped Circle
Start pairing pieces. Set a small stamped circle on top of a bigger scalloped circle and stick it down with dot adhesive.
Tip: Offset the top circle slightly for a more casual look.
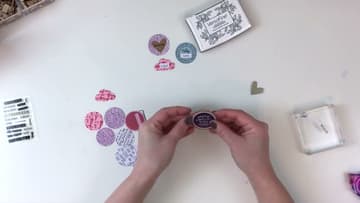
8. Add Wood Veneer Pieces to the Embellishments
Dig into your wood veneer for small accents. Hearts, stars, ampersands and tiny mugs all work.
Tip: Veneer is thin, so it stays flat. Chunky wood pieces will not fit in pockets.
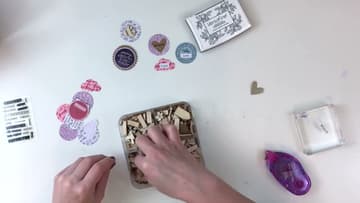
9. Attach a Typed Word Strip to a Paper Embellishment
Type a few short words on cardstock with a typewriter, or print them small, and trim each into a thin strip. Ashley adds one to the "today" stamp and two more to other pieces.
Tip: Words like "today", "love" and "be fearless" fit almost any page.
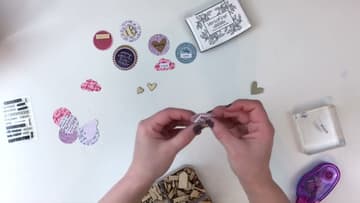
10. Top the Scrapbook Embellishments With Cork Hearts
Finish a few pieces with cork. Ashley pre-cuts adhesive-backed cork into hearts, half circles and scallops, so she can peel and stick.
Tip: Cut a whole sheet of cork shapes at once so you always have some ready.