How to Distress Paper Edges for Scrapbooking
Source: Medieval Mirage • Full tutorial: www.craftingstepbystep.com/scrapbooking/how-to-distress-paper-edges
- Difficulty
- Easy
- Hands-on time
- About 15 minutes

Tools
- metal ruler
- old table knife or serrated knife
- plastic knife
- cosmetic sponge or ink blending tool
Materials
- cardstock or scrapbook paper
- brown ink pad
Steps
1. Gather Stained Paper and Kitchen Knives for Distressing Edges
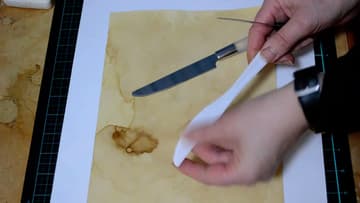
Pick a sheet of paper or cardstock and a few knives from the kitchen drawer. The video uses a plain table knife, a thin serrated steak knife and a white plastic knife.
Tip: Test each knife on a scrap so you know how rough it scrapes before you touch your good paper.
2. Tear the Paper Edge Against a Ruler
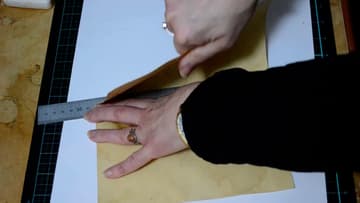
Lay a metal ruler where you want the edge. Hold it down firmly with one hand.
Tip: Tear toward yourself with the ruler on the piece you want to keep.
3. Scrape the Paper Edge With a Serrated Knife
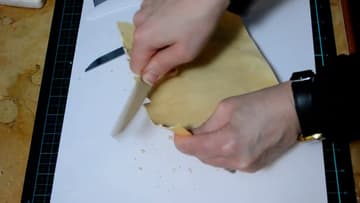
Hold the paper near the edge and drag a serrated knife down along it. The teeth lift the top layer and leave a white, fuzzy edge with little crumbs of paper.
Tip: Scrape over a scrap sheet so the crumbs are easy to tip into the bin.
4. Scrape Each Paper Edge With a Table Knife
Switch to a plain table knife and hold it upright against the edge. Scrape along the top and down each side.
Tip: Keep the hand holding the paper behind the blade, not in front of it.
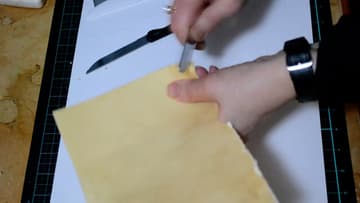
5. Use a Plastic Knife for a Softer Distressed Edge
Try a plastic knife for a lighter touch. It has very little bite, so the edge only roughens a little.
Tip: A plastic knife is the safest choice if grandchildren want to help.
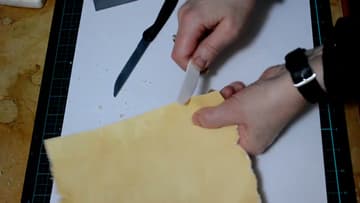
6. Rough Up the Distressed Paper Edges With Your Fingertips
Run your fingertips and fingernails along the scraped edges. Rub and ruffle the fibres so they lift and curl a little.
Tip: Fingernails alone work if you have no knife handy. They give a softer look.
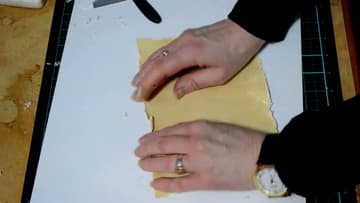
7. Pick a Brown Ink Pad for Inking Paper Edges
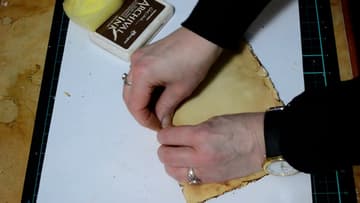
Choose a brown ink pad for the aged color. The creator uses Ranger Archival Ink in Potting Soil, a warm brown that dries permanent.
Tip: Archival ink is waterproof once dry, so you can stamp or write over it later.
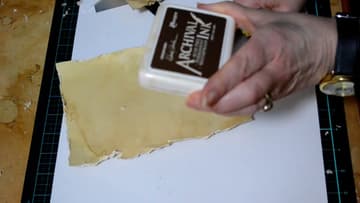
8. Sponge Brown Ink Onto the Distressed Paper Edges
Dab the sponge on the ink pad, then hold the paper up in one hand and sponge ink around the edges. Holding it instead of laying it flat lets the paper crease and crumple as you go, and those creases pick up extra color.
Tip: For a stronger look, press the edge straight onto the ink pad and drag it along.
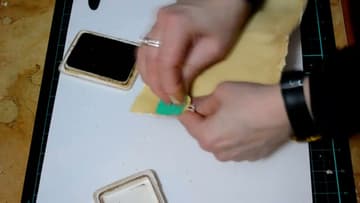
9. Work Ink Into the Corners of the Paper
Lay the sheet flat and go back in with a clean sponge. Push ink into the corners and any spots that look too light.
Tip: Use a separate sponge for each ink color so they stay clean.
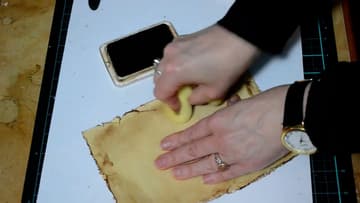
10. Crumple the Inked Paper Edges for an Aged Look
Finish by pinching and crumpling the inked edges between your fingers. Small creases along the border make the sheet look handled for years.
Tip: Press the finished sheet under a heavy book overnight if it needs to lie flat.