How to Use UV Resin: A Complete Beginner's Guide
Source: Lorien's Craft Box • Full tutorial: www.craftingstepbystep.com/resin-art/how-to-use-uv-resin
- Difficulty
- Easy
- Hands-on time
- About 30 minutes
- Wait time
- 10 minutes
- Cost
- About $30 to $55
- Makes
- 1 small resin charm or pendant
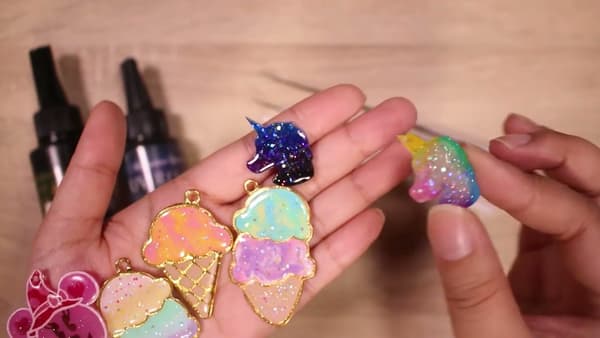
Tools
- UV lamp (9-watt portable or 36-watt tabletop)
- Fine-tip tweezers
- Needle tool or toothpicks
- Small chisel and flat picks
- Tiny scoop or palette knife
- Lighter (for popping bubbles)
- Nitrile or vinyl gloves
- Scissors
- Silicone work mat or scrap paper
Materials
- UV resin (hard type, e.g. Padico Sun's Drops, Miniature Sweet, Pixiss, Limino)
- Silicone molds (charms, pendants, cabochons)
- Open and closed metal bezels
- Clear packaging tape
- Liquid resin pigments (Padico clear colors)
- Opaque resin pigments (Miniature Sweet pastels)
- Mica powders / Pearl Ex
- Glitter (fine and chunky)
- Alcohol inks
- Decals, stickers, or dried flowers (optional inclusions)
Steps
1. Gather your UV resin and basic tools
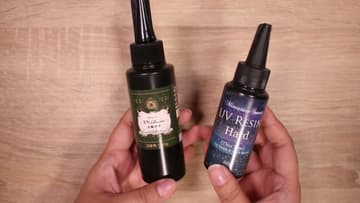
Start with a hard-type UV resin you trust. Abby uses Padico and Miniature Sweet brands and keeps a small kit of Padico picks nearby: a needle tool, chisel, angled tool, flat tool, and tiny scoop.
Tip: Hard-type resin is what you want for jewelry and charms. Soft and gummy types exist for flexible pieces but they stay slightly bendy after curing.
2. Fill a bezel with resin
Bezels are the easiest way to start. Squeeze resin straight from the bottle into the metal frame and use a needle tool or toothpick to push it into the corners.
Tip: Pass a lighter quickly across the surface once everything is in to pop bubbles. Don't hold the flame on the resin, just sweep it across.
3. Back open bezels with clear packaging tape
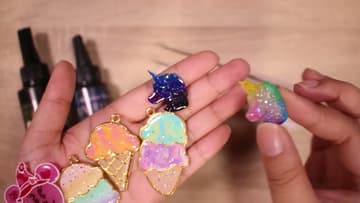
Open bezels have no metal floor, so the resin would just leak out. Stick a strip of clear packaging tape across the back, press firmly so there are no gaps along the bezel edge, and flip it tape-side down on your work surface.
Tip: Use real clear packaging tape, not masking tape. Masking tape will absorb the resin and ruin the back of your piece.
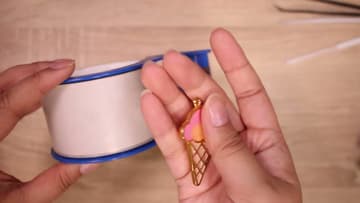
4. Color the resin
Tip a small puddle of resin onto a palette or work straight in the mold. Add a drop of liquid pigment (Padico clear colors are great for translucent pieces, Miniature Sweet for soft pastel opaques) and stir with a toothpick until the color is even.
Tip: Mica powders give a shimmery, almost metallic finish. Liquid pigments give a true tint. Alcohol inks also work but can stay tacky if you use too much.
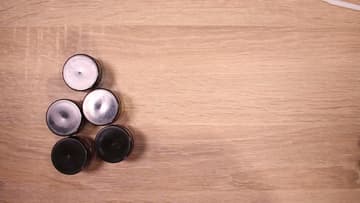
5. Pour resin into a silicone mold
Silicone molds come in every shape you can think of, from tiny charms to bigger pendants. Squeeze resin slowly into the cavity until it sits just below the rim, then tap the mold gently on the table so trapped air rises to the top.
Tip: If you want a clear piece, pour in two thin layers and cure between them rather than one thick pour. Thick pours trap more bubbles and can yellow on the bottom.
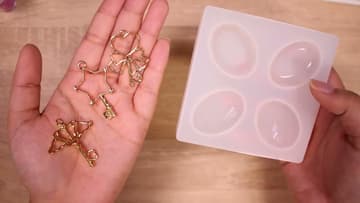
6. Cure under a UV lamp
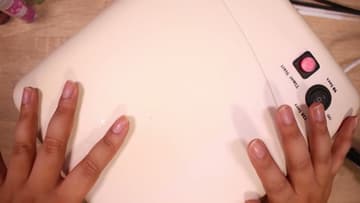
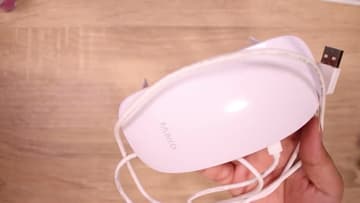
Slide the piece under your UV lamp and turn it on. A small 9-watt lamp is fine for tacking layers together, but for a real hard cure you want a 36-watt UV lamp.
Tip: A nail lamp with a UV bulb works as long as it's actually UV and not pure LED. Some nail lamps only emit LED light at a different wavelength and will leave resin tacky.
7. Demold and check the cure
Once the timer's done, pop the piece out of the silicone mold or peel the packaging tape off the back of your bezel. Press the surface with your fingernail.
Tip: Persistent tackiness usually means a weak lamp. Try moving the piece into direct sunlight for 20 to 30 minutes as a rescue cure before you toss it.