How to Use Resin Molds (Beginner Casting Guide)
Source: LET'S RESIN • Full tutorial: www.craftingstepbystep.com/resin-art/how-to-use-resin-molds
- Difficulty
- Easy
- Hands-on time
- About 30 minutes
- Wait time
- 24 hours
- Cost
- About $25 to $50

Tools
- measuring cups
- ruler
- mixing cups
- stir sticks
- heat gun
- nitrile gloves
- sanding pads
Materials
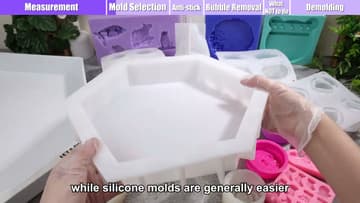
- silicone molds
- epoxy casting resin
- mold release spray
- resin pigment
- rubbing alcohol
- polishing compound
Steps
1. Measure How Much Resin Your Mold Needs
Before you mix a drop of resin, figure out how much the mold actually holds. Fill the empty mold with water right up to the top, then pour that water into a measuring cup and read the amount.
Tip: Watch this step Knowing your exact volume also lets you measure pigment proportionally, so the color comes out the same every time you pour that mold.
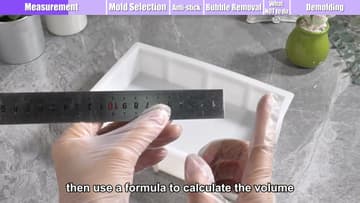
2. Calculate Volume for Large Molds
For a big or oddly shaped mold where the water trick is awkward, measure it instead. Take the length, width, and height with a ruler and multiply them together to get the volume in cubic units.
Tip: Watch this step Mix a little extra for large pours. It's better to have a small amount left over than to run short halfway through filling a deep mold.
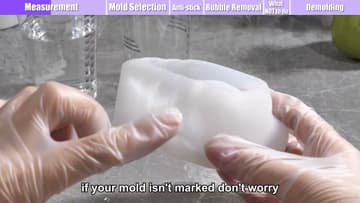
3. Test the Mold Quality
Check the mold before you trust it with a pour. Bend it back on itself, all the way to 180 degrees.
Tip: Watch this step Store your molds flat or loosely stacked, not crushed under heavy items. Silicone takes a set over time and a warped mold casts a warped piece.
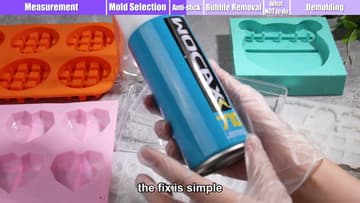
4. Prep a Foggy or Sticky Mold
If a mold looks foggy or feels tacky inside, give it a light coat of mold release spray and let it dry for a few minutes before pouring. This is common on older molds or ones that have been used a lot.
Tip: Watch this step Don't overdo the spray. A heavy coat can leave a dull or textured film on the surface of your casting. A quick light mist is all it takes.
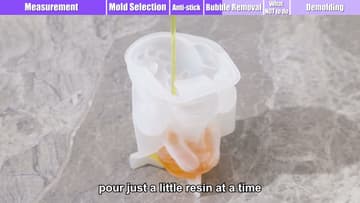
5. Pour the Resin Slowly
With your resin mixed and ready, pour it into the mold a little at a time. Tilt and rotate the mold as you go so the resin creeps into every corner and detail instead of trapping air against the silicone.
Tip: Watch this step For deep molds, pour in layers and let each one start to set before adding the next. Thick single pours can overheat, yellow, or crack as they cure.
6. Remove the Bubbles
Once the mold is full, get the bubbles out. Tap the mold firmly on the table and give it a little shake to float them up to the surface.
Tip: Watch this step Hold the heat source at an angle, not straight down, so you don't blow dust or push the resin around.

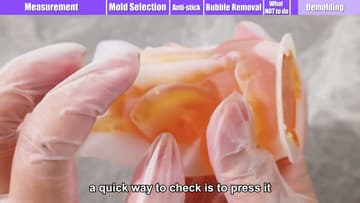
7. Confirm the Resin Is Fully Cured
Resist the urge to demold early. Press a gloved finger or a stir stick against the top of the piece.
Tip: Watch this step Cure in a warm room. Resin sets faster and harder around 75 to 80F. A cold space slows the cure way down and can leave the surface permanently sticky.
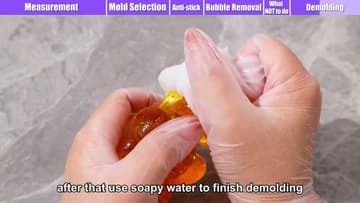
8. Demold Your Finished Piece
Now for the satisfying part. Flex the mold gently from the edges to break the seal, then push from the back to ease the piece out.
Tip: Watch this step The fridge trick is the gentlest release for detailed or delicate pieces. Twenty minutes is plenty, and the cold won't hurt a fully cured casting.