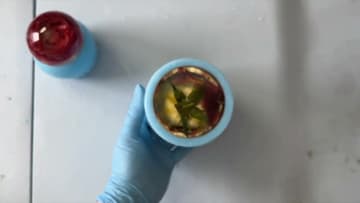
How to Seal Flowers in Resin: Preserved Rose Sphere Tutorial
Source: EllafulDeco • Full tutorial: www.craftingstepbystep.com/resin-art/how-to-seal-flowers-in-resin
- Difficulty
- Medium
- Hands-on time
- About 1 hour
- Wait time
- 24 hours
- Cost
- About $40 to $75
- Makes
- 1 resin sphere, 1 resin dome
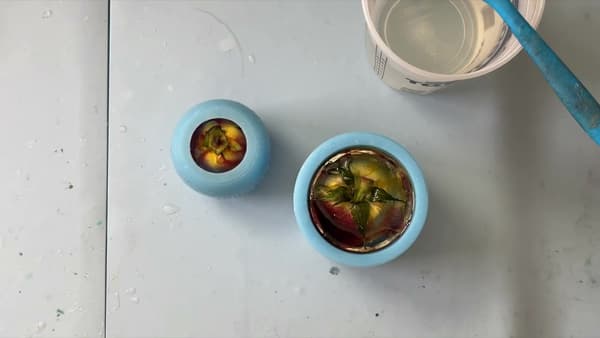
Tools
- silicone sphere mold
- silicone dome mold
- nitrile gloves
- mixing cup with measurement markings
- stir stick
- small brush
- heat gun or torch
- measuring cup
Materials
- TotalBoat ThickSet Fathom deep-pour epoxy resin
- dried roses (one small for sphere, one larger for dome)
- parchment paper
- mold release spray
Steps
1. Gather Your Molds, Resin, and Dried Flowers
You need two silicone molds. EllafulDeco uses a 3-inch dome and a 2-inch sphere from AAJ Molds, but any deep-cast silicone mold works.
Tip: Dried flowers work better than fresh. Fresh petals trap moisture that will fog the cure. Check our drying tutorial if you need to prep a flower first.
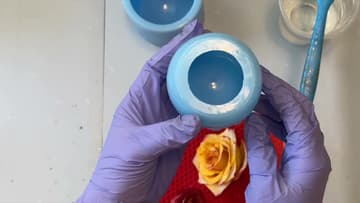
2. Mix the Epoxy and Let the Bubbles Rise
TotalBoat ThickSet Fathom is a 2:1 epoxy by volume. Combine the resin and hardener in those exact proportions and stir slowly for about three minutes.
Tip: Stir slowly. Whipping the mixture folds new bubbles into the resin and you lose the whole point of the rest.
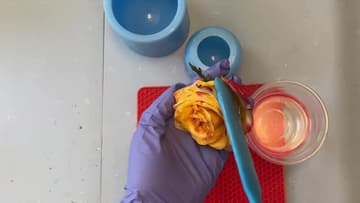
3. Coat Each Flower in Resin First
Before anything goes in the mold, paint a thin layer of resin onto every petal with a small brush. Dried flowers hold a surprising amount of air, and that air will release as bubbles right in the middle of your finished piece if you skip this.
Tip: A cheap craft brush is fine. The resin will ruin it, so don't use anything you want back.
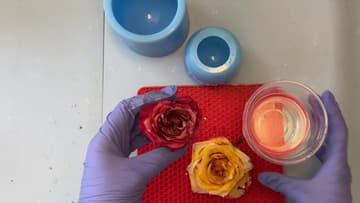
4. Pour the First Layer and Set the Rose
Pour resin close to the mold wall to keep bubbles down. Fill about a third of the way for the first layer.
Tip: Remember the cast is upside down in the mold. The bottom of your pour is the top of the finished sphere, so place the rose face-down.
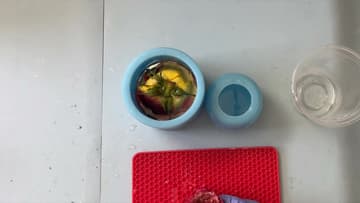
5. Top Off the Resin and Use the Parchment Trick
Fill the mold with more resin until you're about half an inch from the top. Move the rose around with a stick to release any bubbles trapped underneath, then hit the surface with the heat gun one more time.
Tip: Resin won't stick to parchment, so peel-off later is clean. Wax paper works too in a pinch.
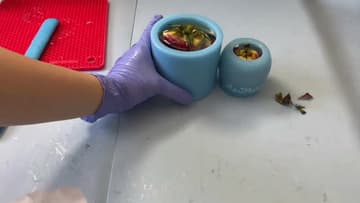
6. Add the Final Layer After 24 Hours
Come back about 24 hours later. The first pour will be tacky but firm enough to hold the flower in place.
Tip: Keep the curing piece away from dust, pets, and temperature swings. A closed box on a flat shelf works well.
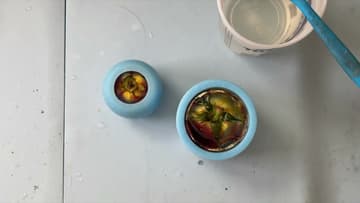
7. Demold the Finished Sphere and Dome
Wipe off any drips around the top edge so they don't scratch the inside of the mold on the way out. Flex the silicone gently and push the piece straight up from the bottom.
Tip: Handmade silicone molds are delicate. Don't yank, don't cut, and don't twist. Push straight up from the closed end.