How to Make Resin Coasters: 7 Step DIY Tutorial With Wood Inlays
Source: Rockler Woodworking and Hardware • Full tutorial: www.craftingstepbystep.com/resin-art/how-to-make-resin-coasters
- Difficulty
- Medium
- Hands-on time
- About 45 minutes
- Wait time
- 24 hours
- Cost
- About $20 to $35
- Makes
- a set of about 4 coasters

Tools
- Silicone coaster molds
- Mixing cups
- Stir sticks
- Butane torch
- Nitrile gloves
Materials
- 2-part epoxy resin (shallow pour)
- Penetrating epoxy sealer
- Wood scraps (less than 1/2 inch thick)
- Mica powder or alcohol ink (optional, for color)
- Mold release spray
Steps
1. Choose and Cut Wood Pieces
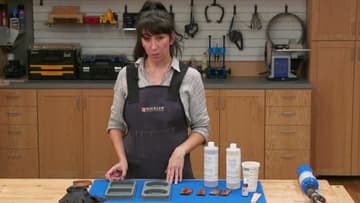
Pick wood scraps less than half an inch thick - the silicone coaster molds are about half-inch deep, so the wood needs to leave room for epoxy on top. Live-edge pieces facing each other create a 'mini river table' look in the finished coaster.
2. Seal the Wood With Penetrating Epoxy
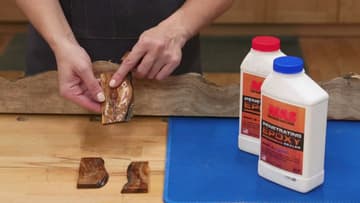
Coat every face of each wood piece with penetrating epoxy sealer. The sealer soaks into the wood pores and prevents trapped air from bubbling out into the main epoxy pour.
3. Mix Epoxy in a 1:1 Ratio
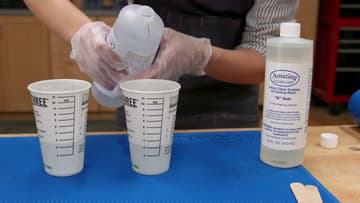
Use a shallow-pour epoxy specifically (deep-pour formulas are too thin and will leak under the wood). Most coaster epoxies mix 1:1 - 3.5 oz of Part A and 3.5 oz of Part B for each 7 oz batch (about 4 coasters' worth with a bit extra).
4. Stir Thoroughly
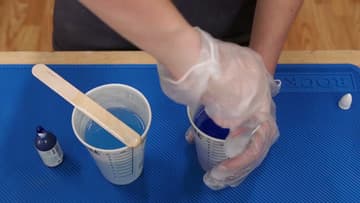
Stir slowly for 2-3 minutes, scraping the sides and bottom of the cup as you go. Under-mixed epoxy leaves sticky uncured spots; over-fast stirring whips in extra air bubbles.
5. Pour a Base Layer and Torch Bubbles
Spray a light coat of mold release on the silicone (optional but eases removal). Pour about 1/8 inch of epoxy into the bottom of each mold - just enough to cover the floor and create a base under the wood.
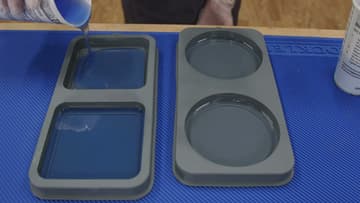
6. Press Wood In and Add Weights
Press the sealed wood pieces into the base layer of epoxy. Pour the rest of the resin around the wood, stopping at the top of the wood (not over it).
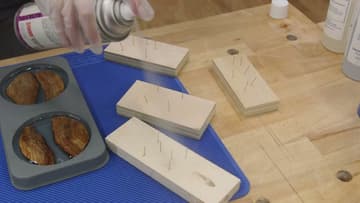
7. Cure 24-30 Hours, Then Demold
Leave everything alone for at least 24-30 hours. The epoxy progressively hardens through tack-free, then full-cure.
Tip: If you nick the top face during demolding or sanding, you can polish it back to clear with progressive grits (400 → 800 → 1500 → 2500) followed by automotive polishing compound.