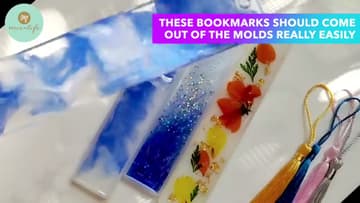
How to Make Resin Bookmarks (3 Easy Techniques)
Source: MoCaLife • Full tutorial: www.craftingstepbystep.com/resin-art/how-to-make-resin-bookmarks
- Difficulty
- Easy
- Hands-on time
- About 30 minutes
- Wait time
- 24 hours
- Cost
- About $15 to $25
- Makes
- a set of 3 resin bookmarks
Tools
- silicone bookmark molds
- mixing cups
- wooden stir sticks
- tweezers
- heat gun or torch
- hole punch
Materials
- two-part epoxy resin
- nitrile gloves
- dried pressed flowers
- gold foil flakes
- alcohol ink
- fine glitter or mica powder
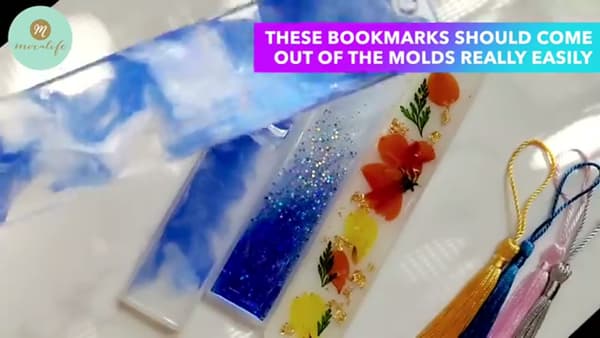
- tassels
- jump rings
Steps
1. Mix Resin and Pour a Base Layer
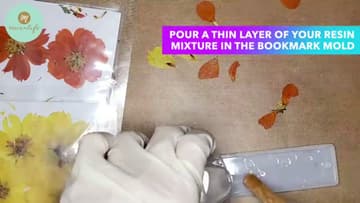
Mix your two-part epoxy by volume, following the ratio on your bottles. Stir slow for a couple of minutes until it runs clear with no cloudy streaks.
Tip: Watch this step Work in a warm room. Cold resin is thick, traps more bubbles, and takes much longer to cure.
2. Arrange Pressed Flowers in the Mold
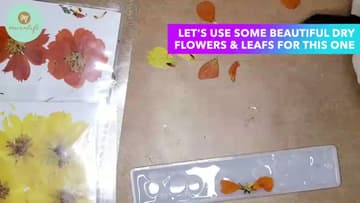
Lay your pressed flowers and leaves out on the table first so you can plan the layout before anything gets wet. Once you like it, use tweezers to lift each piece and set it into the resin base.
Tip: Watch this step Press your own flowers a couple of weeks ahead in a heavy book. Fully dry flowers keep their color in resin, while fresh ones can brown.
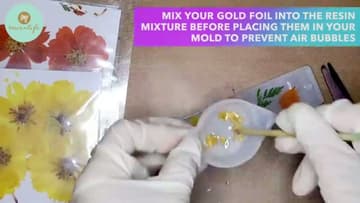
3. Add Gold Foil for Sparkle
Gold foil gives the floral bookmark a bit of shine around the flowers. Stir a pinch of foil flakes into a small cup of resin first, rather than dropping them dry onto the mold.
Tip: Watch this step Gold leaf and mica powder both work here. Mica gives a softer shimmer, foil gives sharp glints. Try mixing the two.
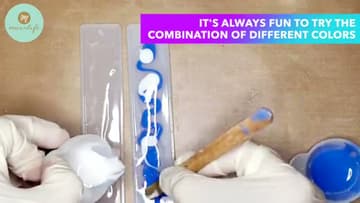
4. Swirl Alcohol Ink for a Marbled Look
For the ink bookmarks, pour a clear resin layer into the mold, then add a couple of drops of alcohol ink. Drag a stir stick through it once or twice and stop.
Tip: Watch this step Alcohol ink is strong. Start with one drop, swirl, then add more only if you want it darker. You can't take color back out.
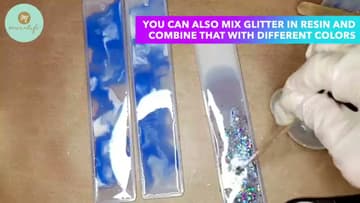
5. Pour a Glitter Gradient
For the glitter bookmark, stir fine glitter or mica into a cup of clear resin, then pour it along one end of the mold. Tip the strip slightly so the glitter drifts and thins out toward the middle.
Tip: Watch this step Fine cosmetic-grade glitter suspends better than chunky craft glitter, which tends to sink to one edge before the resin sets.
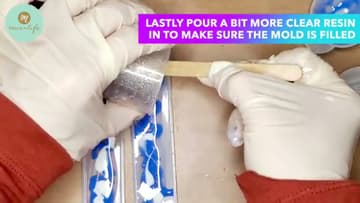
6. Top Coat and Clear the Bubbles
Once your inclusions sit the way you want, pour one last clear coat to fill the mold right to the top. Check that every flower, foil flake, and edge is fully covered so nothing pokes up above the surface after it cures.
Tip: Watch this step Keep the heat moving. Holding it on one spot can scorch the resin or push your flowers out of place.
7. Demold and Add a Tassel
Give the resin a full cure, usually 24 hours, before you touch it. When it's hard, flex the silicone mold and the bookmarks pop out clean with a glossy face and smooth edges.
Tip: Watch this step If an edge feels sharp after demolding, a quick pass with fine sandpaper smooths it. Wipe off the dust before you handle it.