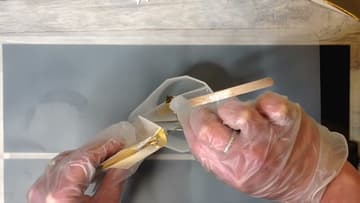
How to Make a Silicone Mold
Source: Red Rocking Bird • Full tutorial: www.craftingstepbystep.com/resin-art/how-to-make-a-silicone-mold
- Difficulty
- Medium
- Hands-on time
- About 45 minutes
- Wait time
- 24 hours
- Cost
- About $25 to $45
- Makes
- 1 silicone mold

Tools
- Digital scale
- Measuring beaker
- Wooden stir sticks
- Gloves
Materials
- Two-part silicone rubber
- Mold housing or plastic box
- Double-sided tape
- Acetate sheet
- Silicone pigment
- Epoxy resin
Steps
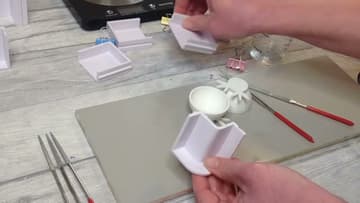
1. Pick a Housing
You need something to cast into. A simple plastic mold housing works, and it does not have to be anything purpose-made.
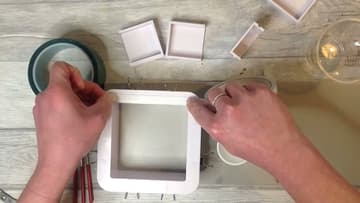
2. Seal the Base
Run double-sided tape all the way around the rim of the housing, checking there are no gaps in the run. Some people hot-glue the housing down instead.
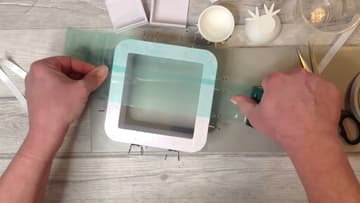
3. Fit a Clear Base
Press a sheet of acetate or wide clear tape across the taped rim to close the bottom. A clear base does two jobs - it seals the housing, and it gives you a sticky surface to mount your master pieces onto.
Tip: Check the seal all the way round before you mix anything. Silicone finds every gap.
4. Weigh the Two Parts
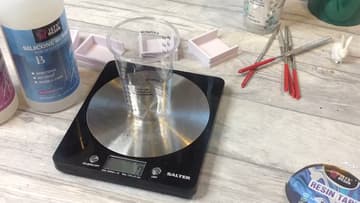
Glove up, work somewhere well ventilated and protect your surfaces before you open anything. Weigh part A and part B out on a digital scale.
5. Stir It Thoroughly
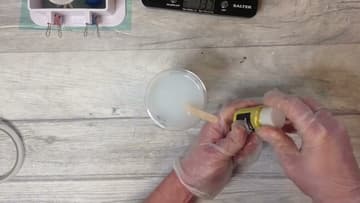
Combine the two parts with a wooden stick and keep going. Most kits ask for three to five minutes.
Tip: A good kit mixes smoothly and pours almost bubble-free, so do not rush this part looking for shortcuts.
6. Set Your Masters In Place
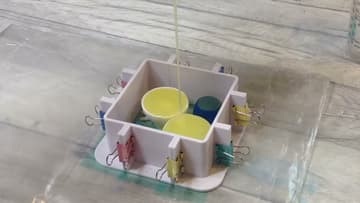
Stick the pieces you are moulding down onto the clear base inside the housing. Pack in as many as the space will take.
Tip: Anything hollow will float up once the silicone goes in. Stick those down firmly or weight them.
7. Pour the Silicone
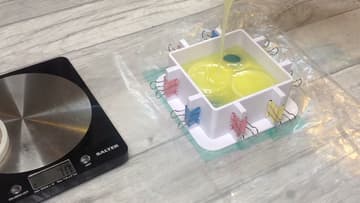
Pour the mixed silicone into the housing in a thin steady stream from one corner, letting it flow around the masters. Pouring from height and in a thin stream helps break any bubbles on the way down.
Tip: Leave it clear if you plan to cure UV resin in the finished mold. Pigment blocks the light.
8. Cure It Level
Set the filled housing somewhere genuinely level and leave it for about 24 hours. A levelling table is ideal but any flat shelf works.
9. Release the Mold
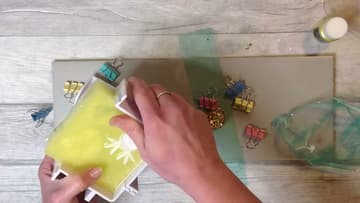
Peel the housing away from the cured block and pop the mold out. It should release with gentle pressure - run a knife around the edge only if it sticks.
10. Cast Into It
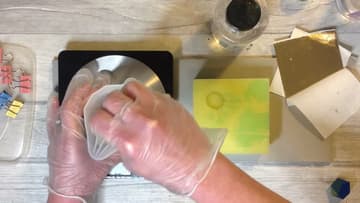
Mix your resin, pour it into the new mold and let it set. A little warmth underneath from a heat pad helps the resin flow into fine detail.
Tip: A silicone mixing cup is worth using for resin - it peels clean once cured and you can reuse it.