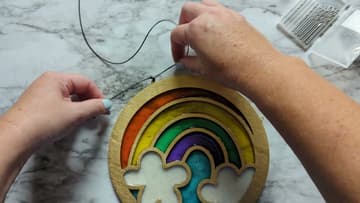
How to Make a Resin Suncatcher
Source: Crafting in the Rain • Full tutorial: www.craftingstepbystep.com/resin-art/how-to-make-a-resin-suncatcher
- Difficulty
- Medium
- Hands-on time
- About 1 hour
- Wait time
- 3 days
- Cost
- About $20 to $35
- Makes
- 1 resin suncatcher

Tools
- Scissors
- Graduated mixing cups
- Wooden stir sticks
- Popsicle stick
- Straight pin
- Heat gun
- Pin vise hand drill
- Needle-nose pliers
- Safety glasses
Materials
- Wood suncatcher blank (or 1/4 inch birch plywood)
- Metallic gold spray paint
- Clear contact paper
- Two-part epoxy resin (3 oz total)
- Alcohol ink
- White mica powder
- Nitrile gloves
- Mini screw eye hooks
- Waxed cord
- Suction cup window hook
Steps
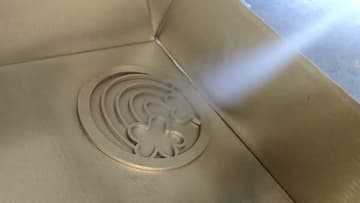
1. Spray the Wood Suncatcher Blank Gold to Seal the Cut Edges
Lay the bare blank in a cardboard box and give it three or four light passes with metallic gold spray paint rather than one wet coat. Tip the box and move the can around so paint reaches down inside every cut edge.
Tip: Let each coat dry to the touch before the next one, and give the last coat a couple of hours before the contact paper goes on.
2. Press the Blank Onto Contact Paper and Trim the Overhang
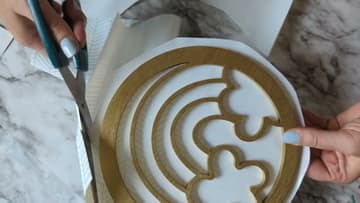
Press the painted blank face down onto a sheet of clear contact paper. Rub it down hard along every wood bar so no air is left anywhere underneath, then cut the overhang away with scissors.
Tip: Resin tape grips tight corners better than contact paper and peels off in one piece. Crafting in the Rain notes in her supply list that it is what she would reach for next time.
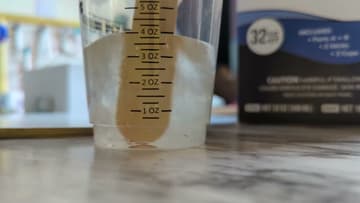
3. Mix 1.5 oz Part A With 1.5 oz Part B and Stir Two Minutes
This epoxy is a one to one mix, so both halves are measured the same. Pour 1.5 oz of part A into a graduated cup, then 1.5 oz of part B on top of it.
Tip: Under-stirred resin cures soft and tacky in patches and there is no fix once it sets. Run a timer for the two minutes instead of guessing at it.
4. Tint the Resin With Alcohol Ink and White Mica Powder
Split the clear resin between six small cups, one per color. Drop alcohol ink into the cups you want light to pass through and stir each until the color is even all the way down.
Tip: Tint the pale colors first and the dark ones last and you can use one stir stick for all six. Going the other way drags purple into your yellow.
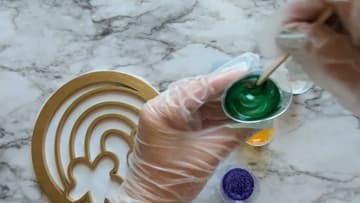
5. Pour Each Resin Color Into Its Own Channel
Work one channel at a time and pour slowly off the lip of the cup so the resin does not jump the wood divider into its neighbor. Fill each channel until the surface sits level with the top of the wood, no higher than that.
Tip: If two colors do touch across a divider, lift the bead back with the pin right away. Once the resin starts to gel you are stuck with the blend.
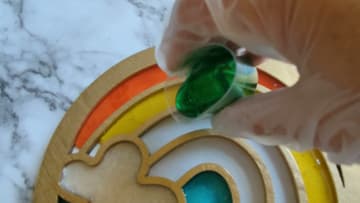
6. Heat-Gun the Bubbles, Then Cure the Resin Three Full Days
Sweep a heat gun over the surface from a few inches up, keeping it moving the whole time. The heat thins the resin for a second and the trapped bubbles rise and pop.
Tip: Set an upturned box over it while it cures. Dust and pet hair land on wet resin and there is no way to get them back out.
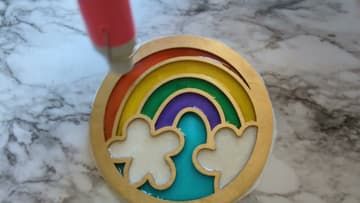
7. Hand-Drill Two Hang Holes in the Cured Suncatcher
Once the resin is properly hard, peel the contact paper off the back. It comes away in one sheet and takes any resin that crept underneath along with it.
Tip: A pin vise gives you control a power drill cannot, and it will not skate across cured resin. Worth owning if you make anything that needs a small hole in it.
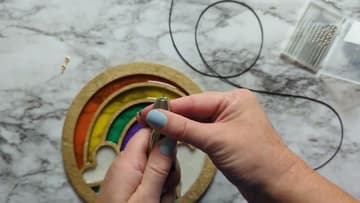
8. Thread the Waxed Cord Through the Eye Hooks
Twist a mini screw eye into each hole by hand, then finish the last turns with pliers until the threads are buried in the wood. Fingers alone will not get it tight, and a loose eye works its way out under the weight of the piece.
Tip: A drop of super glue in each hole before the screw eye goes in makes it permanent. Worth doing on a heavier piece or one hanging somewhere people walk underneath.