How to Make a Resin Ring
Source: NerdECrafter • Full tutorial: www.craftingstepbystep.com/resin-art/how-to-make-a-resin-ring
- Difficulty
- Easy
- Hands-on time
- About 20 minutes
- Cost
- About $1 to $3
- Makes
- 1 resin ring

Tools
- silicone ring mold
- UV flashlight or UV lamp
- plastic mixing cup
- wooden stir stick
- toothpicks
- mini torch (optional)
- sandpaper
- nitrile gloves
- wax paper
Materials
- UV resin
- UV resin pigment
- gold leaf flakes
- glitter or dried flowers
- rubbing alcohol
- cotton swabs
Steps
1. Tint the UV Resin for the Resin Ring
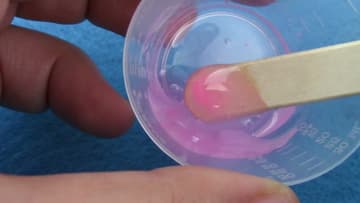
Pour a small amount of clear UV resin into a plastic mixing cup. A ring takes very little, so start with about a teaspoon.
Tip: Snip the bottle nozzle a little wider if the resin comes out too slowly.
2. Push the Resin Into the Silicone Ring Mold
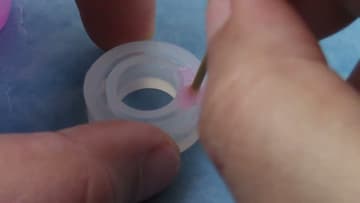
Lay wax paper on your table and set the silicone ring mold on it. Drip the tinted resin into the channel and use a toothpick to push it right down to the bottom and all the way around.
Tip: Work around the mold slowly so the resin flows in rather than trapping air.
3. Pop Bubbles in the Resin Ring Mold With a Torch
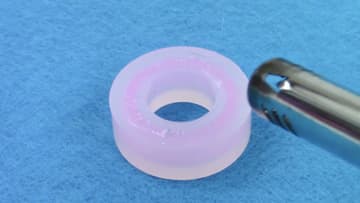
Look closely for tiny bubbles in the resin. A very quick pass of a small torch over the surface brings them up and pops them.
Tip: No torch? Let the mold sit for a few minutes so bubbles can rise on their own.
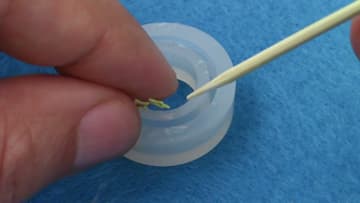
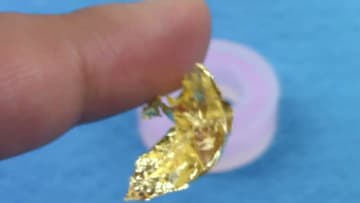
4. Add Gold Leaf Flakes to the Resin Ring
Tear small pieces of gold leaf over the mold and let them drop onto the resin. Gold leaf loves to stick to your fingers, so a toothpick or tweezers helps.
Tip: Mix gold leaf with a pastel or clear resin. It glows against light colors.
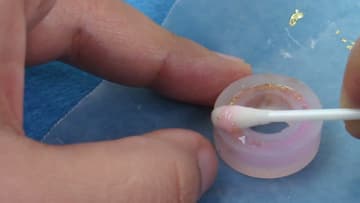
5. Clean the Rim of the Ring Mold With Rubbing Alcohol
Check the top of the mold. Any resin smeared on the rim will cure into a sharp ridge.
Tip: A clean rim now saves a lot of sanding later.
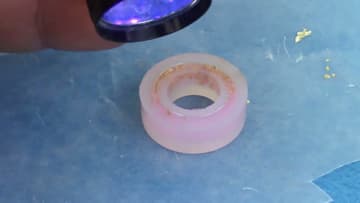
6. Cure the Resin Ring Under a UV Light
Shine a UV flashlight or lamp straight down onto the mold for about two minutes. Then turn the mold and shine it on the sides too, since silicone lets the light through.
Tip: Cure in two thinner layers if your ring is dark or packed with inclusions.
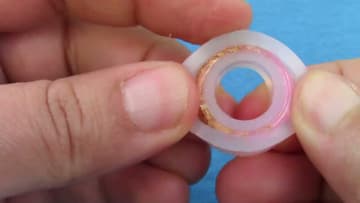
7. Pop the Cured Resin Ring Out of the Mold
Flex the silicone gently and push the ring out from the back with your thumbs. Silicone is forgiving, so peel it away slowly rather than yanking.
Tip: Cure the inside of the band too once it is out of the mold.
8. Sand the Edge of the Resin Ring Smooth
If the resin went past the fill line, you will have a thin lip on one side. Rub that edge flat on sandpaper in small circles until it is smooth.
Tip: Sand with a little water to keep the dust down.
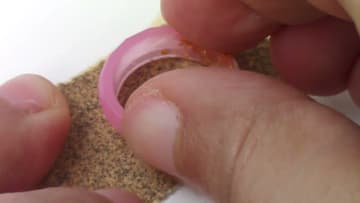
9. Fill Air Bubbles on the Resin Ring Edge
Spotted a bubble hole on the edge after unmolding? Squeeze a drop of the same colored resin into the gap so it sits level with the surface.
Tip: Wipe off any excess before curing so the patch stays flush.
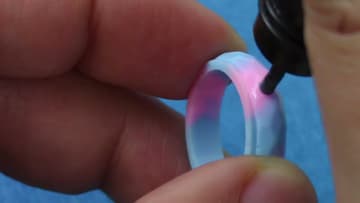
10. Add Glitter and Inclusions to a Resin Ring Mold
The same method works for every design. Lay a thin layer of clear resin in the mold, then use a toothpick to place glitter stars, dried flowers or crushed gems into the channel.
Tip: Snip dried flowers into tiny sprigs so they fit the band.