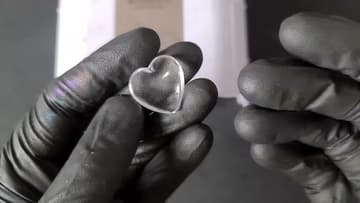
How to Fix Sticky UV Resin
Source: Daniel Cooper • Full tutorial: www.craftingstepbystep.com/resin-art/how-to-fix-sticky-resin
- Difficulty
- Easy
- Hands-on time
- About 30 minutes

Tools
- 36 watt UV lamp
- nitrile gloves
- clear mixing cups
- shot glass
- silicone molds
Materials
- UV resin
- water
- resin-specific pigment or dye
Steps
1. Read the Bottle Before You Blame the Resin
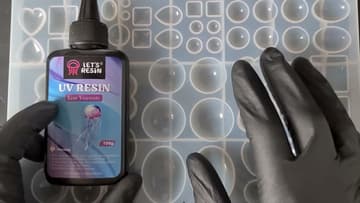
Every UV resin lists two numbers that matter: how long a cure takes, and what wattage lamp it expects. Those numbers are not interchangeable between brands, and a resin written for a 36 watt lamp will never cure properly under a keychain torch.
Tip: Cure times on the bottle assume a thin layer. Anything deeper than about a centimetre wants curing in stages, not one long blast. Watch this step
2. Understand What the Lamp Is Actually Doing
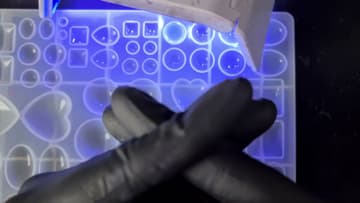
UV resin does not set by heating up the way two-part epoxy does. Light strips certain chemicals out of the mix and excites the rest into bonding with each other, building a solid three dimensional network.
Tip: A lamp with LEDs on the sides as well as the top makes a real difference on anything taller than a flat cabochon. Watch this step
3. Check Whether It Is Just Undercured
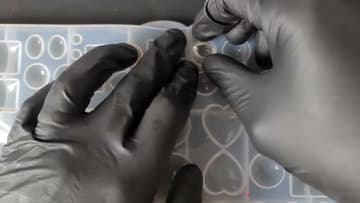
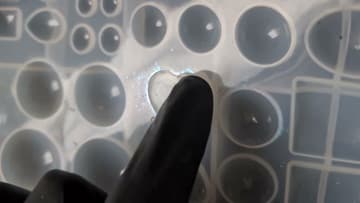
Press a gloved finger into the piece. If it flexes like firm jelly and drags at your glove, it is undercured, plain and simple.
Tip: Use a fresh glove finger for each test. Testing twice with the same spot spreads resin from the first piece onto the second and muddles the result. Watch this step
4. Re-Cure It for the Full Time and Test Again
Put the same piece back under a proper 36 watt lamp and give it the time the bottle asks for. Two minutes was enough here for a small piece that had come out tacky after a rushed cure, and the residue was gone.
Tip: Sunlight cures UV resin too, but slowly, and anything that lands on a tacky surface outdoors is stuck there permanently. Watch this step
5. Look at How Much Dye Went In
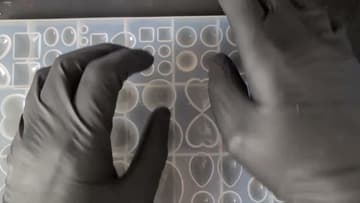
Too much colour is the second big culprit. Heavy liquid dye builds barriers through the resin that stop the molecules reaching each other, and it drops the viscosity so far that the mix behaves differently anyway.
Tip: Use dyes formulated for UV resin, and treat a drop as a lot. Alcohol inks and craft paint both interfere with the cure. Watch this step
6. Flip the Mould and Cure From Underneath
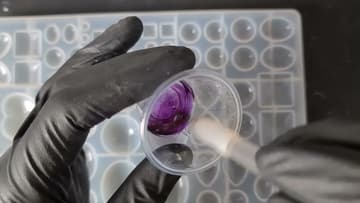
When a coloured piece is gooey in the middle, turn the mould over and put the lamp on the back of it. Silicone passes enough light through to reach the resin the top surface was shading.
Tip: Flip the whole mould rather than turning the piece out first. A half-cured piece deforms the moment you touch it. Watch this step
7. Recognise Oxygen Inhibition, the Real Culprit
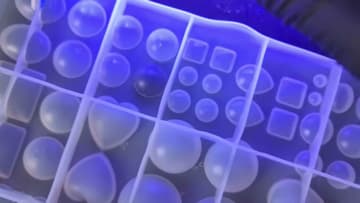
Tilt the mould and look at the surface of a piece that seems cured. If a thin wet film slides around on top of something that is solid underneath, that is oxygen inhibition, and it is the reason most people think their resin is faulty.
Tip: A desk fan blowing across your work makes this dramatically worse. Ventilate the room, not the piece. Watch this step
8. Put a Clear Cup Over the Mould
The simplest fix is to stop air moving across the surface. Sit a clear plastic mixing cup upside down over the filled cavity, then cure through it.
Tip: Nail technicians do the same thing with a sheet of clear plastic film laid over the surface. On resin that leaves sharper edges, so a cup is better. Watch this step
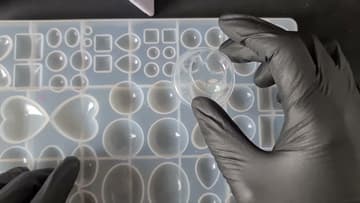
9. Cure the Sticky Piece Under Water
This is the rescue for a piece that is already tacky and out of the mould. Drop it into a shot glass of water and put the lamp over the top.
Tip: Use a glass, not plastic. Cloudy plastic scatters the light and slows the whole thing down. Watch this step
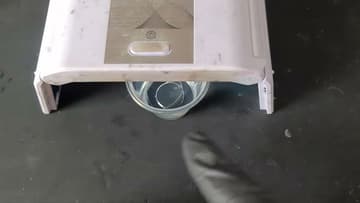
10. A Minute a Side and It Comes Out Clear
Give it about a minute, turn the piece over, and give it another. Clear pieces are fairly forgiving, but anything with colour or inclusions in it definitely wants both sides done, because the light will not get all the way through in one go.
Tip: Dry it on a lint-free cloth rather than paper towel. Freshly cured resin picks up fibres from anything fluffy. Watch this step