How to Sew Quilt Squares Together (Quilt-As-You-Go Method)
Source: Missouri Star • Full tutorial: www.craftingstepbystep.com/quilting/how-to-sew-quilt-squares-together
- Difficulty
- Medium
- Hands-on time
- About 1 hour
- Cost
- About $10 to $20
- Makes
- a joined section of quilt blocks
Tools
- Sewing machine
- Rotary cutter
- Cutting mat
- 6.5-inch quilting ruler
- Iron and ironing board
- Straight pins
- Fabric scissors
Materials
- Background cotton fabric (10-inch squares)
- Cotton quilt batting
- Coordinating cotton thread (50wt)
Steps
1. Gather Your Blocks, Batting, and Background Fabric
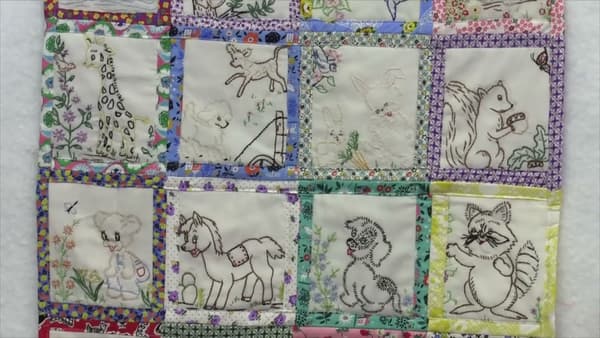
Quilt-as-you-go works with any blocks you have - vintage embroidered squares, charm pack precuts, your own pieced blocks. Jenny is using ten-inch background squares from a Moda print pack along with old embroidered blocks she rescued from antique shops over the years.
Tip: Vintage embroidered blocks are rarely the same size. Measure your largest block first, then cut every background square one inch bigger on all sides.
2. Center the Block on Batting and Background
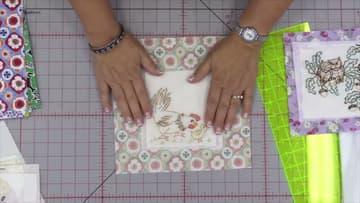
Cut a piece of batting a half-inch larger than your embroidered block. Center the batting on the wrong side of your background square, then center the embroidered block face-up on top of the batting.
Tip: If your embroidery runs right to the edge of the block (common with antique pieces), don't trim the block first.
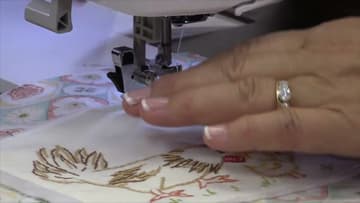
3. Stitch the Block Down to the Background
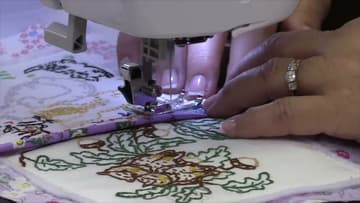
Move to the sewing machine and stitch the embroidered block to the background right along the edge of the block. Don't use a quarter-inch seam - go as close to the edge as you can without falling off.
Tip: A walking foot helps the three layers feed through evenly. If you don't own one, drop your top tension by one notch and pin every couple of inches around the block.
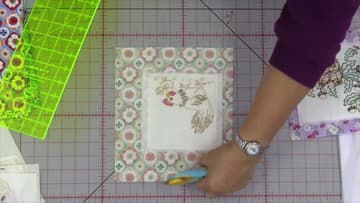
4. Trim the Background to a One-Inch Border
Lay your stitched block flat on the cutting mat. Set the ruler down so its edge sits exactly one inch out from the stitch line you just sewed.
Tip: Cut once, check twice. You can always trim more off, but you can't add fabric back.
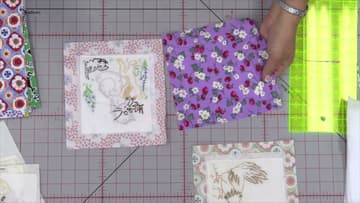
5. Pair Two Blocks Wrong-Sides Together
Here's the move that makes this method work. Take two finished blocks and lay them WRONG sides together - so both right sides face outward.
Tip: Pin generously through both blocks before sewing - three pins minimum down the seam line.
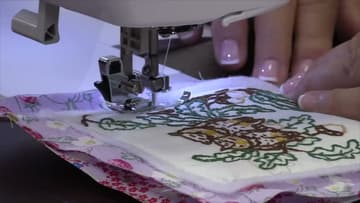
6. Sew the Two Blocks Together at the Inner Stitch Line
Take the pinned pair to the machine and sew along the original stitch line - the one you sewed in step 3 to attach the block to its background. That seam sits about one inch in from the raw edge.
Tip: Glance at the underside as you sew. It's easy to accidentally catch the embroidery on the other block in your seam. If you do, stop, pull the stitches, and start the seam over.
7. Press the Seam Open and Fold the Raw Edge Under
Open the joined pair and press the seam flat with an iron. Fold one of the raw flaps under as tightly as it will go - all the way down to the stitch line on the back.
Tip: If you'd rather not lose any of the embroidery to the fold, border each block with the same background fabric before joining.
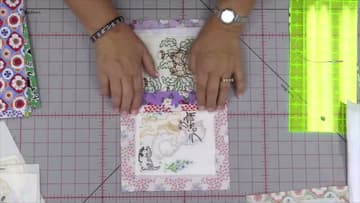
8. Top-Stitch the Folded Flap Down to Finish the Seam
Back at the machine, top-stitch the folded flap down right along the edge of the fold - not a quarter-inch in, right on the fold itself. This locks the seam closed and finishes the front of the quilt in one pass.
Tip: For the outside border of the whole quilt, fold the raw edge under twice and top-stitch - same fold, just doubled to hide every raw thread.