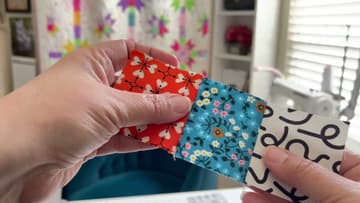
How to Sew a Quarter Inch Seam That Measures Right Every Time
Source: Sugar Stitches Quilt Co. • Full tutorial: www.craftingstepbystep.com/quilting/how-to-sew-a-quarter-inch-seam
- Difficulty
- Easy
- Hands-on time
- About 15 minutes

Tools
- Sewing machine
- Quarter-inch patchwork foot
- Magnetic or screw-on seam guide
- Quilting ruler with 1/4 inch markings
- Rotary cutter
- Self-healing cutting mat
- Iron
- Seam ripper
Materials
- Cotton quilting fabric scraps for testing
- 50 wt cotton piecing thread
Steps
1. Set the Seam Guide a Measured 1/4 Inch From the Needle
Drop the needle by hand so you can see exactly where it sits, then lay a quilting ruler flat on the machine bed with its edge touching the needle. Read across to the 1/4 inch line.
Tip: Measure to the needle itself, not to the hole in the plate. The hole is wider than the needle, and at this scale that difference is most of a scant.
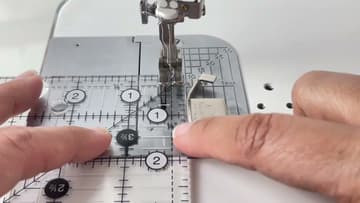
2. Slide the Guide One Thread Width In for a Scant Quarter Inch
Move the guide toward the needle by about the thickness of a sewing thread. On a magnetic guide that is a nudge with a fingernail, not a reposition.
Tip: If your machine can move the needle position, use that instead of moving the guide. One click of needle position is finer than anything you can push by hand.
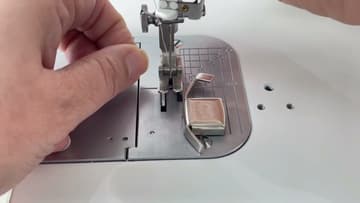
3. Check the Quarter-Inch Presser Foot Against the Seam Guide
Look at the gap between the right edge of the presser foot and the guide. Plenty of quarter-inch feet are made a touch under a true quarter already, so the two edges nearly meet with a sliver of daylight between them.
Tip: Feed the fabric against the guide rather than against the foot. The foot rides up over a thick seam allowance and lets the edge slip under it. The guide does not move.
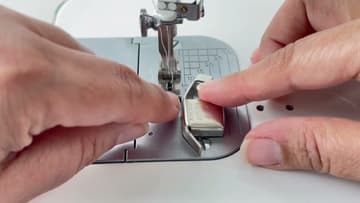
4. Butt the Raw Edges of Two 2 1/2 Inch Squares Against the Guide
Cut two squares at 2 1/2 inches, stack them right sides together, and line all four raw edges up. Slide the stack over so the right-hand edges sit flat against the guide along their whole length, not touching it at one end and drifting at the other.
Tip: Give the two squares a quick press together before you sew. A bubble between the layers reads as a wandering seam afterwards and sends you chasing the wrong problem.
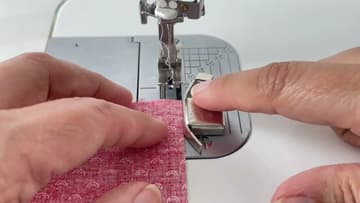
5. Sew the Test Seam With the Fabric Edge Riding the Guide
Stitch down the edge at a steady speed with the raw edges held against the guide for the full length of the seam. Do not pull the fabric through.
Tip: Sew the test at the speed you really piece at. A slow, careful test seam does not predict what happens when you are chain piecing forty units at full pedal.
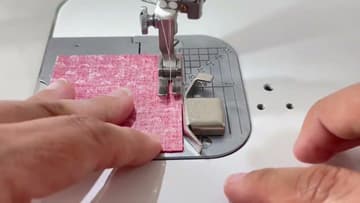
6. Lay the Quilting Ruler on the Sewn Pair and Read the Seam Against the 1/4 Inch Line
Set the ruler on the sewn pair with its edge exactly on the raw edges, not a hair over and not a hair short. Then look at the stitching line against the printed 1/4 inch line on the ruler.
Tip: If it is off, change one thing and sew a fresh test pair. Move the guide and the needle position together and you will have no idea which one fixed it.
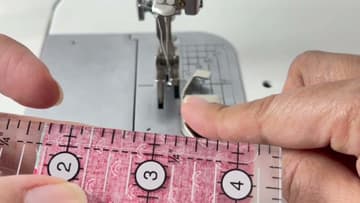
7. Check the Pressed Test Unit in the Fabric and Thread You Will Piece With
Press the seam and look at the unit flat. The squares should still read as squares, the seam should run straight, and the whole piece should lie dead flat instead of bowing along the stitching.
Tip: Write the setting down: guide position, needle position, thread weight, machine. Next time you sit down to piece you can set up in thirty seconds instead of testing from scratch.