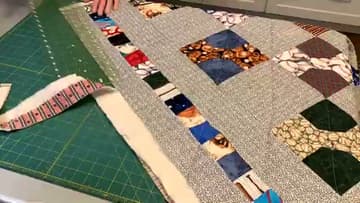
How to Machine Quilt: Beginner Straight-Line Quilting
Source: my sewing room • Full tutorial: www.craftingstepbystep.com/quilting/how-to-machine-quilt
- Difficulty
- Medium
- Hands-on time
- About 4 hours
- Cost
- About $25 to $50
- Makes
- 1 machine quilted and bound quilt, from an already pieced top
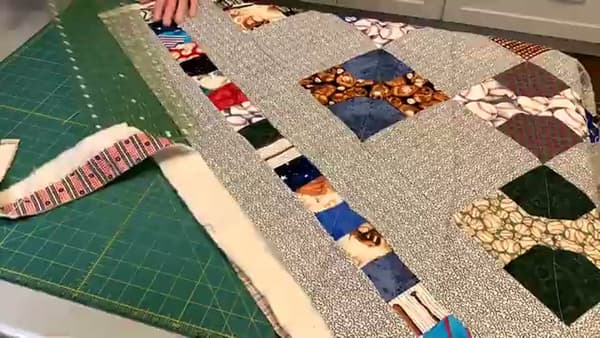
Tools
- Sewing machine
- Walking foot attachment
- Quilting needles (size 90/14)
- Quilting ruler
- Fabric scissors
- Thread snips
- Iron
Materials
- Cotton or polyester batting
- Backing fabric (a few inches larger than the top on each side)
- All-purpose thread to match the quilt top
- 505 spray basting adhesive
- 1-inch painters tape
- Binding fabric
Steps
1. Spray-Baste the Quilt Sandwich
Lay the batting flat on a clean surface and give it a light coat of 505 spray adhesive. The 505 is temporary and repositionable, which is the whole point - you can lift and smooth out wrinkles as you go without it bonding permanently.
Tip: Tape the backing fabric to the floor or table before spraying so it stays taut. Wrinkles in the backing turn into permanent puckers once you start stitching.
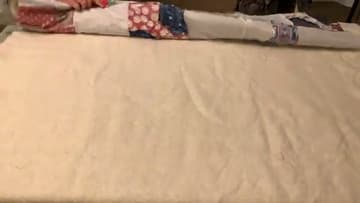
2. Set Up the Machine and Position the Quilt
Slide the basted quilt sandwich under the presser foot. Bunch the bulk of the quilt up to the left and over your shoulder if you're stitching across a large piece - the goal is to keep the section under the needle flat and unweighted.
Tip: If your machine drags or pushes the layers unevenly, swap the regular foot for a walking foot.
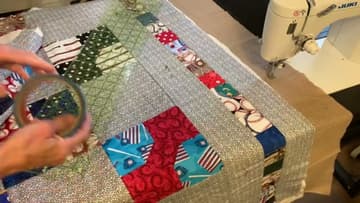
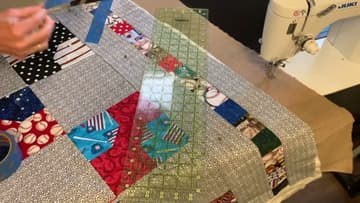
3. Mark the First Diagonal Line With Painters Tape
Pick a corner of a quilt block and lay your quilting ruler diagonally across to the opposite corner. The block seams give you reference points across the body of the quilt, so you can eyeball this line through the pieced section.
Tip: Painters tape is reusable for several rows. Peel it up after each line and stick it to the next row. One roll handles most quilts.
4. Stitch the First Diagonal Line
Start at one corner of the quilt and run a single diagonal line all the way across, using the block seams as your visual guide through the pieced section. Backstitch a few stitches at the start and end to lock the line.
Tip: Don't stop and start in the middle of a long line if you can avoid it. Restart points are visible on the finished quilt, even with matching thread.
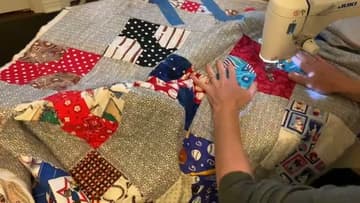
5. Reposition the Tape and Quilt the Next Rows
Peel the painters tape off the border and move it parallel to the line you just sewed, spaced one block over. Use the quilting ruler to confirm the angle stays consistent.
Tip: If a line drifts off-parallel by a quarter inch over a long quilt, leave it. It won't show on the finished piece. Re-stitching tends to leave needle holes.
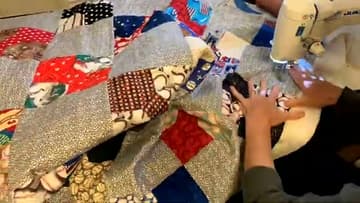
6. Turn the Quilt and Stitch the Opposite Diagonals
Once you've worked through all the diagonals in one direction, rotate the quilt 90 degrees and start the second set of diagonals running the opposite way. This creates the crosshatch pattern that holds the three layers together evenly.
Tip: Re-baste any spot that's lifted from the spray adhesive before you stitch over it. A loose layer in the middle of the quilt creates a tuck on the back that's a pain to unpick.
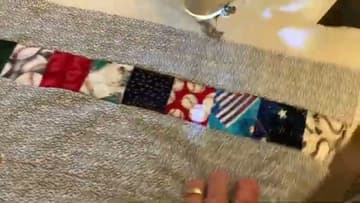
7. Trim the Edges and Bind the Quilt
Lay the quilted piece flat and use the quilt top as your trim guide. Run a rotary cutter along the edge of the top to slice off the extra batting and backing in one pass.
Tip: Cut binding strips at 2.5 inches wide and on the straight grain (not the bias) for a standard quilt. Bias binding is only needed for curved edges.