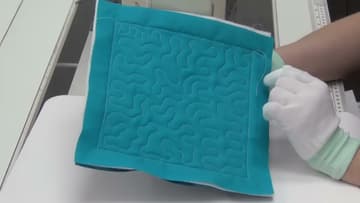
How to Free Motion Quilt on a Home Sewing Machine
Source: Leah Day Quilting • Full tutorial: www.craftingstepbystep.com/quilting/how-to-free-motion-quilt
- Difficulty
- Medium
- Hands-on time
- About 1 hour
- Cost
- About $15 to $30
- Makes
- 1 free motion quilted practice sandwich, about 9 inches square

Tools
- Sewing machine
- Free motion or darning foot
- Quilting gloves
- Slider sheet for the machine bed
- Rotary cutter and cutting mat
- Quilting ruler
- Seam ripper
Materials
- Cotton quilting fabric for practice squares
- Cotton batting
- 50 wt cotton quilting thread
- Quilting machine needles, 90/14
- Water soluble fabric marker
- Curved safety pins or basting spray
Steps
1. Fit the Free Motion Foot and Take the Feed Dogs Out of the Job
Swap the regular presser foot for a free motion foot, sometimes sold as a darning foot. It hovers a hair above the quilt instead of clamping it down, so the fabric can travel in any direction.
Tip: Fit a fresh quilting needle at the same time. Free motion drags thread through three layers at odd angles and a dull needle shreds it.
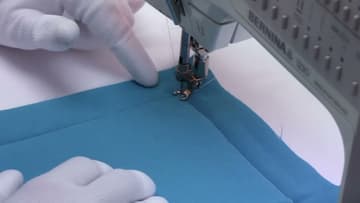
2. Pull the Bobbin Thread Up Through the Quilt Before the First Stitch
Lower the needle into the quilt and bring it back up, then give the top thread a small tug. A loop of bobbin thread comes up through the fabric with it.
Tip: Hold the two tails for the first three or four stitches, then snip them close to the surface later. Letting them flap means they get quilted over.
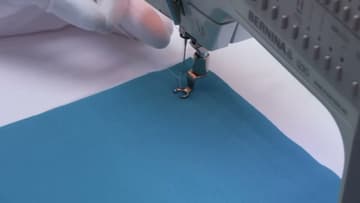
3. Rest Both Gloved Hands Flat on the Quilt Sandwich
Put a glove on each hand and lay both palms flat on the quilt, one either side of the needle, close enough to steer but clear of it. Your hands are the feed dogs now.
Tip: Bare hands slide over cotton. Gloves with grippy fingertips do more for your control than any machine setting, and a slider sheet on the bed takes the drag out from underneath.
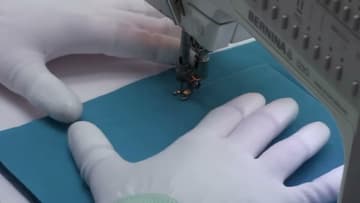
4. Move Your Hands Slowly Against a Steady Machine Speed
Hold the machine at one speed and change only how fast your hands move. Quick hands against a slow needle give you long stitches.
Tip: Keep the seam ripper out of reach for the first few blocks. Unpicking free motion stitching is slow, thankless work and practice squares are not meant to be perfect.
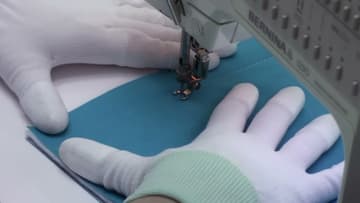
5. Quilt a Wandering Stipple Line That Never Crosses Itself
Stippling is one continuous line that curves back on itself in soft puzzle-piece lobes and fills the space as it goes. It has exactly one rule: do not cross a line you already stitched.
Tip: Leave a gap about as wide as one lobe between passes. Crowd them and the block goes stiff. Spread them out and the batting puffs up in patches.
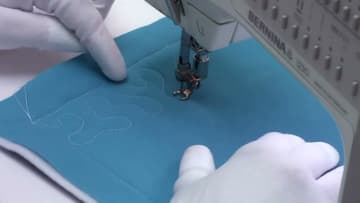
6. Warm Up With Rows of Simple U Shapes
Before you try to wander, quilt rows of plain U shapes across a practice block. Up and over, down and over, like a row of the letter U tipped on its side.
Tip: Boredom is the signal to move on. If the U shapes have stopped taking any attention, your hands have learned the movement and you are ready to bend them.
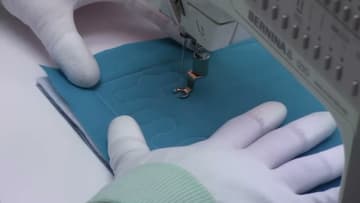
7. Draw the Quilting Design on the Fabric With a Water Soluble Pen
Mark the design on the quilt before you sit down at the machine. You are already steering the fabric and working the pedal, and route planning is the third job that tips it over.
Tip: Test the marker on a scrap of the same fabric and wash it out before you trust it on a quilt. Heat sets some inks permanently, so keep the iron off a marked top.
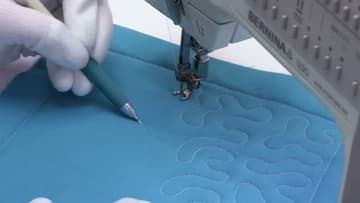
8. Fill the Block in Rows Instead of Wandering at Random
Fill the block the way you fill a page of writing. Quilt left to right across the top, drop down a row, work back right to left, drop down again.
Tip: On a full quilt, start in the middle and work outward in rows rather than starting at an edge. It pushes any excess fabric out to the borders instead of trapping it.
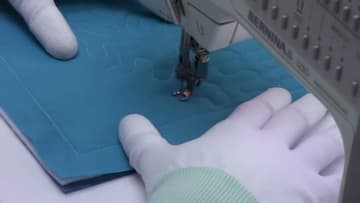
9. Quilt One Nine Inch Practice Sandwich Every Day
Cut a stack of nine inch squares, layer each one with batting and a backing square, and mark a seven inch box in the middle. That box is the target.
Tip: Cut the squares in one go with a rotary cutter so the stack is ready to grab. Anything that adds a setup step to daily practice is the reason the practice stops.