How to Bind a Quilt: 7 Step Beginner Guide
Source: HeirloomCreations • Full tutorial: www.craftingstepbystep.com/quilting/how-to-bind-a-quilt
- Difficulty
- Medium
- Hands-on time
- About 1 hour 30 minutes
- Cost
- About $8 to $15
Tools
- Rotary cutter
- Cutting mat
- Quilting ruler
- Sewing machine with walking foot
- Iron and ironing board
- Scissors
Materials
- Binding fabric (about half a yard for a lap quilt)
- Thread to match
- Pins or clips
- Your finished quilt top, batting, and back
Steps
1. Cut Binding Strips
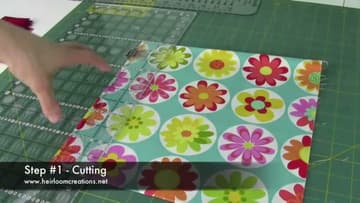
Cut binding strips between 2.25 and 2.5 inches wide using a rotary cutter and quilting ruler against a cutting mat. The narrower 2.25 makes a tighter binding; 2.5 gives more wiggle room when stitching the back down.
2. Sew Strips Together on the Diagonal
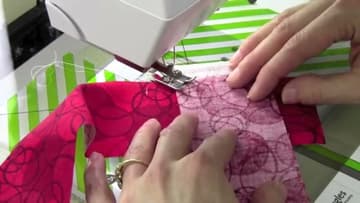
Lay two strips perpendicular to each other, right sides together. Stitch from corner to corner on the 45-degree diagonal so the seams won't bulk up under the binding when you sew it down.
3. Trim Seams and Press in Half
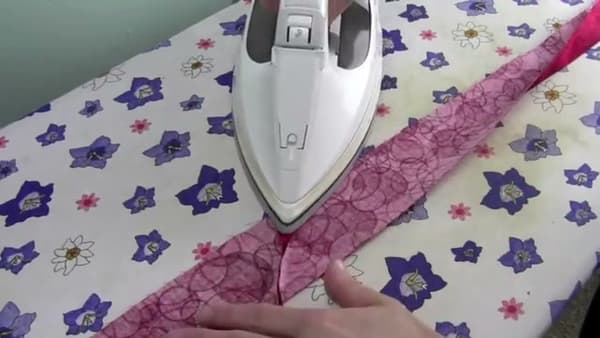
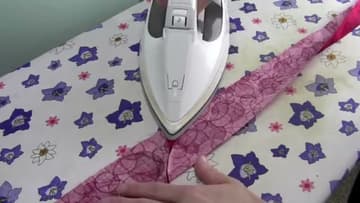
Trim each diagonal seam allowance to a quarter inch using scissors or a rotary cutter. Press the seams open so they lay flat under the iron - bunched seams cause lumps in the finished binding.
Tip: Wrap the pressed binding around a quilting ruler and tie with a ribbon if you're storing it for later - keeps it neat and uncreased until your quilt top is ready.
4. Attach Binding to the Quilt Front
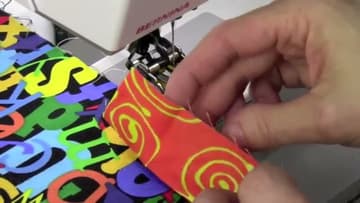
Switch to a walking foot on your sewing machine. Match the binding's raw edges to the raw edges of your quilt's front, leaving a 6-inch tail at the start.
5. Miter the Corners
As you approach each corner, stop exactly a quarter inch from the edge. Backstitch a couple of stitches and remove the quilt from the machine.
6. Tuck the End Into the Starting Pocket
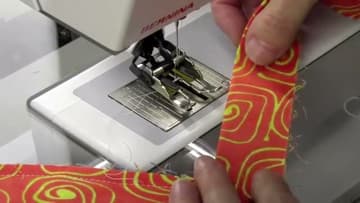
When you've stitched almost all the way around, trim the remaining tail at a slight angle. Tuck the trimmed end into the diagonal pocket you made at the start of step 4.
7. Press to the Back and Stitch Closed
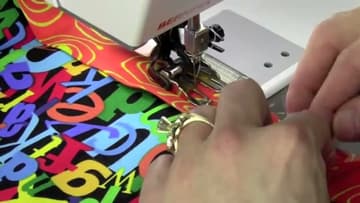
Press the binding away from the front of the quilt, then fold it over to cover the raw edges on the back. The pre-pressed centerfold makes it lay smoothly.
Tip: Use high-contrast thread in your bobbin - if you're hand-stitching the back, that visible thread line tells you exactly where to roll the binding edge to.