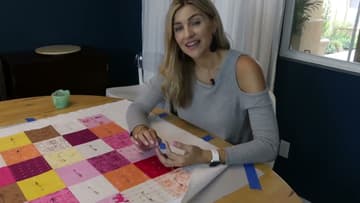
How to Baste a Quilt (Spray, Pin, and Thread Methods)
Source: Melanie Ham • Full tutorial: www.craftingstepbystep.com/quilting/how-to-baste-a-quilt
- Difficulty
- Easy
- Hands-on time
- About 1 hour
- Cost
- About $20 to $40
Tools
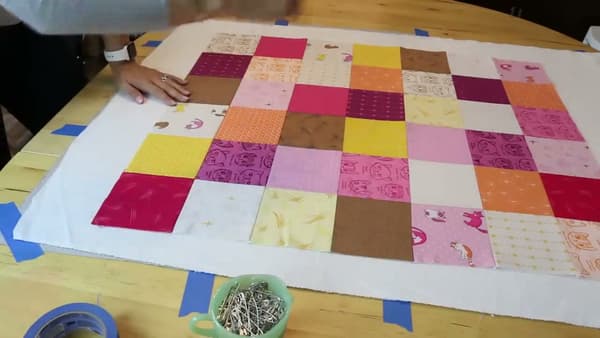
- curved safety pins
- painters tape
- iron
- scissors
Materials
- quilt batting
- backing fabric
- basting spray
Steps
1. Get Your Three Layers Ready
A quilt sandwich is three layers: the pieced quilt top on the front, batting in the middle, and a backing fabric on the bottom. The backing should be cut about 4 inches larger on each side than your quilt top, and the batting cut the same size as the backing.
Tip: If your backing fabric is narrower than your quilt top (most quilting cotton is 42 to 44 inches wide), you'll need to piece two lengths together with a center seam before basting.

2. Choose Your Basting Method
Three common methods, each with trade-offs: Spray basting with a product like 505 Spray and Fix is the fastest - you spray a fine mist of repositionable adhesive on each layer as you stack it, and the layers grip without pins. Works great but you need ventilation and a drop cloth, and some quilters skip it because...
3. Tape the Backing Down
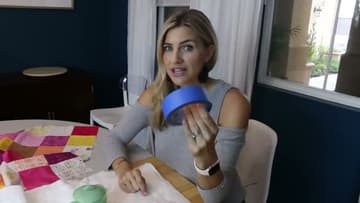
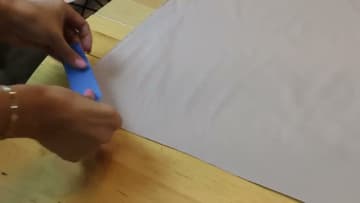
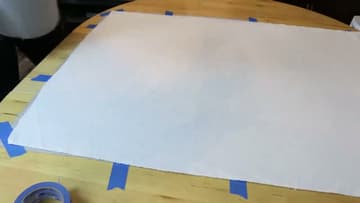
Lay the backing fabric wrong-side up on a clean, hard surface - a dining table or smooth floor works well. Pull the fabric taut, but don't stretch it.
Tip: Don't use masking tape or duct tape - they leave sticky residue on fabric. Blue painters tape is the only kind that's safe to peel off cotton.
4. Add the Batting on Top
Center the batting over the taped backing. Smooth it flat with your hands, working from the center outward to push any air bubbles or wrinkles toward the edges.
5. Center the Quilt Top
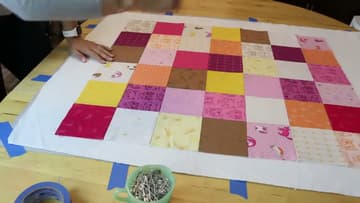
Place the pieced quilt top right-side up on top of the batting. Center it so you have an even border of batting and backing showing on all four sides - about 2 inches of margin minimum.
6. Start Pinning from the Center
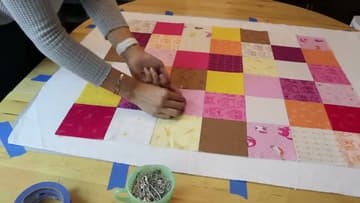
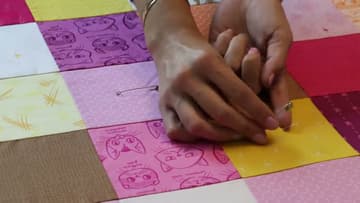
Curved safety pins are the trick here. The bent shape lets you push the pin down through all three layers and back up without having to lift the fabric off the table.
Tip: Slide a small ruler or quilter's plastic spoon under the fabric where you're pinning.
7. Place a Pin Every 4 to 5 Inches
Spread the pins across the entire quilt top in a rough grid pattern, about a fist's width between pins. That works out to roughly every 4 to 5 inches in both directions.
8. Untape and Trim the Excess
Once the whole quilt top is pinned, peel up all the painters tape from the backing. The pins hold the sandwich together now, so the tape isn't doing any more work.