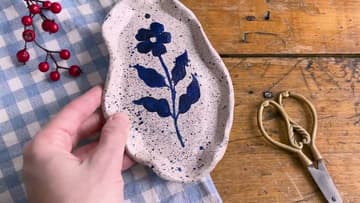
How to Use Air Dry Clay: Magnets and Dish in 6 Steps
Source: Shayda Campbell • Full tutorial: www.craftingstepbystep.com/pottery/how-to-use-air-dry-clay
- Difficulty
- Easy
- Hands-on time
- About 1 hour
- Wait time
- 36 hours
- Cost
- About $15 to $30
- Makes
- a set of clay magnets and 1 small dish
Tools
- Rolling pin
- Cookie cutters (round)
- Palette knife or butter knife
- Small bowl (for shaping the dish)
- Sandpaper or sanding sponge (fine grit)
- Acrylic paintbrushes (small flat + small round)
Materials
- DAS air dry clay (white)
- Acrylic paint (any colors)
- Clear acrylic sealer
- Strong neodymium disc magnets (for fridge magnets)
- E6000 craft glue (for attaching magnets)
Steps
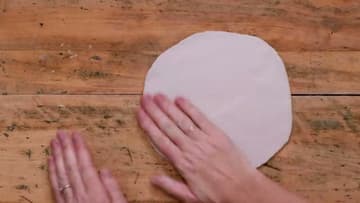
1. Roll Out the Clay
Take about half a package of clay and knead it for a minute to soften it. Place it on a clean flat surface (a non-stick mat or parchment paper underneath keeps it from sticking) and roll it out with a rolling pin.
Tip: If the clay starts sticking to the rolling pin, dust the pin with a tiny bit of cornstarch. Water makes the clay too sticky - cornstarch is the safer non-stick.
2. Cut Shapes for Magnets
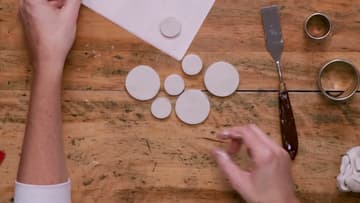
Press cookie cutters through the rolled clay - round shapes work best for fridge magnets, but any shape works. Lift each shape with a palette knife or butter knife so it doesn't deform.
Tip: You can use anything circular - bottle caps, the rim of a small glass, the inside of a roll of tape. No need to buy specific clay tools if you're just trying this once.
3. Shape a Small Dish
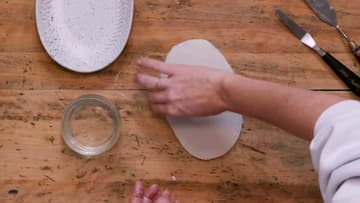
Roll out the rest of the clay to a slightly thicker 1/4 inch. Drape it over a small upside-down bowl or push it gently into the inside of a bowl to give it a slight dish shape.
4. Let Everything Dry, Then Sand
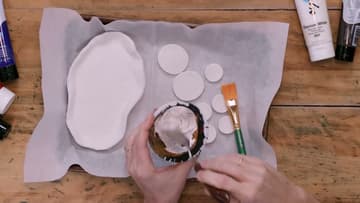
Move all the pieces to parchment paper or a wire rack. Let them dry overnight - 24 to 48 hours depending on thickness and humidity.
Tip: If a piece warps slightly while drying (the dish especially), don't worry. The painted finish hides minor warps and the imperfection adds to the handmade look.
5. Paint Your Pieces
Acrylic paint works beautifully on air dry clay. Use thin coats and let each one dry before adding the next.
6. Add Decorative Details (and Glue Magnets)
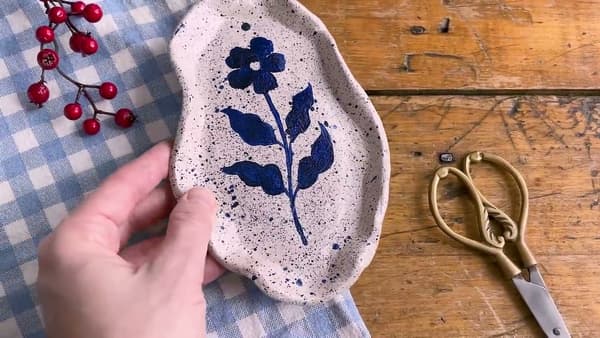
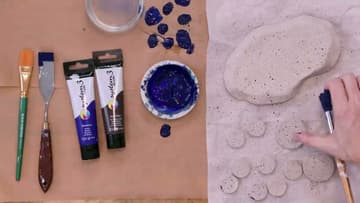
For a more finished look, paint decorative details on top of the base coat - little blue florals on a speckled white base reads as ceramic-like, perfect for the dish. Use a fine round brush for clean shapes.
Tip: E6000 is permanent and stronger than hot glue or super glue for magnets. The smell is intense - work in a ventilated area.