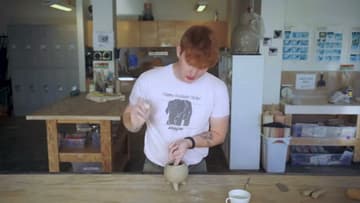
How to Make a Pinch Pot - Beginner Pottery in 7 Steps
Source: Benjamin Cahoon • Full tutorial: www.craftingstepbystep.com/pottery/how-to-make-a-pinch-pot
- Difficulty
- Easy
- Hands-on time
- About 25 minutes
- Wait time
- 48 hours
- Cost
- About $3 to $8
- Makes
- 1 pinch pot
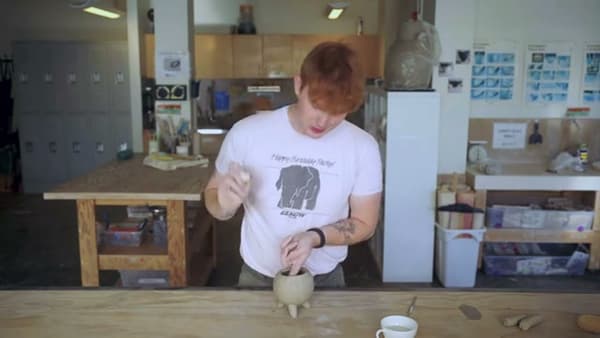
Tools
- Scoring tool (or fork, needle tool, pencil)
- Small cup of water
- Plastic bag (for slow drying)
Materials
- Pottery clay (handful, about a fist size)
- Stamp or texture tool (optional)
Steps
1. Roll the Clay Into a Ball
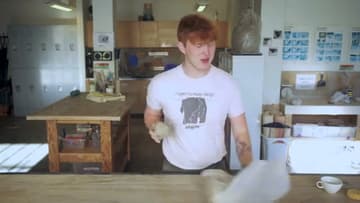
Tear off a piece of clay that fits comfortably in your palm. Smack it between your hands until it's a smooth round ball with no visible cracks.
Tip: Bigger ball means thicker walls and more time to work. Beginners do well with about a tennis-ball size for the first few pots.
2. Push Your Thumb Into the Center
Hold the ball in your non-dominant hand. Press your thumb straight down into the middle, stopping about a quarter inch before you'd punch through the bottom.
Tip: If you push too far and your thumb pokes through, just smush a small piece of clay over the hole and smooth it down. No restart needed.
3. Pinch and Rotate
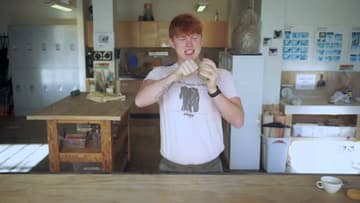
Pinch the wall between your thumb (inside) and index finger (outside) while slowly rotating the pot in your other hand. Think of yourself as making a tiny puppet's mouth open and close - small, consistent squeezes.
Tip: Keep the pot in your hands the whole time. Setting it down on the table flattens the bottom into an oval - one of the easiest mistakes to avoid.
4. Smooth Cracks With a Wet Finger
As you work, the clay in your hands dries out. Cracks usually show up first at the rim where the wall is thinnest.
Tip: Pinch pots are meditative. You can spin one for half an hour and barely notice.
5. Roll a Coil and Cut Three Legs
Optional, but turns the pinch pot into a planter that won't wobble. Roll a thick coil of clay between your hand and the table - a Play-Doh snake.
Tip: Make the legs short and stubby for a friendly look or long and thin for something more formal. The aesthetic is yours - just keep all three legs the same length.
6. Score and Wiggle-Squish to Attach
Scoring is non-negotiable. Use a needle tool, fork, or pencil to scratch a rough texture onto the bottom of the pot and the top of each leg.
Tip: Support the inside of the pot with one hand while you press a leg on with the other. Otherwise you'll punch a divot into the wall instead of fusing the leg.
7. Stamp Texture and Let Dry
Press a stamp, a leaf, the back of a spoon, or any textured object around the outside of the pot. Repetition is your friend - the same stamp pressed evenly around the form looks better than three different textures fighting each other.
Tip: If you're making a planter, poke a drainage hole through the bottom now while the clay is still soft. Forgetting this step means a pot that holds water and rots roots.