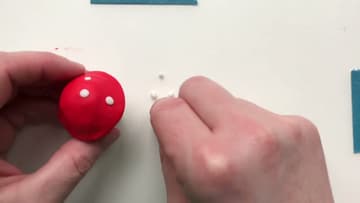
How to Make a Clay Mushroom (Easy Polymer Clay Toadstool)
Source: Merry Maker Studio • Full tutorial: www.craftingstepbystep.com/pottery/how-to-make-a-clay-mushroom
- Difficulty
- Easy
- Hands-on time
- About 20 minutes
- Wait time
- 30 minutes
- Cost
- About $2 to $4
- Makes
- 1 mushroom

Tools
- craft knife or kitchen knife
- pencil with an eraser
- oven
Materials
- white polymer clay
- red polymer clay
- baby wipes
Steps
1. Cut the White and Red Polymer Clay
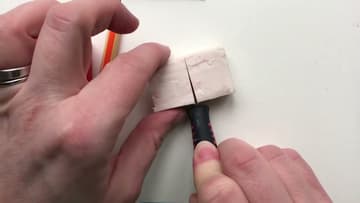
Gather white and red polymer clay, a craft knife and a pencil. Cut the white block in half; one half becomes the stem and the rest is for the dots.
Tip: Warm each piece in your hands for a minute so it rolls without cracking.
2. Roll the White Clay Into a Tapered Mushroom Stem
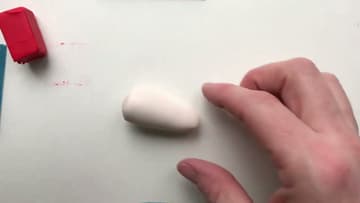
Roll the white clay into a smooth ball on the table, then roll it back and forth into a log. Now roll only one end under your fingers so it tapers, thick at the bottom and thinner at the top, like a real mushroom stem.
Tip: A slightly thick base helps the mushroom stand up on its own.
3. Roll Tiny White Clay Balls for the Mushroom Dots
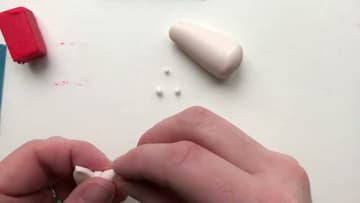
Cut off a small piece of the white and pinch off tiny bits. Roll each one into a little ball between your fingers or on the table.
Tip: Keep the dots on a clean sheet of paper so they do not pick up lint.
4. Press a Pencil Into the Red Clay Ball for the Cap
Roll the red clay into a ball. Push the eraser end of a pencil into the center, almost to the bottom but not through it.
Tip: If you push through the bottom, roll it back into a ball and start again.
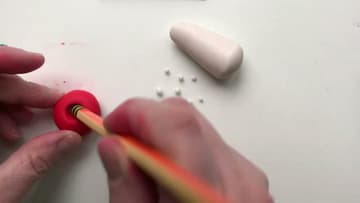
5. Pinch and Smooth the Red Clay Mushroom Cap
Put your thumb inside and your fingers outside, then pinch and turn, around and around, the same way you make a pinch pot. Stop when the cap is as wide as you want.
Tip: Do all the smoothing now. It is much harder once the cap is on the stem.
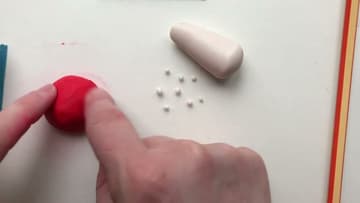
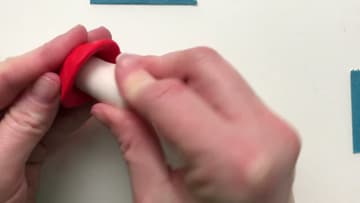
6. Twist the Red Cap Onto the White Mushroom Stem
Wash your hands well so no red ends up on the white stem. Pick up the stem and push the narrow end up into the hollow of the cap.
Tip: Hold the mushroom by the cap edges so you do not leave fingerprints on the stem.
7. Press White Dots Onto the Red Toadstool Cap
Pick up the tiny white balls one at a time and press them onto the cap. Place them at random, big and small, some near the top and some near the edge, the way spots look in nature.
Tip: Press each dot gently with a fingertip so it flattens a little and stays put.