How to Hand Build Pottery: 7 Step Beginner Guide (No Wheel Needed)
Source: Clay Corner Studio • Full tutorial: www.craftingstepbystep.com/pottery/how-to-hand-build-pottery
- Difficulty
- Easy
- Hands-on time
- About 45 minutes
- Cost
- About $10 to $20
- Makes
- a practice pinch pot, coil pot and slab pieces
Tools
- Wooden rolling pin
- Rolling guide sticks
- Pen tool / scoring tool
- Wire cutter or dental floss
- Wooden rib tool
- Damp sponge
- Clay knife
Materials
- Pottery clay (or air-dry clay for no-firing projects)
- Slip (clay mixed with water)
- Damp kitchen towel
Steps
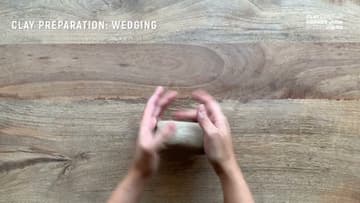
1. Wedge the Clay First
Wedging is a kneading technique that compresses the clay, removes trapped air bubbles, and makes the consistency uniform throughout. Skip this step and air pockets cause cracks during drying or firing - and uneven clay makes uneven pots.
2. Make a Pinch Pot
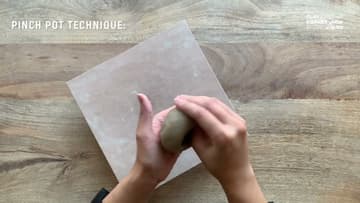
Roll the wedged clay into a smooth ball about the size of your palm. Push your thumb straight down into the center, stopping about half an inch from the bottom - thumb deeper than that and you'll punch through.
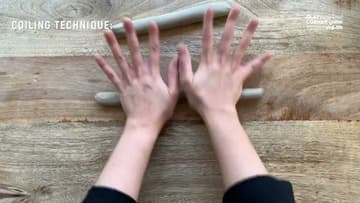
3. Roll Coils for the Coiling Technique
Take a chunk of clay about the size of an egg. Shape it into a thick rope between your hands, then place it on the table.
4. Score and Slip to Attach Coils
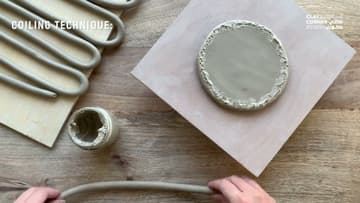
Build a base first - either a small pinched disc or a flattened ball. Use a pen tool or fork to scratch crosshatched lines on top of the base around the perimeter, then on the bottom of your first coil.
5. Stack and Smooth the Coils
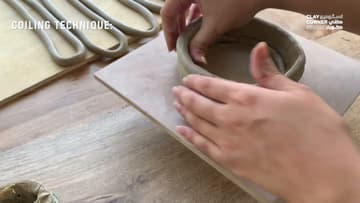
Add coil after coil, scoring and slipping each new one to the row below. Stagger the seams (where one coil ends) so they don't all line up vertically and create a weak spot.
6. Roll a Slab With Rolling Guides
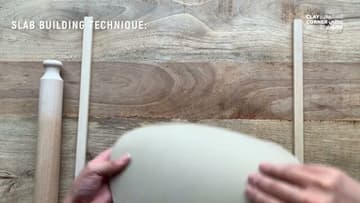
For slab building, lay two wooden rolling guide sticks (a quarter-inch thick) parallel on your work surface, about a foot apart. Pat your clay flat into a rough disc, place it between the guides, and roll over it with a rolling pin.
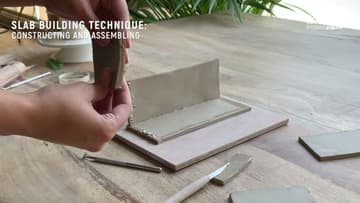
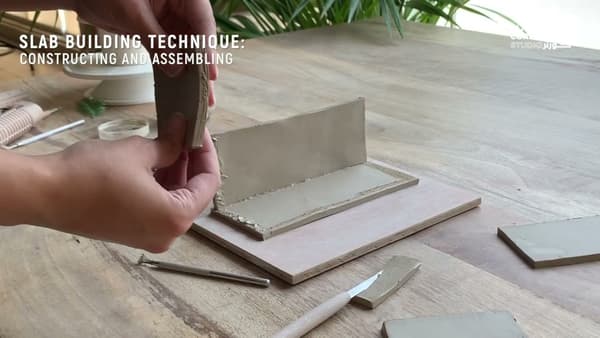
7. Cut and Assemble Slab Pieces
Cut shapes from the slab with a clay knife - a base, walls, and (optional) a top. Use paper templates to keep multiple pieces matching.
Tip: Don't try to combine all three techniques on your first project. Pick one - pinch pot is the easiest - and make a few simple bowls before adding coiled rims or slab feet.