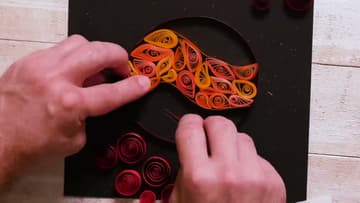
Paper Quilling for Beginners - 7 Basic Shapes and Your First Project
Source: HGTV Home • Full tutorial: www.craftingstepbystep.com/paper-crafts/paper-quilling-for-beginners
- Difficulty
- Easy
- Hands-on time
- About 30 minutes
- Wait time
- 30 minutes
- Cost
- About $5 to $10
- Makes
- 1 quilled paper design
Steps
1. Gather Your Quilling Supplies
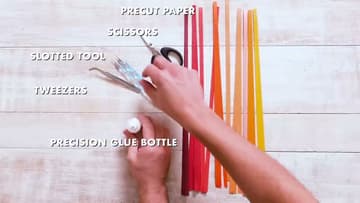
A starter kit gives you everything you need: a slotted quilling tool (a metal pen with a tiny slit at the tip), pre-cut paper strips in your color choice, a precision-tip glue bottle, a pair of tweezers, and small scissors. Kits run cheap online so you can try the craft before investing in nicer tools.
2. Roll a Tight Coil
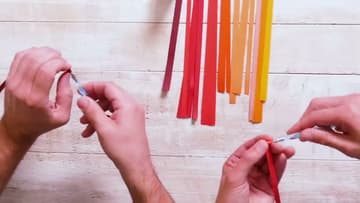
This is the foundation shape - every other shape starts with a tight coil. Slide one end of a paper strip into the slot at the tip of the tool.
Tip: If your coil looks like a tornado, ease pressure on the tool and let your fingers guide the paper into the same plane. Slow down - speed comes with practice.
3. Make a Loose Coil
Roll the strip exactly the same way as the tight coil. When you reach the end, slide the tool out and let the coil relax open in your fingers.

4. Pinch a Teardrop and Curved Teardrop
Start with a loose coil and glue the seam. Position the seam at the top of where you'll pinch - so when you squeeze, the seam is hidden inside the point you create.

5. Form a Marquee (Eye) and Slug
The marquee, also called the eye, is a loose coil pinched at BOTH ends to make a long oval shape. Glue the seam first, then pinch one side, then pinch directly opposite.
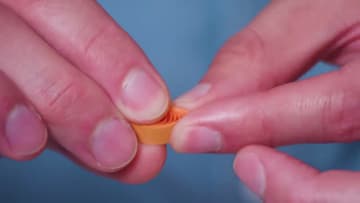
6. Shape a Square and Diamond
Both shapes start as a loose coil with a glued seam. For the square, pinch four points at 90-degree intervals around the coil to create four corners.
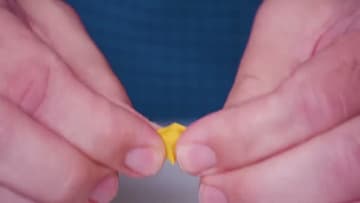
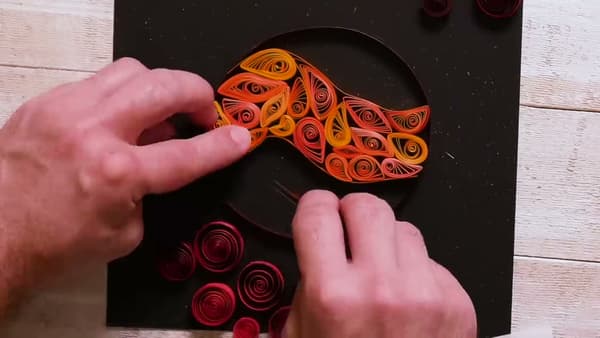
7. Combine the Shapes Into a Finished Piece
Pick a backing paper and trim it to fit a shadow box. Use a shadow box rather than a flat frame - the coils sit above the surface and a flat frame will press them down.
Tip: Group similar shapes and colors together when filling the design - random scattering looks chaotic, while clusters look intentional.