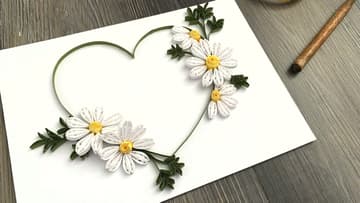
How to Paper Quill a Daisy
Source: The Papery Craftery • Full tutorial: www.craftingstepbystep.com/paper-crafts/how-to-paper-quill-a-daisy
- Difficulty
- Easy
- Hands-on time
- About 1 hour
- Cost
- About $5 to $10
- Makes
- 1 quilled paper daisy

Tools
- slotted quilling tool
- needle quilling tool
- small precision-tip scissors
- tweezers
- ruler
- cork work board
- straight pins
- needle-nose glue bottle
Materials
- 1/8-inch white quilling paper strips
- 1/8-inch pale yellow quilling paper strips
- 1/8-inch deep yellow quilling paper strips
- 1/8-inch leaf green quilling paper strips
- white craft glue
- wax paper
Steps
1. Gather Your Quilling Supplies
You need three colors of 1/8-inch quilling paper strips: bright white for the petals, pale and deep yellow for the center, and leaf green for the leaves. Grab a slotted quilling tool and a needle tool.
Tip: If you do not own a needle tool, you can do every step with the slotted tool. The petal coils just open up a little bigger.
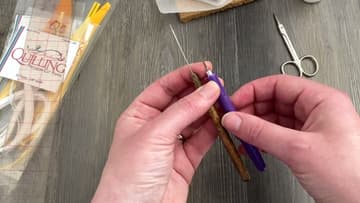
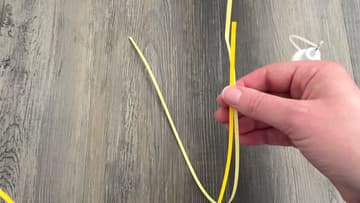
2. Build a Sandwiched Yellow Strip for the Center
The center gets a soft two-tone look from a strip with deep yellow on the outside and pale yellow peeking up the middle. Run a thin line of glue along the edge of a deep-yellow strip, then press a pale-yellow strip on top with the pale yellow sticking up just slightly above the deep edge.
Tip: One full 18-inch sandwiched strip makes three or four daisy centers. You can also work in shorter 4 to 6 inch chunks if you are nervous about going crooked.
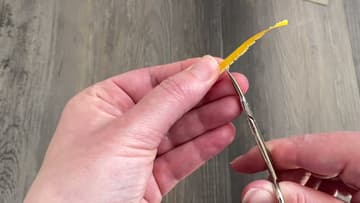
3. Fringe a 4 to 6 Inch Section
Tear off a 4 to 6 inch section of the sandwiched strip. With small precision scissors, make tiny snips all the way down the pale-yellow edge.
Tip: Keep your snips close together. The denser the fringe, the more lush the daisy center looks.
4. Roll and Dome the Fringed Center
Slip the unfringed end of the strip into the slotted tool and roll it from end to end into a tight coil. The fringe might tear in spots.
Tip: Roll slowly and keep tension consistent so the coil stays tight. A loose roll falls apart when you start adding petals.
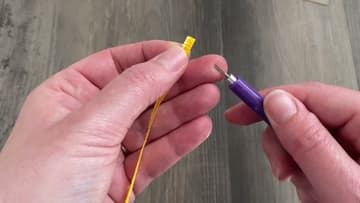
5. Make the White Petals (8 to 10 per Daisy)
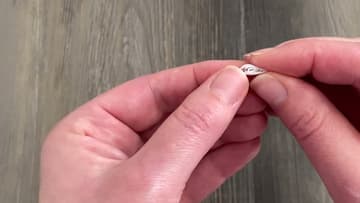
Each petal is two pinched teardrop shapes glued back to back. Roll a 6-inch white strip into a coil on the needle tool, slide it off, and let it relax in your fingers just enough to open up.
Tip: Leave the very top of the petal slightly open where the two halves meet. That little indent gives the daisy its classic shape.
6. Glue the Petals Around the Center
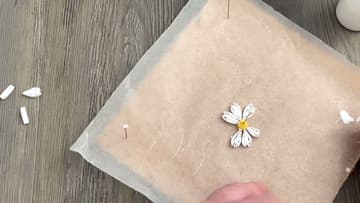
Lay your wax-paper-topped work board flat. Set the fringed yellow center in the middle.
Tip: Place petals opposite each other (top, then bottom, then sides) so the spacing stays even instead of bunching up on one side.
7. Add Green Leaves and Finish the Design
For the leaves, fold a 6-inch green strip in half, run a line of glue down one half, and press it flat. That double-thick strip dries stiff and works great as both stems and leaves.
Tip: Want a fuller bouquet? Make three daisies in different sizes (vary the length of the center sandwich strip) so they cluster naturally instead of all matching.