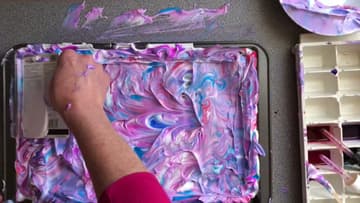
How to Marble Paper With Shaving Cream - Easy Kids Craft
Source: Happy Hooligans • Full tutorial: www.craftingstepbystep.com/paper-crafts/how-to-marble-paper-with-shaving-cream
- Difficulty
- Easy
- Hands-on time
- About 20 minutes
- Wait time
- 1 hour
- Cost
- About $5 to $15
- Makes
- a stack of 6 to 8 sheets

Tools
- baking tray
- plastic card or cardboard scraper
- craft stick or skewer
- droppers (optional)
- ice cube tray (optional)
Materials
- foaming shaving cream
- liquid watercolours or food colouring
- printer paper or cardstock
Steps
1. Gather Liquid Watercolours and Shaving Cream for Marbled Paper
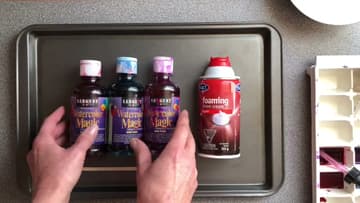
You need liquid watercolours or food colouring, a can of white foaming shaving cream, and a baking tray with a rim. Add a craft stick or a wooden skewer for swirling, and an old gift card, credit card or piece of cardboard for scraping.
Tip: Cover the table with a towel or an old cloth before you start.
2. Spray Foaming Shaving Cream Onto a Baking Tray
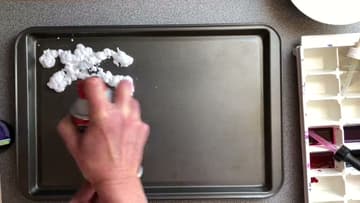
Spray the shaving cream across the baking tray until you have mounds covering most of the bottom. Use the white foaming kind, not gel.
Tip: A tray slightly larger than your paper makes it easier to get full coverage.
3. Spread the Shaving Cream Flat With a Plastic Card
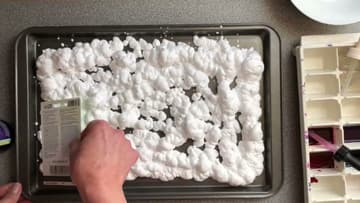
Take your plastic card and spread the foam evenly over the tray, the way you would ice a cake. You want a smooth, fairly level surface so the paper touches the colour everywhere when you press it down.
Tip: An expired gift card is the ideal spreader. It is stiff, thin and free.
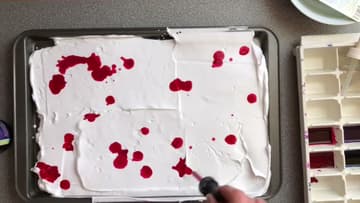
4. Drip Liquid Watercolour Over the Shaving Cream
Now drip your colours all over the shaving cream. Jackie starts with red, then adds pink, purple and blue until the white is dotted with colour.
Tip: Two or three colours that blend nicely give cleaner results than a whole rainbow.
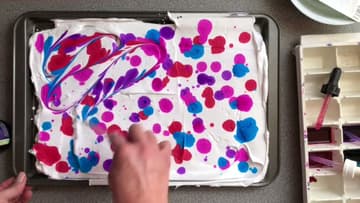
5. Swirl the Colours Through the Shaving Cream With a Craft Stick
Take a craft stick or skewer and drag it through the drops in loops and zigzags. The colours stretch into ribbons and feathers across the foam.
Tip: Try straight lines one way, then the other, for a feathered pattern.
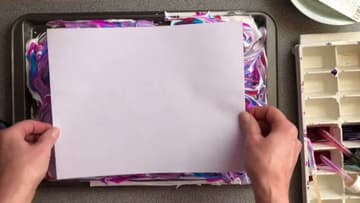
6. Press a Sheet of Paper Onto the Marbled Shaving Cream
Lay a sheet of paper on top of the shaving cream. Printer paper works fine, and cardstock works too.
Tip: Lower the paper from one side to the other to avoid trapping air bubbles.
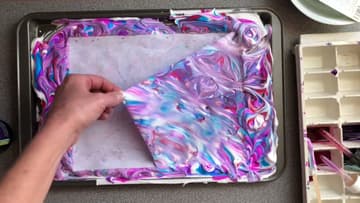
7. Lift the Paper Off the Shaving Cream Tray
Peel the paper up from one corner and lift it off the tray. The underside comes up coated in coloured foam, and you can already see the swirls showing through.
Tip: A short wait gives deeper colour. A few seconds is plenty.
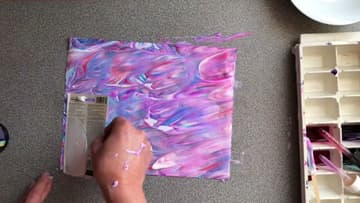
8. Scrape the Shaving Cream Off to Reveal the Marbled Paper
Hold the paper flat and drag your card across it to scrape the foam away. Wipe the card on the edge of the tray between passes.
Tip: Scrape in one direction only so you do not smear the pattern.
9. Add Fresh Colour to the Shaving Cream for the Next Sheet
You can keep using the same tray. Press a second sheet onto the foam, lift it and scrape it as before.
Tip: Make a test sheet each time you add colour so you can see how it has changed.
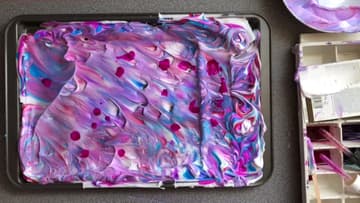
10. Smooth the Coloured Shaving Cream for a Softer Marbled Design
For a calmer look, drag your card across the coloured foam to smooth it flat. This blends the swirls into long streaks, and the next sheet comes out softer and more subtle.
Tip: Save the softer sheets for backgrounds. They make lettering easier to read.