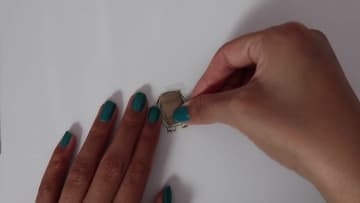
How to Make Stickers at Home
Source: Laurynn Ashley • Full tutorial: www.craftingstepbystep.com/paper-crafts/how-to-make-stickers
- Difficulty
- Easy
- Hands-on time
- About 20 minutes
- Cost
- About $2 to $4
- Makes
- a set of several stickers
Tools
- scissors
- ruler
- pencil
- old gift card (for smoothing)
Materials
- printer paper
- clear packing tape
- double-sided tape
- markers
- colored pencils
- thin cardboard (cereal box)
Steps
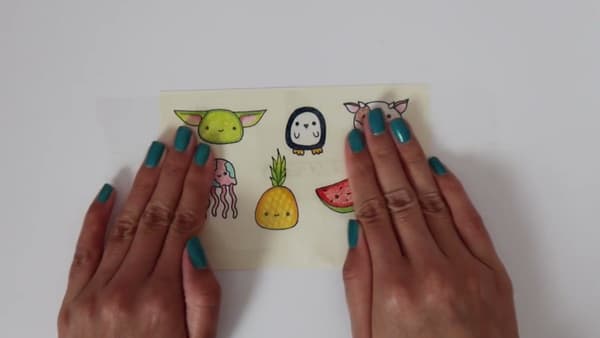
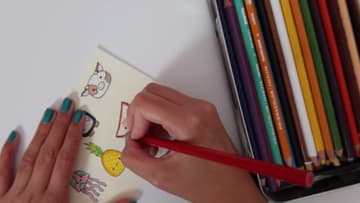
1. Draw and color your doodles on paper
Sketch your sticker designs on plain printer paper using a pencil or pen. Cute animals, food, plants, characters - anything you can draw works.
Tip: Avoid waxy crayons or oil pastels - they don't adhere well under packaging tape and can smudge.
2. Cover the front with packaging tape
Cut a strip of clear packaging tape long enough to cover all your doodles. Lay the tape sticky side down across the entire front of your design and press firmly with your fingers to adhere it.
Tip: Any clear tape works - regular Scotch tape, packing tape, even wide washi tape. Packaging tape is the best because it's wider so you cover more doodles in one strip.
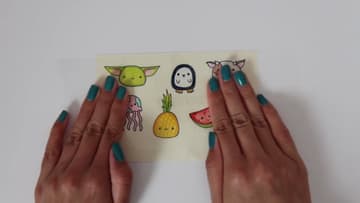
3. Flip and tape the back
Turn the paper over and add another strip of packaging tape across the back, same way - sticky side down. Smooth out the bubbles.
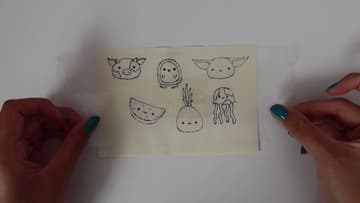
4. Cut out each sticker
Use scissors to cut out each doodle from the taped sheet. You can cut right along the edge of your design or leave a small white border around it - both look great, just be consistent within a set.
Tip: Sharp small scissors (embroidery or nail scissors) work better than full-size craft scissors for tight curves on small doodles.
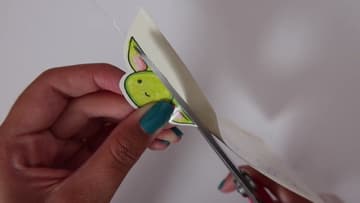
5. Add a double-sided tape backing
Flip each sticker over and stick a small piece of double-sided tape on the back. Don't peel off the protective layer until you're ready to use the sticker.
Tip: For permanent stickers (won't peel up), swap the double-sided tape for a thin layer of Mod Podge brushed on the back. It dries clear and bonds harder.
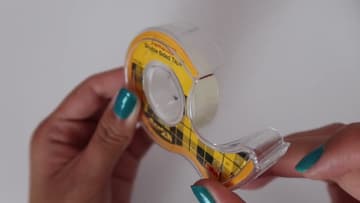
6. Try the puffy sticker variation
To make a puffy sticker, cut a small piece of cardboard to roughly match the size of your doodle. Sandwich the cardboard between the laminated doodle and the back layer of double-sided tape - so it goes: sticker → cardboard → double-sided tape.
Tip: Thin chipboard from a cereal box works great - thicker corrugated cardboard gives too much puff and makes the sticker hard to apply flat.