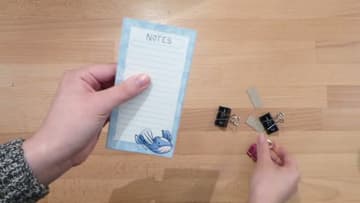
How to Make Personalized Stationery at Home: DIY Notepads
Source: Zaccura • Full tutorial: www.craftingstepbystep.com/paper-crafts/how-to-make-personalized-stationery
- Difficulty
- Easy
- Hands-on time
- About 1 hour
- Wait time
- 2 hours
- Cost
- About $2 to $5
- Makes
- 1 notepad of 30 pages

Tools
- computer and printer
- paper trimmer or scissors
- binder clips
- small paintbrush
Materials
- printer paper
- chipboard or a cereal box
- white PVA glue
Steps
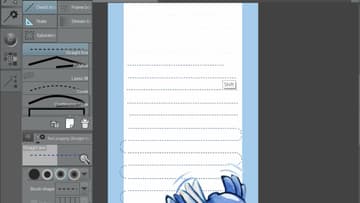
1. Design Your Personalized Notepad Page
Start with one page design at the exact size you want your notepad to be. Zaccura draws hers in Clip Studio Paint at 2.75 by 5.38 inches and 350 dpi.
Tip: No drawing software? A free tool like Canva works, or draw it by hand and scan it.
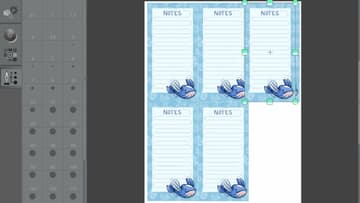
2. Arrange Six Notepad Pages on a Letter Size Sheet
Make a new canvas the size of your printer paper. For US letter that is 8.5 by 11 inches.
Tip: Line the pages up edge to edge with no gaps. It makes trimming much faster.
3. Print the Personalized Stationery Sheets
Print as many sheets as you want pages. Each sheet gives you six, so five sheets make a thirty page pad.
Tip: No printer at home? Most office supply stores print for a small fee.
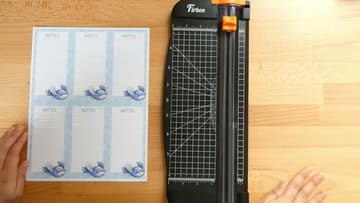
4. Trim the Printed Notepad Pages With a Paper Cutter
Cut the sheets apart along the edges of your design. A paper trimmer makes it quick and keeps every page the same size.
Tip: Small differences show up on a padded edge. Measure twice, cut once.
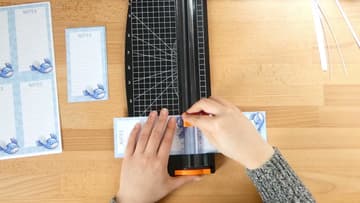
5. Cut a Chipboard Backing for the Notepad
Cut a piece of chipboard the same size as your pages. This stiff back lets you write on the pad without a table underneath.
Tip: A cereal box back looks fine, and nobody sees it once the pad is in use.
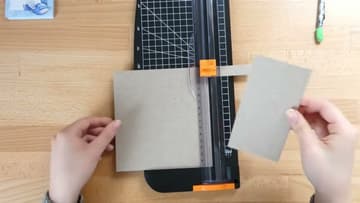
6. Line Up the Notepad Pages Against the Chipboard
Stack all your pages on top of the chipboard back. Tap the top edge on the table until every page lines up as evenly as you can get it.
Tip: Square the top edge, not the bottom. The bottom can be a little uneven.
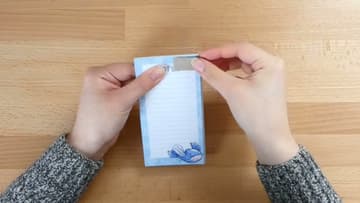
7. Clamp the Notepad Stack With Binder Clips
Hold the stack steady and clip it together with binder clips on both sides near the top. The clips press the pages tight so the glue cannot run down between them.
Tip: Large binder clips grip a thick stack better than small ones.
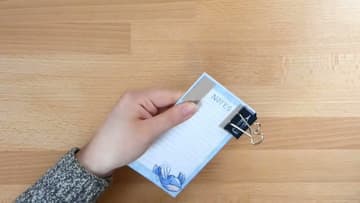
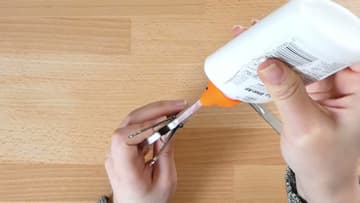
8. Squeeze Glue Onto the Top Edge of the Notepad
Hold the clipped stack with the top edge facing up. Squeeze a small line of white glue along it.
Tip: Work over scrap paper. White glue drips are hard to get off a wood table.
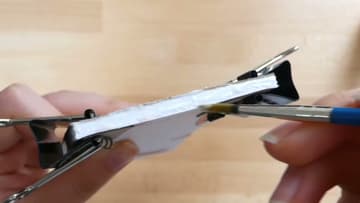
9. Brush the Glue Evenly Across the Notepad Spine
Spread the glue along the edge with a small paintbrush. Work it back and forth until the whole top is smooth and evenly covered, with every single page touched by glue.
Tip: Rinse the brush right away. Dried PVA glue ruins bristles.
10. Remove the Clips From Your Finished Personalized Notepad
Once the glue is fully dry, take off the binder clips and the protective strips. That is it.
Tip: Leave it overnight before the first tear. The glue keeps curing for hours.