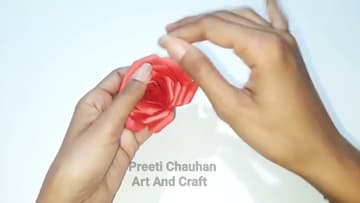
How to Make Paper Roses (Easy Layered Method)
Source: Preeti chauhan • Full tutorial: www.craftingstepbystep.com/paper-crafts/how-to-make-paper-roses
- Difficulty
- Easy
- Hands-on time
- About 20 minutes
- Makes
- 1 paper rose
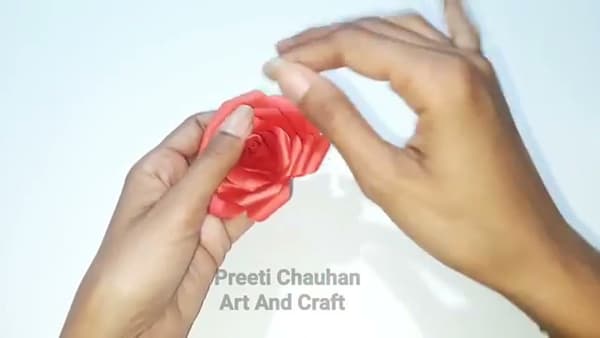
Tools
- Scissors
- Pencil or thin dowel (for curling petals)
Materials
- Red or pink craft paper (4-5 squares of decreasing size: 4", 3", 2.5", 2", 1.5")
- Glue stick or hot glue
- Optional: floral wire and green tape for stem
Steps
1. Cut Paper Squares in 5 Sizes
Cut 4 or 5 squares of craft paper in decreasing sizes. Start at about 4 inches for the outer layer and step down by about half an inch each time, ending with a 1.5-inch square for the center bud.
Tip: Use a paper cutter or ruler if you want clean square edges. Eyeballing it works fine too - the cuts get hidden once the petals fold around each other.
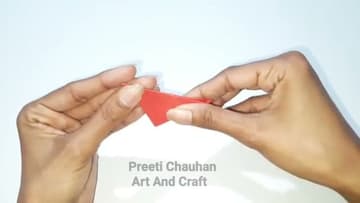
2. Fold and Cut the Flower Shape
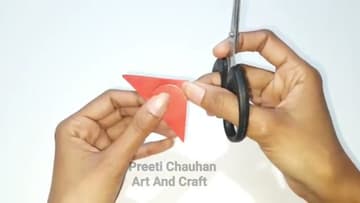
For each square, fold it in half, then in half again into a smaller square, then once more diagonally into a triangle. With the folded triangle, cut a rounded scallop along the open edge.
Tip: Cut a deeper scallop for sharper petal tips, or a shallower curve for softer rounded petals. Keep the cut consistent across all sizes so the layered rose looks uniform.
3. Lay the Shapes in Order
Unfold each flower shape and lay them out in order, largest on one side, smallest on the other. This is the order you'll work them into the rose.
Tip: If any flower has a torn or uneven petal, save it - you can still cut it down to a smaller size and use it as one of the inner layers.
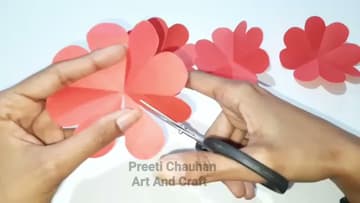
4. Curl the Petals Outward
Take a pencil or thin dowel. Press the tip of one petal against the dowel and roll the petal around it, curling the edge outward.
Tip: Curl gently. Pressing too hard creates a crease at the base of the petal that ruins the smooth curl. A loose, soft roll works better than a tight one.

5. Make the Center Bud
Take the smallest flower shape and cut one petal off so you have four petals remaining. Roll the four-petal piece tightly into a cone shape, with the cut edges meeting at the bottom.
Tip: Hot glue holds the cone shape better than glue stick, but glue stick is safer if kids are involved. Either works as long as the bottom is firmly stuck.
6. Layer the Next Flower Around the Bud
Take the next-smallest flower shape and slip it up around the bottom of the bud. Position it so the petals of this layer sit between the petals of the bud (alternating, not stacked directly behind).
Tip: If a petal won't curl outward and instead pokes inward, gently bend it the other way after gluing. The glue holds the layer in place; the petals can still be reshaped after.
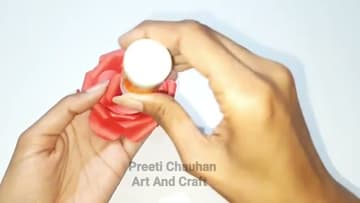
7. Build Up Through All Sizes
Repeat the layering with each progressively larger flower shape, alternating the petal positions between layers. The largest flower shape goes on last as the outermost layer of petals.
Tip: For a stem, push a piece of green floral wire up through the base before gluing the last layer, then wrap the wire with green floral tape.