How to Make Paper Mache
Source: Mr. Otter Art Studio • Full tutorial: www.craftingstepbystep.com/paper-crafts/how-to-make-paper-mache
- Difficulty
- Easy
- Hands-on time
- About 1 hour
- Wait time
- 8 hours
- Cost
- About $5 to $12
- Makes
- 1 paper mache bowl

Tools
- Mixing bowl
- Whisk
- Craft scissors
- Hole punch
- Foam brush
- Apron
Materials
- Newspaper
- All-purpose flour
- Water
- Plastic bag or cling film
- Masking tape
- Acrylic or tempera paint
- Mod Podge sealer
Steps
1. Cover the Table and Tear Your Strips
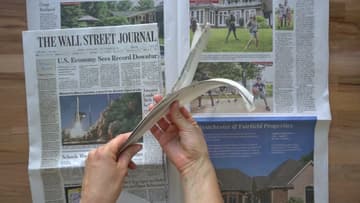
Lay newspaper over your whole work surface first. This gets messy and you will be glad of it later.
Tip: Tear the strips in half again if you are working on a small form. Long strips on a small bowl bunch up and leave lumps.
2. Whisk Up the Paste
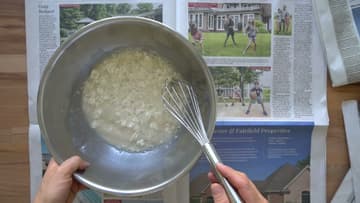
One cup of flour to two cups of water. Whisk it until the lumps are gone and it looks like pancake batter.
Tip: Too thick and the paper will not soak. Splash in a little more water and whisk again.
3. Wrap Your Form in a Plastic Bag
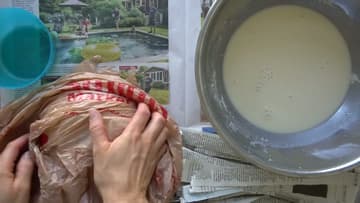
Pick any bowl as your form. Big, small, medium, it makes no difference to the method.
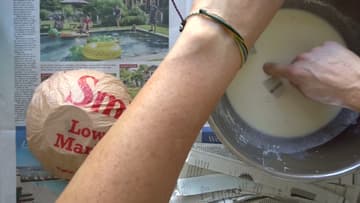
4. Dip a Strip and Lay It On
Push a strip down into the paste so it soaks through, then pull it between two fingers to strip off the excess. Lay it across the upturned form and smooth it flat.
5. Build Up Two to Three Layers
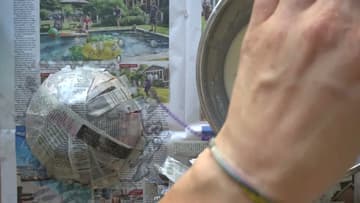
Keep laying strips until the form is covered, then go round again. Two to three full layers is the target.
Tip: Working over a balloon instead? Same method exactly. The balloon just rolls around more than a bowl does.
6. Smooth It Down and Leave It to Dry
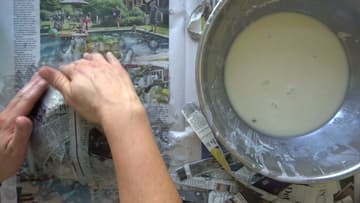
If a patch looks gooey and slimy, lay a dry strip over it and press. The dry paper soaks the extra paste straight up.
7. Lift Out the Form, Then Peel the Plastic
When the shell is hard, take the bowl out first and peel the plastic bag away second. That order matters.
Tip: If you taped the bag down, peel the tape off before you try to lift the form out.
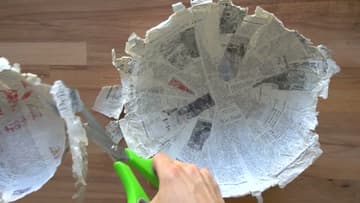
8. Trim the Rim
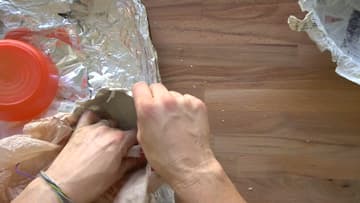
The top edge comes out tattered. Straighten it with scissors and it immediately looks like a finished object rather than an accident.
9. Paint It
Acrylic or tempera both work. Use the paint straight from the pot.
Tip: These bowls are not food safe. Dry snacks in a liner are fine, anything wet is not.
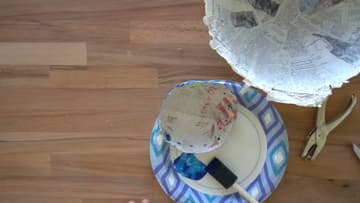
10. Or Cut a Decorative Edge and Seal It
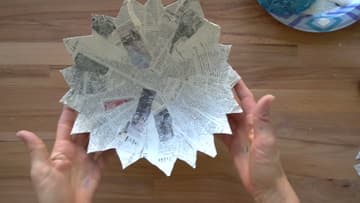
Bare newsprint looks good on its own. Cut the rim into points or petals with scissors and the newspaper print becomes the pattern.