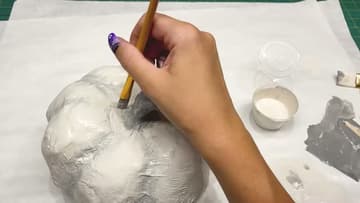
How to Make Paper Mache Pumpkins
Source: Cozy Craft Studio • Full tutorial: www.craftingstepbystep.com/paper-crafts/how-to-make-paper-mache-pumpkins
- Difficulty
- Easy
- Hands-on time
- About 1 hour
- Wait time
- 8 hours
- Cost
- About $5 to $12
- Makes
- 1 paper mache pumpkin

Tools
- Scissors
- Mixing bowl
- Glass jar
- Paintbrush
- Rubber gloves
Materials
- Plastic grocery bag
- Polyfill stuffing
- String
- Aluminium foil
- Newspaper
- White glue
- Flour
- Paper towel
- Acrylic paint
Steps
1. Stuff the Bag
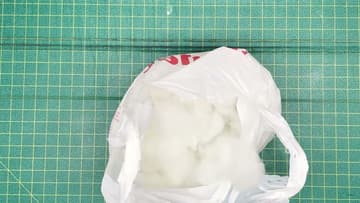
Push polyfill into a plastic grocery bag until it reaches the size of pumpkin you want. Fill it more for a big one, less for a small one.
Tip: You can leave the polyfill inside forever, but pulling it out later means you get it back for the next pumpkin.
2. Tie the Ribs
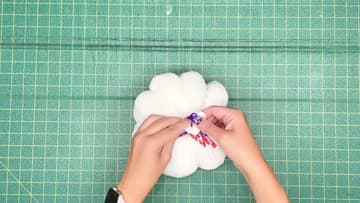
Run four lengths of string around the bundle, crossing underneath and pulling each one snug. Space them evenly.
3. Shape the Stem
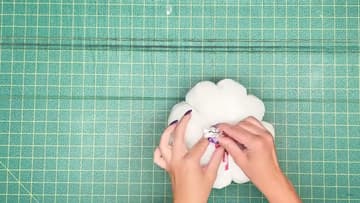
Twist the loose top of the bag up into a stalk. Wrap a piece of aluminium foil around it and squeeze it into the shape you want.
4. Tear the Paper and Mix the Paste
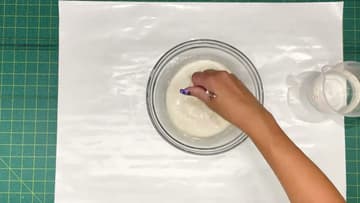
Tear newspaper into a decent pile of strips before you start. Once your hands are covered in paste you will not want to stop and tear more.
Tip: Water and glue alone works. So does water and flour. Using all three gives a paste that grabs well and still dries hard.
5. Lay the First Layer
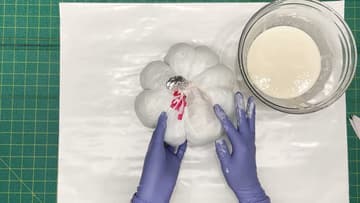
Cover your table first - freezer paper or newspaper both work. Dip a strip, pull the excess paste off between two fingers, and smooth it onto the form.
Tip: Gloves are optional but make cleanup much faster.
6. Do the Bottom
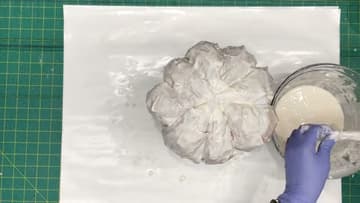
Let the top firm up a little, then turn the pumpkin over and cover the underside. Sitting it on a glass jar keeps it steady and off the table.
7. Pull the Stuffing Out
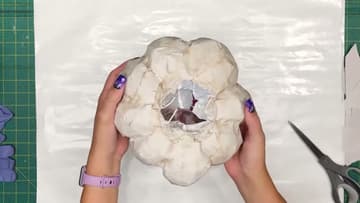
Add a second layer the same way as the first, then give it a couple of hours. Blot any wet paste near the opening with a paper towel so it does not soak the stuffing.
8. Patch the Opening
Sit the hollow pumpkin back on the jar and tear some wider strips than you have been using. Bridge the opening with them, smooth the edges down, and let it dry all the way through this time.
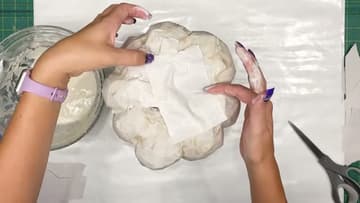
9. Smooth It With Paper Towel
Dried paper mache leaves sharp ridges where the strips overlapped. Some people mix up paper mache clay to fix this; a layer of paper towel is easier and works nearly as well.
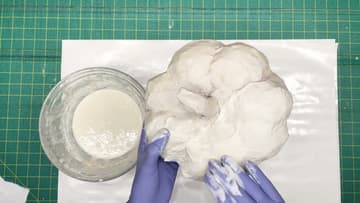
10. Paint It
Once it is bone dry, paint it. Work the brush down into the ribs where the shadows fall, and give the stem a separate colour so it reads as a stem.
Tip: Two thin coats beat one thick one - heavy paint pools in the grooves you worked hard to keep.