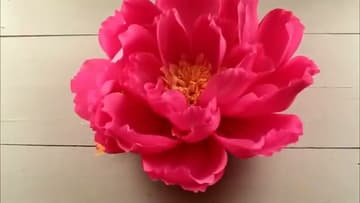
How to Make Giant Paper Flowers for a Wedding Backdrop
Source: Smile Mercantile • Full tutorial: www.craftingstepbystep.com/paper-crafts/how-to-make-giant-paper-flowers
- Difficulty
- Easy
- Hands-on time
- About 30 minutes
- Cost
- About $8 to $15
- Makes
- 1 giant paper flower
Tools
- scissors
- hot glue gun
- pencil
- floral wire
- ruler
Materials
- heavy crepe paper
- hot glue sticks
- paper plate
- floral wire
- command strips or mounting tape
- printable petal template
Steps
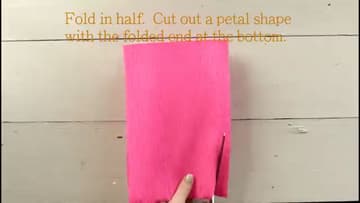
1. Cut the Petals from Folded Crepe Paper
Fold a length of crepe paper in half and cut a rounded petal shape with the fold running along the bottom. Cutting through the fold gives you two matching petals at once, and stacking a few layers first lets you knock out a whole batch in one go.
Tip: Watch this step Sketch one petal shape on cardstock and cut it out as a reusable template. Trace around it so every petal matches instead of drifting bigger as you go.
2. Stretch and Cup Each Petal
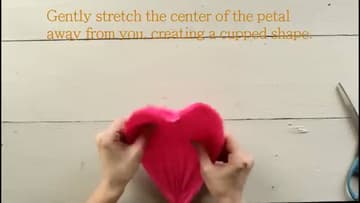
Take a petal and gently pull it open from the middle, stretching the crepe so it bows into a cupped shape. Work slowly - crepe paper stretches but it also tears if you yank it.
Tip: Watch this step Put your thumbs in the center and pull outward with even pressure. Stretching from the edges instead tends to leave a floppy petal with no shape.
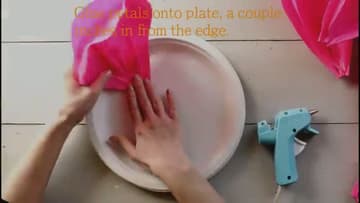
3. Glue the Outer Petals to a Paper Plate
Run a bead of hot glue along the base of a large petal and press it onto a paper plate, a couple of inches in from the rim. Work all the way around the plate, overlapping each petal slightly over the last so there are no gaps showing the plate underneath.
Tip: Watch this step A high-temp glue gun grabs crepe paper faster than a low-temp one, so the petal stays put instead of peeling back up while the glue cools.
4. Layer Petals Toward the Center
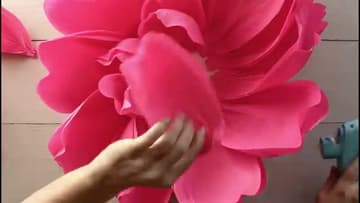
Keep going with more rings of petals inside the first, reaching for the smaller petals as you move toward the middle. Glue each new ring a little higher and more upright than the one before it so the flower builds up instead of staying flat.
Tip: Watch this step Stand back every few petals and look at the flower straight on. It is much easier to fix a thin spot now than after the center goes in.
5. Make and Add the Fringed Center
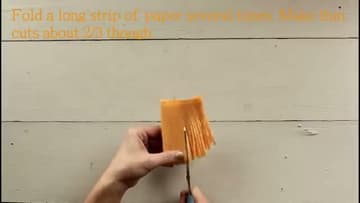
Grab a contrasting color for the center. Fold a long strip of crepe paper over on itself a few times, then snip thin cuts about two-thirds of the way through one edge to make a fringe.
Tip: Watch this step Do not cut all the way through the strip or the fringe falls apart. Leave a solid uncut band along the bottom to hold it together when you roll it.
6. Fluff, Finish, and Mount the Backdrop
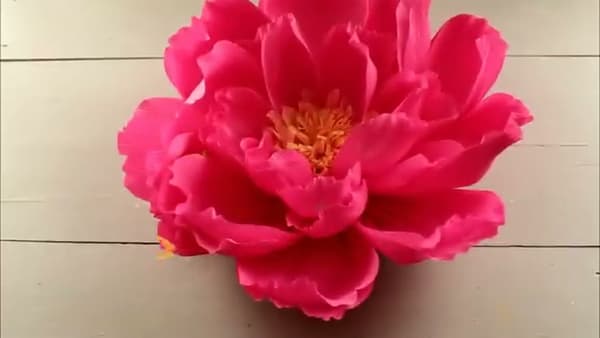
Go around the outside and stretch the petal edges to ruffle them, evening out the shape and hiding any glue lines. The finished bloom lands around 18 inches across with a flat plate back that sits close to the wall.
Tip: Watch this step Command strips hold these to a painted wall without leaving marks, which matters if you are decorating a rented venue.