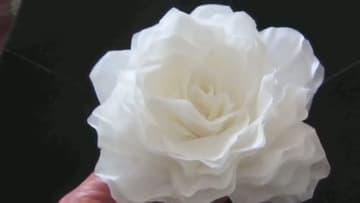
How to Make Coffee Filter Flowers (Elegant Rose Method)
Source: Margaret's Everyday • Full tutorial: www.craftingstepbystep.com/paper-crafts/how-to-make-coffee-filter-flowers
- Difficulty
- Easy
- Hands-on time
- About 30 minutes
- Cost
- About $3 to $6
- Makes
- 1 coffee filter flower
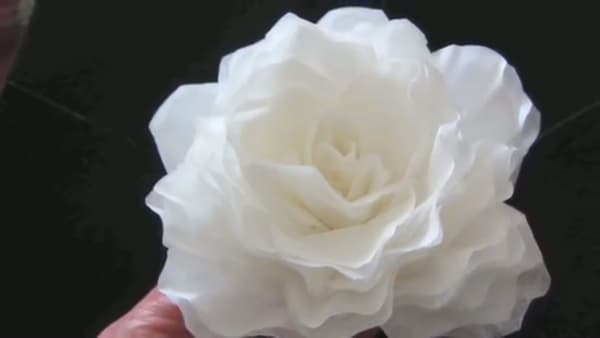
Tools
- scissors
- hot glue gun (low temperature)
- needle-nose pliers (optional, for the wire hook)
Materials
- white basket-style coffee filters (9 per rose)
- floral wire (one length per rose)
- hot glue sticks
- floral tape or green coffee filter (optional, for the stem)
Steps
1. Fold Nine Coffee Filters - Seven in Eighths, Two in Twelfths
Pull nine white basket-style coffee filters from the pack. Seven of them become the outer petals.
Tip: Keep your folds crisp - sharper folds mean cleaner petal edges later. Run a fingernail or the edge of a bone folder along each crease as you go.
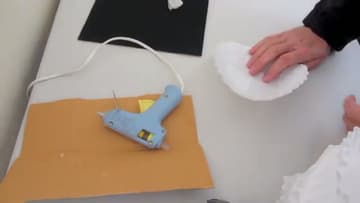
2. Cut an Ice-Cream-Cone Petal Shape From Each Filter
Hold the folded filter narrow-tip down and round-edge up. Cut from the round edge in toward the narrow tip in a curved arc, then around back to the other side.
Tip: Don't stress about precision. A rose has irregular petals in nature. Slightly wonky cuts make the finished flower look more organic, not less.
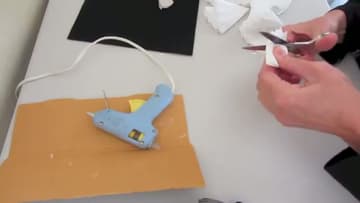
3. Cut the Joined Bottoms Into Little Heart Notches
Each folded filter still has its petals joined at the very bottom by the original fold. Snip a small V or heart shape out of that bottom seam.
Tip: Cut shallow - you only need a small notch, not a deep slice. Cutting too far up the fold weakens the petal where it meets the stem and makes it harder to glue.
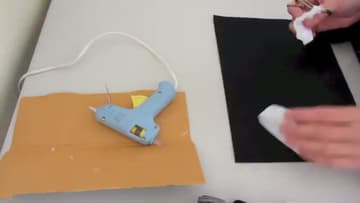
4. Bend a Hook on a Piece of Floral Wire
Take a length of floral wire - any 18 to 22 gauge length works. Bend the very top into a small loop or U-shape, like a tiny shepherd's crook.
Tip: If your floral wire is brittle and snaps when you bend it, try a thinner gauge or substitute a paper-covered florist stem - it's softer and bends without breaking.
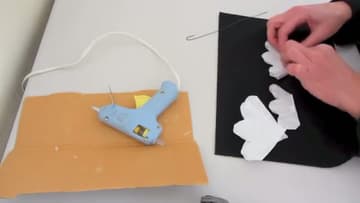
5. Form the Center Bud With One of the Twelfth-Folded Filters
Open one of the two center filters (the ones folded into twelfths). Pinch the bottom together to form a teardrop shape - rounded petals at the top, gathered point at the bottom.
Tip: Low-temp glue guns are friendlier on fingers and plenty strong for paper. The full-temp guns work too but they burn fast - keep a bowl of cold water nearby just in case.
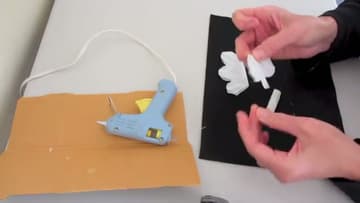
6. Glue the First Outer Petals Around the Center
Pick up one of the seven outer-petal filters. Open it flat, then gather the bottom edge to give it a slight cone shape.
Tip: Margaret holds the rose upside down while she glues. Gravity pulls the petals into a natural rose shape and you can see exactly where to add glue along the base.
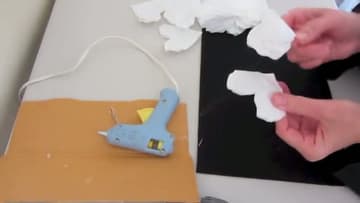
7. Layer the Remaining Petals Fanning Loosely Outward
As you add the last few filters, attach them more loosely. Don't pinch the base as tight - let the petals fan outward instead of pulling them upright like the center wraps.
Tip: You don't have to use all seven outer filters. Stop at four or five for a tighter rosebud, go all the way to seven or eight for a generous garden-rose bloom.
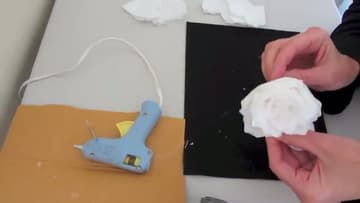
8. Finish, Curl the Edges, and Wrap the Stem
The rose is essentially done. For an extra touch, run a small wooden dowel or knitting needle along the outer edge of each petal to give it a soft curl - it makes the rose look even more like the real thing.
Tip: To dye the filters before folding, dip them in a shallow bath of water mixed with a few drops of food coloring or watered-down acrylic paint. Let them dry flat overnight.