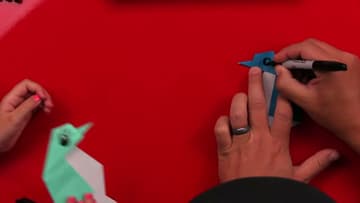
How to Make an Origami Penguin (Easy for Kids)
Source: Art for Kids Hub • Full tutorial: www.craftingstepbystep.com/paper-crafts/how-to-make-an-origami-penguin
- Difficulty
- Easy
- Hands-on time
- About 10 minutes
- Makes
- 1 penguin

Tools
- black marker
- white colored pencil (optional)
- bone folder (optional)
Materials
- square origami paper, 6 inch
Steps
1. Fold the Origami Paper Square Into a Triangle
Start with a square of origami paper, color side up. Take the bottom corner and fold it up to meet the top corner so you have a triangle.
Tip: A sharp first crease makes every later fold line up better.
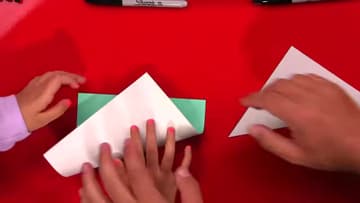
2. Fold the Penguin Wing Like a Paper Airplane
Turn the triangle so the long folded edge runs along one side. Take one corner and fold it down at an angle, the way you would start a paper airplane.
Tip: Leave a little white showing; that strip becomes the penguin's belly.
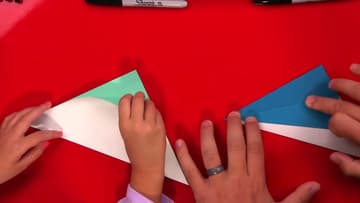
3. Fold the Second Penguin Wing to Match
Flip the paper over and repeat on the other side. Fold the matching corner down so its edge lines up with the fold you made a moment ago.
Tip: Hold the first wing flat while you fold the second so it does not shift.
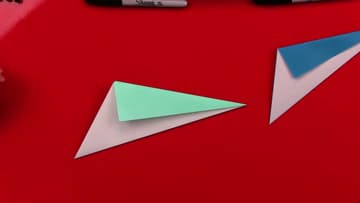
4. Make a Guide Fold for the Origami Penguin Head
Take the top point and fold it down to make the head. Make it fairly long; you can bring it down further than you think.
Tip: Run a fingernail or bone folder along the crease to make it sharp.
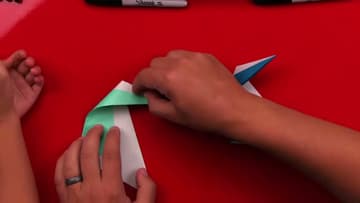
5. Reverse Fold the Origami Penguin Head
Open the penguin's body a little so you can see the guide crease inside. Flip the head point the other way along that crease so it turns inside out, then fold the body back together and squish it flat.
Tip: If it will not flip, open the layers wider and press the crease again.
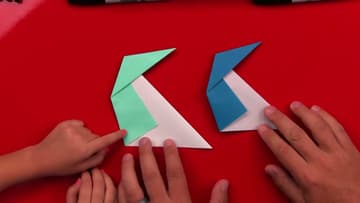
6. Make a Guide Fold to Flatten the Penguin Belly
The bottom of the penguin is pointed, so it will not stand yet. Take the bottom corner and fold it over until it meets the opposite edge.
Tip: The straighter this crease, the steadier your penguin will stand.
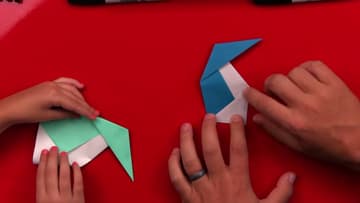
7. Tuck the Bottom Point Inside the Penguin Belly
Open the bottom layers a little, the same way you did for the head. This time push the point inside, reverse folding it along the guide crease so it disappears into the belly.
Tip: Feet are optional. The penguin stands either way.
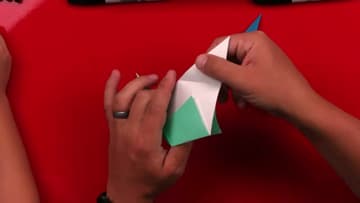
8. Make Guide Folds for the Origami Penguin Beak
The head sticks out a long way, so the beak comes from that tip. Fold the end of the head back toward the body to mark where the beak starts.
Tip: Start with a small beak fold. You can always make it bigger.
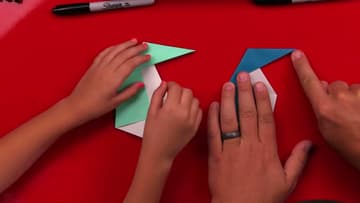
9. Tuck and Reverse the Origami Penguin Beak
Open the bottom of the head a little. Using the first guide crease, tuck the beak back inside the head so it disappears.
Tip: Press the beak between finger and thumb so it holds its point.
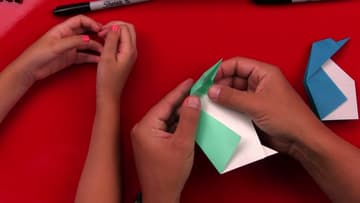
10. Draw Eyes on the Origami Penguin
Give your penguin eyes with a black marker. Draw a circle on one side of the head and color it in.
Tip: Eyelashes, rosy cheeks or a tiny bow tie all add personality.