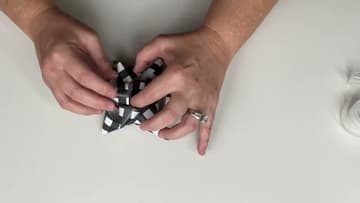
How to Make a Wrapping Paper Bow
Source: Melanie Ferguson - DIY Home Decor • Full tutorial: www.craftingstepbystep.com/paper-crafts/how-to-make-a-wrapping-paper-bow
- Difficulty
- Easy
- Hands-on time
- About 25 minutes
- Cost
- About $2 to $4
- Makes
- 1 wrapping paper bow

Tools
- scissors
- cutting mat or ruler
- stapler
Materials
- wrapping paper
- clear tape
- glue dots
Steps
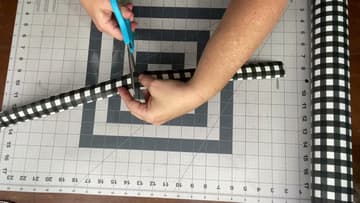
1. Cut 12 x 1.5 Inch Strips From the Wrapping Paper Roll
Unroll the wrapping paper on a cutting mat and cut three strips, each 12 inches long and 1.5 inches wide. On a patterned paper, line your cut up with the print so each strip shows the same run of checks.
Tip: Cut from the end of a roll you already used. The scraps are the right size and the bow will match the gift.
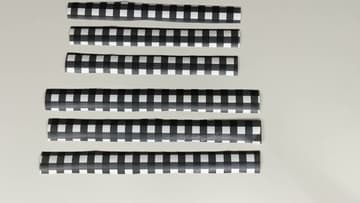
2. Cut Three Shorter Wrapping Paper Strips for the Inner Bow Layer
Cut three more strips at the same 1.5 inch width, but shorter. Melanie goes with 10 inches so the two layers look clearly different.
Tip: Two inches of difference between the long and short strips is the sweet spot. Less than that and the layers blur together.
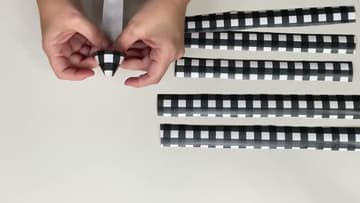
3. Fold One End of the Wrapping Paper Strip Into a Pointed Tip
Take a long strip, pattern side down. Fold one end back behind itself and pinch it into a small point, like the tip of a cone.
Tip: This fold is the whole trick. Practice it on a scrap strip a couple of times before you start on the good ones.
4. Fold the Wrapping Paper Strip Into a Figure-8 Loop and Pinch the Middle
Do the same fold on the other end of the strip, so you have a point at both ends. Bring the two loops together and pinch them in the middle.
Tip: If one loop comes out bigger, slide the paper through your fingers to even them up while it's still loose.
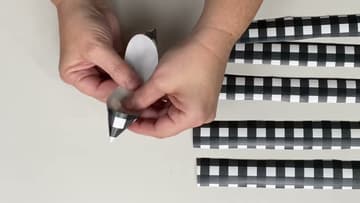
5. Staple the Figure-8 Wrapping Paper Loops Together at the Centre
Staple the first figure-8 through its middle. Make a second one, staple it, then lay it across the first at an angle and staple the two together.
Tip: Push the stapler in from the side so the staple lands dead centre, where the next layer will hide it.
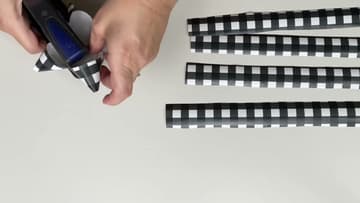
6. Add the Third Loop to Make a Six-Point Wrapping Paper Star
Fold and staple the third 12 inch strip the same way. Set it on top of the stack so its points fill the gaps between the first two.
Tip: Turn the star over and look at it from the top before stapling. It's easy to spot an uneven gap from above.
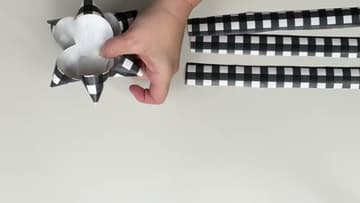
7. Nest the Smaller Wrapping Paper Star Inside the Larger One
Repeat steps 3 to 6 with the three 10 inch strips to make a smaller star. Drop it into the centre of the big star, turning it so its points sit between the big star's points.
Tip: Offsetting the points is what makes it look like a store-bought bow rather than two stars stacked up.
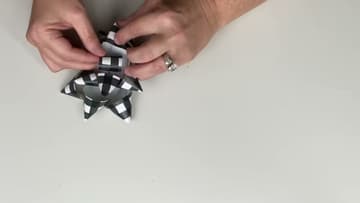
8. Roll and Tape a Small Wrapping Paper Loop for the Bow Centre
Cut a short scrap of wrapping paper, a few inches long. Roll it into a small ring with the pattern facing out and seal it with clear tape.
Tip: Eyeball which way you want the pattern to run before you tape. Melanie lines hers up with the checks on the star.
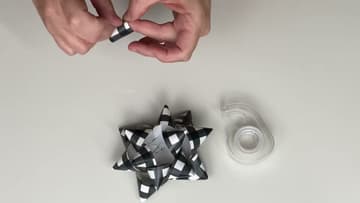
9. Set the Centre Loop and Fluff the Finished Wrapping Paper Bow
Press the small loop into the middle of the bow to cover the staples. Then fluff it.
Tip: Keep a couple of these made up in a drawer. They store flat enough and save you on Christmas Eve.