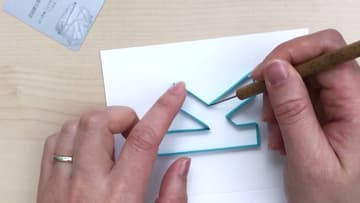
How to Make a Quilled Monogram Letter
Source: Paper Zen - Cecelia Louie • Full tutorial: www.craftingstepbystep.com/paper-crafts/how-to-make-a-quilled-monogram-letter
- Difficulty
- Easy
- Hands-on time
- About 30 minutes
- Cost
- About $1 to $5
- Makes
- 1 quilled letter card

Tools
- fine point tweezers
- quilling needle tool
- stiff plastic card
- scissors
- removable tape
- printed letter template
Materials
- quilling paper strips
- tacky glue
- white cardstock or blank card
Steps
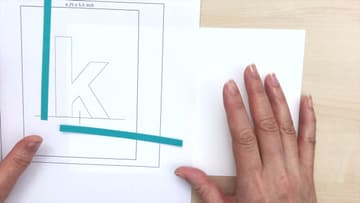
1. Lay the Quilling Strip Along the Monogram Letter Template
Print your letter and set it on your work surface, or transfer it onto the card you will glue to. Take a long quilling strip and lay it flat along the outline so you can see where it needs to go.
Tip: A guide box around the letter helps you center it on the card later.
2. Fold Sharp Creases Around the Quilled Letter Outline
Work your way around the letter, bending the strip at every corner. Pinch each fold firmly so the crease is crisp and the angle matches the template.
Tip: Crease with a fingernail for sharper corners than fingertips alone give.
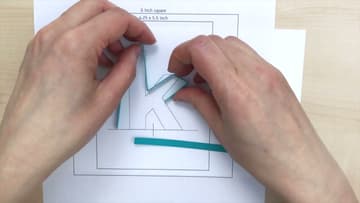
3. Check the Folded Strip Against the Letter Template
Before any glue goes on, stand the folded strip on its edge right over the template. Every side should line up with the printed outline.
Tip: Fold a little longer than you need. Trimming is easier than stretching.
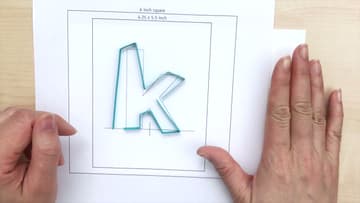
4. Tape a Plastic Card as a Straight Edge for the Letter
Find a stiff plastic card with a clean edge, like an old gift card or transit card. Line its edge up with the bottom of the letter and hold it in place with removable tape.
Tip: Removable tape lifts off the card without tearing the surface.
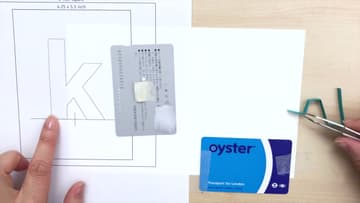
5. Glue the Bottom of the Quilled Letter Against the Card
Start with the bottom parts of the k. Dip only the lower edge of those segments in a little tacky glue, keeping the rest of the strip lifted.
Tip: Pour a small puddle of glue and dip into it. A bottle tip puts on too much.
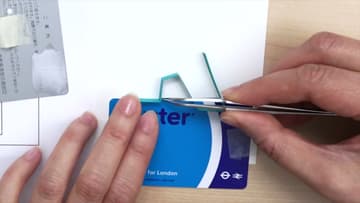
6. Turn the Card and Glue the Next Letter Segment
Lift the plastic card and move it to the next straight side. Turn your work around if that makes the glue easier to reach.
Tip: Corners are easy to move aside, so you can reach the segment behind them.
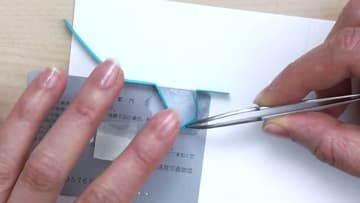
7. Guide the Long Strip Into the Corner of the Letter
Bring the card back to guide the long diagonal of the k into its corner. As you press down with one hand, give the strip a gentle tug toward the corner with the other.
Tip: A taut strip dries straight. A loose one dries wavy.
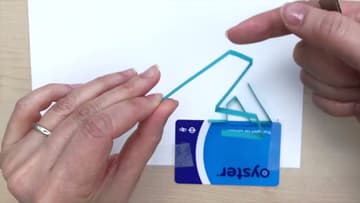
8. Set the Top Arm of the Quilled Monogram in Place
Move on to the top arm of the letter. Put glue only on the base of that part and set it on the outline with tweezers.
Tip: Nudge the strip against the outline with a fingertip to butt edges together.
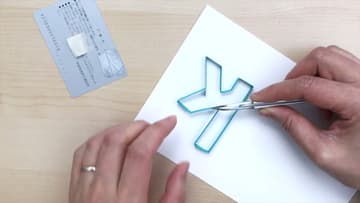
9. Glue the Final Corners to Finish the Quilled Letter
Pick up a small dot of glue on a needle tool. Push the last loose end aside, run the glue up the edge, and bring the two corners together.
Tip: Wipe the needle tool often so dried glue does not build up on the tip.