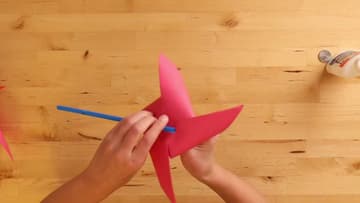
How to Make a Pinwheel
Source: The Kidsplainer • Full tutorial: www.craftingstepbystep.com/paper-crafts/how-to-make-a-pinwheel
- Difficulty
- Easy
- Hands-on time
- About 20 minutes
- Wait time
- 2 hours
- Cost
- About $2 to $5
- Makes
- 1 pinwheel

Tools
- Kids safety scissors
- Coin to trace the centre circle
- Scrap of cardboard or a notepad back
- Small bottle or jar to weigh the centre down
Materials
- Construction paper, 2 sheets in different colours
- White school glue
- Thumbtack or a brad
- Drinking straw
- Wooden dowel or chopstick (optional)
Steps
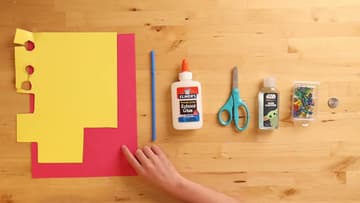
1. Lay out two sheets of construction paper, scissors, glue and a thumbtack
You need two sheets of construction paper in different colours, one for the pinwheel and a smaller offcut for the circle that covers the centre. Add scissors, white glue, a thumbtack, a drinking straw and a coin to trace around.
Tip: Set a scrap of cardboard aside now as well. You will push the thumbtack into it later so the point never reaches your table.
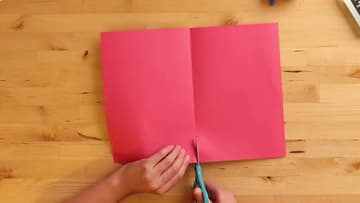
2. Fold the construction paper in half and cut along the crease
A full sheet makes a pinwheel too big to spin well, so halve it. Bring one short edge over to meet the other, line up the corners, then run your thumbnail down the fold to sharpen it.
Tip: Let your child do the creasing. A soft fold wanders when you cut it, and pressing the fold hard is the easiest part of the job to hand over.
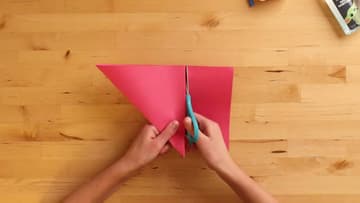
3. Trim the excess strip off the folded triangle to make a square
Take one half sheet and fold the top corner down until its edge lines up with the bottom edge. You get a triangle with a strip of paper sticking out past it.
Tip: Keep the strip. It is the right size for the centre circle in step 9 if you would rather not open a second sheet.
4. Fold the paper square corner to corner again to crease an X
Now fold the other way. Bring the two corners that have not been folded yet together, press the fold flat, and open the square out again.
Tip: Hold the square down with one hand while you press the fold with the other. Paper that slides mid-fold gives you a crease that misses the corner, and the arms come out uneven.
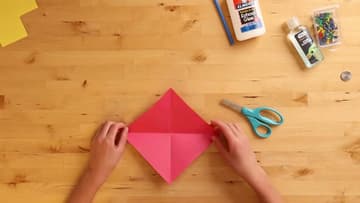
5. Cut along each crease of the paper square, stopping short of the centre
Four cuts, one per crease. Start at a corner and cut in along the crease line toward the middle, stopping a little past halfway.
Tip: A coin laid over the centre makes a handy stop line. Cut up to the edge of it and lift it away.
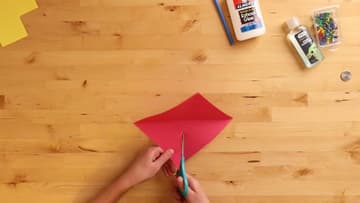
6. Dab glue on one side of all four cut paper points
Each cut has left two points at every corner. You want glue on one of them, the same one each time, all the way round.
Tip: Small dots. A puddle of glue soaks through construction paper and leaves a dark wet patch that never fully dries flat.
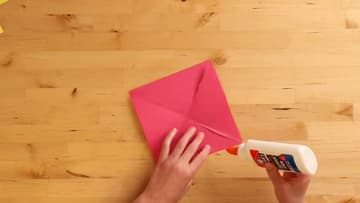
7. Curl every other paper point into the middle of the square
Pick up a glued tip and bring it to the centre without flattening it. The paper should bow up into a loop, not fold.
Tip: This is the step that decides whether the pinwheel spins. Curl, never crease. The loop is what catches the wind.
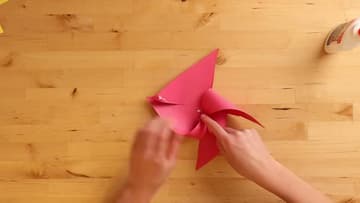
8. Set a bottle on the pinwheel centre while the glue dries
Four points held down by two hands is a stalemate, so swap your fingers for something with a bit of weight. Slide a small bottle over the stack of points, press down for a second, and let go.
Tip: A glue stick lid, a spice jar or a roll of tape all work. You are after weight and a flat bottom, not the bottle itself.
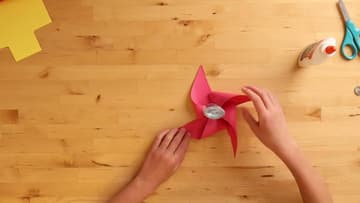
9. Glue a paper circle over the centre of the pinwheel
Cut a small square from the second sheet first, which is far easier to turn in your hand than a whole sheet, then trace a coin on it and cut the circle out. Put glue on the front of the circle and press it down over the gathered points.
Tip: A contrasting colour earns its keep here. Yellow on pink reads from across the garden, while pink on pink disappears.
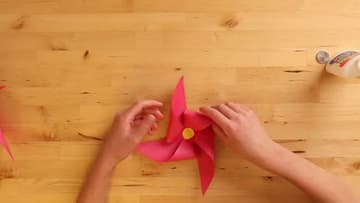
10. Push a thumbtack through the pinwheel centre and into the straw
Lay the pinwheel on a scrap of cardboard and push the thumbtack through the middle of the paper circle. This is the adult job.
Tip: If it will not spin, the tack is in too far. Ease it back until the pinwheel rocks loosely on the pin.