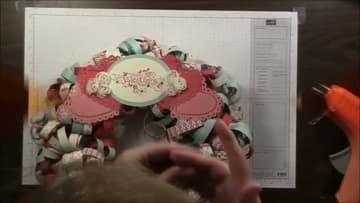
How to Make a Paper Wreath
Source: Sandy Risi • Full tutorial: www.craftingstepbystep.com/paper-crafts/how-to-make-a-paper-wreath
- Difficulty
- Easy
- Hands-on time
- About 1 hour 30 minutes
- Cost
- About $15 to $30
- Makes
- 1 paper wreath, about 10 inches across

Tools
- paper trimmer
- scissors
- hot glue gun
- bone folder
Materials
- 10-inch extruded foam wreath form
- patterned 12x12 scrapbook paper
- coordinating cardstock
- flat-head sequin pins
- paper doilies
Steps
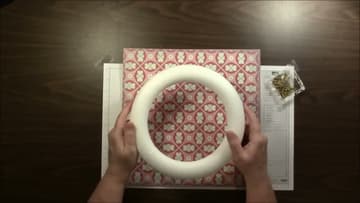
1. Gather the Form, Paper and Pins
Start with a solid extruded foam wreath form. Squeeze it: if it crunches and sheds little white beads, it is the wrong kind and pins will not hold in it.
Tip: Buy more pins than you think you need. A packed 10-inch wreath eats a couple of hundred of them.
2. Trim the Sheets Into Strips
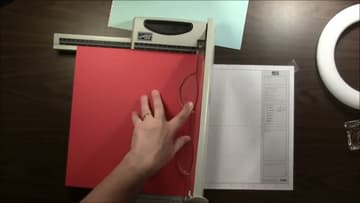
Run each sheet through a paper trimmer into long even strips. Even is what matters here, not exact, because a strip that tapers will curl lopsided and stand out on the finished wreath.
Tip: A guillotine trimmer beats scissors for this. Two hundred hand-cut strips is how a fun project turns into a chore.
3. Sort the Strips by Pattern
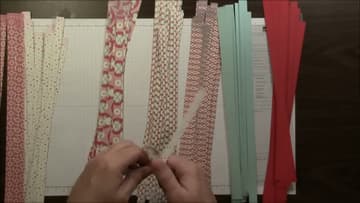
Fan the cut strips out across your mat and group them by pattern. You are going to be grabbing these without looking for the next hour, so having the piles separated means you can alternate colours as you go instead of ending up with all the red in one quarter of the wreath.
Tip: Count your piles. If one pattern is running short you want to know now, not with a quarter of the form still bare.
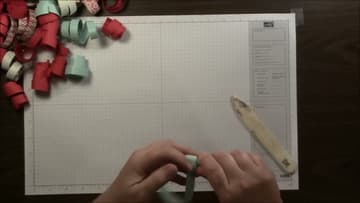
4. Curl Each Strip Into a Loop
Bring the two ends of a strip together to form a loop and pinch them between your fingers. Do not crease the fold at the top, because a sharp crease makes a flat teardrop instead of a round curl.
Tip: Curl a big batch before you pin any of them. Switching between curling and pinning constantly is what makes this feel endless.
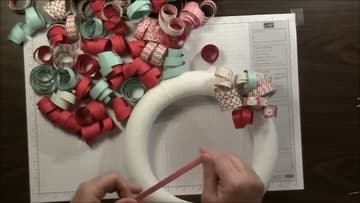
5. Pin the First Loops to the Form
Hold a loop against the foam with both ends together and push a pin straight through both ends into the form. One pin holds one loop.
Tip: Angle the pin slightly into the form rather than straight down. It grips better and the head pulls the paper tight.
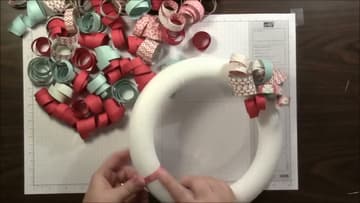
6. Pack the Loops Tight All the Way Round
Keep going around the ring, pushing each loop against the one before it and varying the angle so they do not all lean the same way. Cover the inner and outer edges of the form too, not only the top, or the wreath will look flat on the wall.
Tip: Mix your patterns as you go rather than working through one pile at a time. Clumps of a single paper are obvious from across the room.
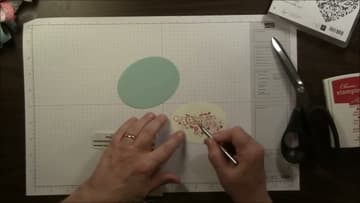
7. Cut a Label for the Centre
Cut an oval or a circle from coordinating cardstock for the middle of the wreath, then cut a slightly larger one in a second colour to sit behind it. Stamp or write on the top layer if you want a message.
Tip: A plain monogram or a sprig of greenery keeps the wreath usable year round. A holiday message locks it to a few weeks.
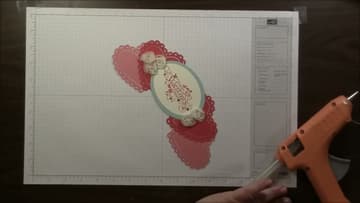
8. Layer the Embellishment
Stack the label onto a paper doily, then onto a larger die-cut shape, gluing between each layer. Offsetting the layers slightly rather than centring them makes the stack look deliberate.
Tip: Add a couple of small paper flowers or buttons where the layers meet. It hides any glue that squeezed out.
9. Attach It and Hang the Wreath
Glue the finished embellishment onto the curled base, either across the middle or off to one side. Press and hold until it grabs.
Tip: Paper fades in direct sun. Hang it on an interior door or a sheltered porch rather than a south-facing front door.