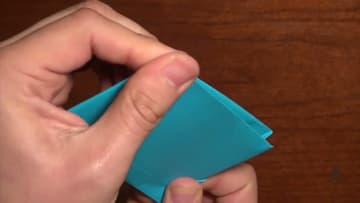
How to Make a Paper Wallet (Easy Origami, No Glue)
Source: Rob's World • Full tutorial: www.craftingstepbystep.com/paper-crafts/how-to-make-a-paper-wallet
- Difficulty
- Easy
- Hands-on time
- About 15 minutes
- Makes
- 1 paper wallet

Tools
- bone folder (optional)
Materials
- 1 sheet of 8.5 x 11 inch paper (or 2 for two colors)
- clear tape (optional)
Steps
1. Fold the Paper Wallet Sheet in Half and Crease It
Lay one sheet of letter paper on the table in portrait, the long side up and down. Fold the top edge down to meet the bottom edge.
Tip: For a sturdier two-tone wallet, stack two sheets and fold them as one.
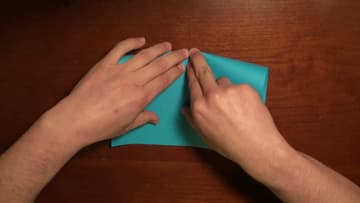
2. Fold the Top and Bottom Edges to the Center Crease of the Paper Wallet
Take the top edge and fold it down so it lands right on the center line. Crease it flat.
Tip: A bone folder gives you crisp creases and saves your fingernails.
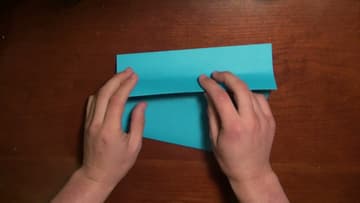
3. Fold the Bottom of the Paper Wallet a Little Past the Bottom Edge
Now fold the bottom section down, but take it a little past the bottom edge instead of lining it up. The easiest way is to flip the paper over, pull the edge down until it pops out, then use your finger to slide the fold in until there is a small overhang.
Tip: Aim for an overhang about a quarter inch wide. You can pull it out more if needed.
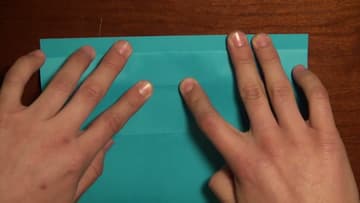
4. Fold the Overhang Up to Lock the Paper Wallet's Bottom Pocket
Take the extra strip that sticks out past the edge and fold it along that edge, all the way across. Crease it hard with your fingernail.
Tip: Crease the lock from both sides so the pocket stays shut.
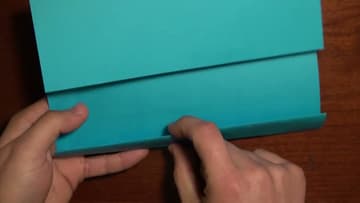
5. Tuck the Folded Top Edge Into the Paper Wallet Pocket
Unfold the top edge you folded earlier. Fold it back the other way along the same crease and press it flat.
Tip: If the edge catches, curve the paper slightly so the pocket opens.
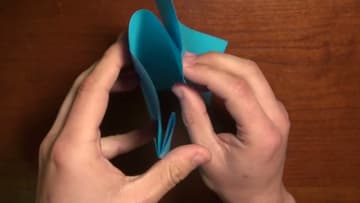
6. Check the Three Pocket Layers of the Paper Wallet
Now fold the free top edge down so it sits a little below the top of the pocket, and crease it across. Lift the bottom edge, pull the pocket back, and let the bottom pocket sit on top again.
Tip: Smooth everything flat before you start on the ends.
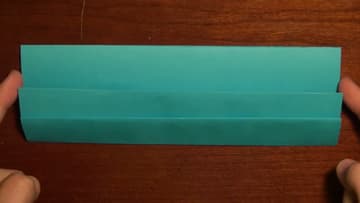
7. Fold the Paper Wallet's Side In and the Corner Down Like an Airplane
Fold the left end in by about the width of your pinky and crease it. Unfold it, then fold the top corner down so the top edge lines up with that new crease, like the nose of a paper airplane.
Tip: Keep the side folds narrow. Wide ones make the wallet bulge.
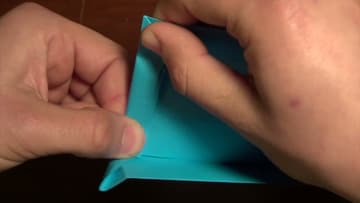
8. Fold the End Tab Back Behind the Paper Wallet
Turn the wallet over. Fold the corner in again like an airplane, then fold the whole end tab back onto the back of the wallet.
Tip: Rob adds a tiny piece of tape on each tab if you want it to never come apart.
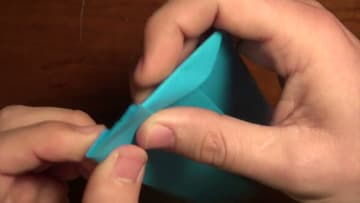
9. Fold the Paper Wallet in Half and Crease the Spine
Put your thumb in the middle and push gently to round the wallet. Fold one end across to meet the other, then squeeze and pinch along the fold to crease the spine.
Tip: Crease the spine a few times so the wallet closes flat.