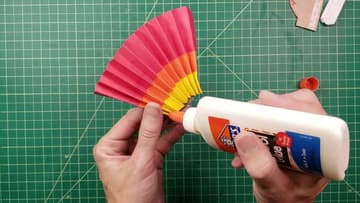
How to Make a Paper Turkey
Source: Light Skull • Full tutorial: www.craftingstepbystep.com/paper-crafts/how-to-make-a-paper-turkey
- Difficulty
- Easy
- Hands-on time
- About 40 minutes
- Cost
- About $3 to $6
- Makes
- 1 paper turkey

Tools
- scissors
- craft knife
- cutting mat
- pencil
Materials
- red construction paper
- orange construction paper
- yellow construction paper
- brown construction paper
- glue stick
- white school glue
Steps
1. Cut Out the Paper Turkey Body From Folded Brown Construction Paper
Fold the 4 inch brown square in half so it is 2 x 4 inches. Trace the body from the free template with the flat edge on the fold, then cut along the line through both layers.
Tip: Keep the flat side of the template right on the fold. If you cut the fold away, the two halves fall apart.
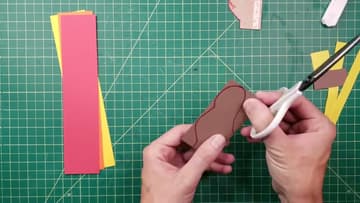
2. Cut a Slit in the Turkey Body Notch So It Stands Up
Fold the little notch at the bottom of the body so it sits flat. Slice a short slit into it between the two layers with a craft knife.
Tip: With kids, an adult should do this cut. Small scissors work if you do not want a blade near the class.
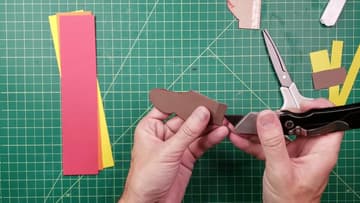
3. Glue the Two Halves of the Paper Turkey Body Together
Open the body out flat. Rub a glue stick over one half, stopping short of the notch at the bottom so the stand can still open.
Tip: Glue right up to the edges. Loose edges peel apart when you slide the body into the fan later.
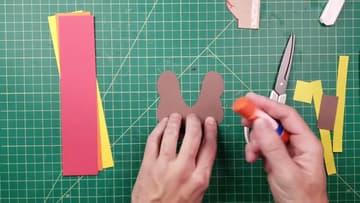
4. Fold the Yellow Paper Square Into a Turkey Beak
Fold the 1 inch yellow square corner to corner into a triangle. If your square is not quite square, that is fine.
Tip: Orange paper works as well for the beak if you want it to stand out against the yellow feathers.
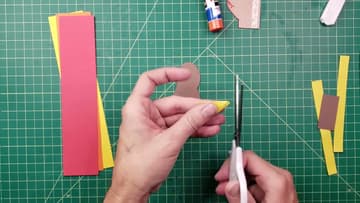
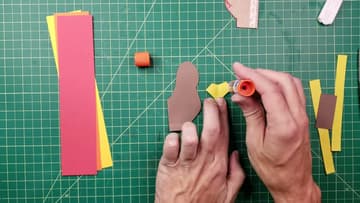
5. Glue the Paper Beak Onto the Turkey Face and Add the Stand
Open the beak up. It looks a bit like a Superman symbol.
Tip: The lean is what you want. The tail goes behind him and balances it out.
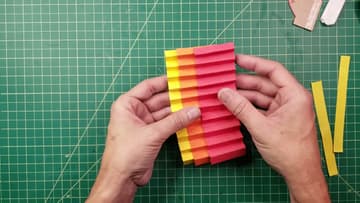
6. Accordion-Fold the Red, Orange and Yellow Paper Feather Strips Together
Stack the three feather strips. Make a small fold across one end, flip the stack over, and fold back the other way.
Tip: Hold down the edges as you go. If one strip starts to creep, your pleats will not line up.
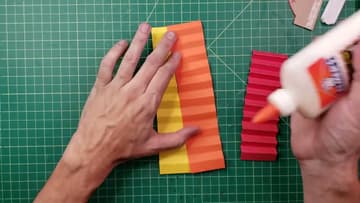
7. Glue the Accordion Feather Strips Together With White Glue
Open the strips out. Run white glue along the edge of one strip and overlap the next one onto it, pleat into pleat.
Tip: If the strips start to curve, lift and adjust while the glue is wet. Straight strips make an even fan.
8. Accordion-Fold the Paper Turkey Legs and Glue Them On
Fold the two thin leg strips into small accordions. They do not need to be neat.
Tip: Pull your finger away as you lift the glue stick. You get a tiny dab, which is all a paper leg needs.
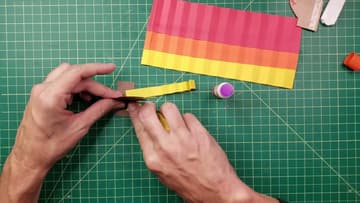
9. Pinch the Paper Feather Fan and Slide the Turkey Body In
Fold the dry strips back into an accordion, yellow side toward you. Squeeze the bottom and press the middle pleats so the top fans out.
Tip: Put the yellow edge at the bottom if you want more yellow showing. The order of the colors is up to you.
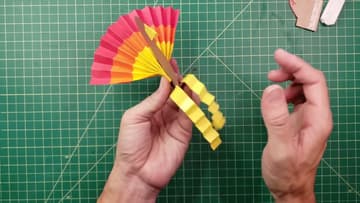
10. Glue the Base of the Paper Turkey Fan Tail So It Holds Its Shape
If the fan is spreading too much, put a small drop of white glue between each pleat at the bottom and squeeze them together. Do the back as well if you need to.
Tip: A clothespin clipped over the base holds it while the glue dries.